SLA Resin Printing by Akhil Mathew

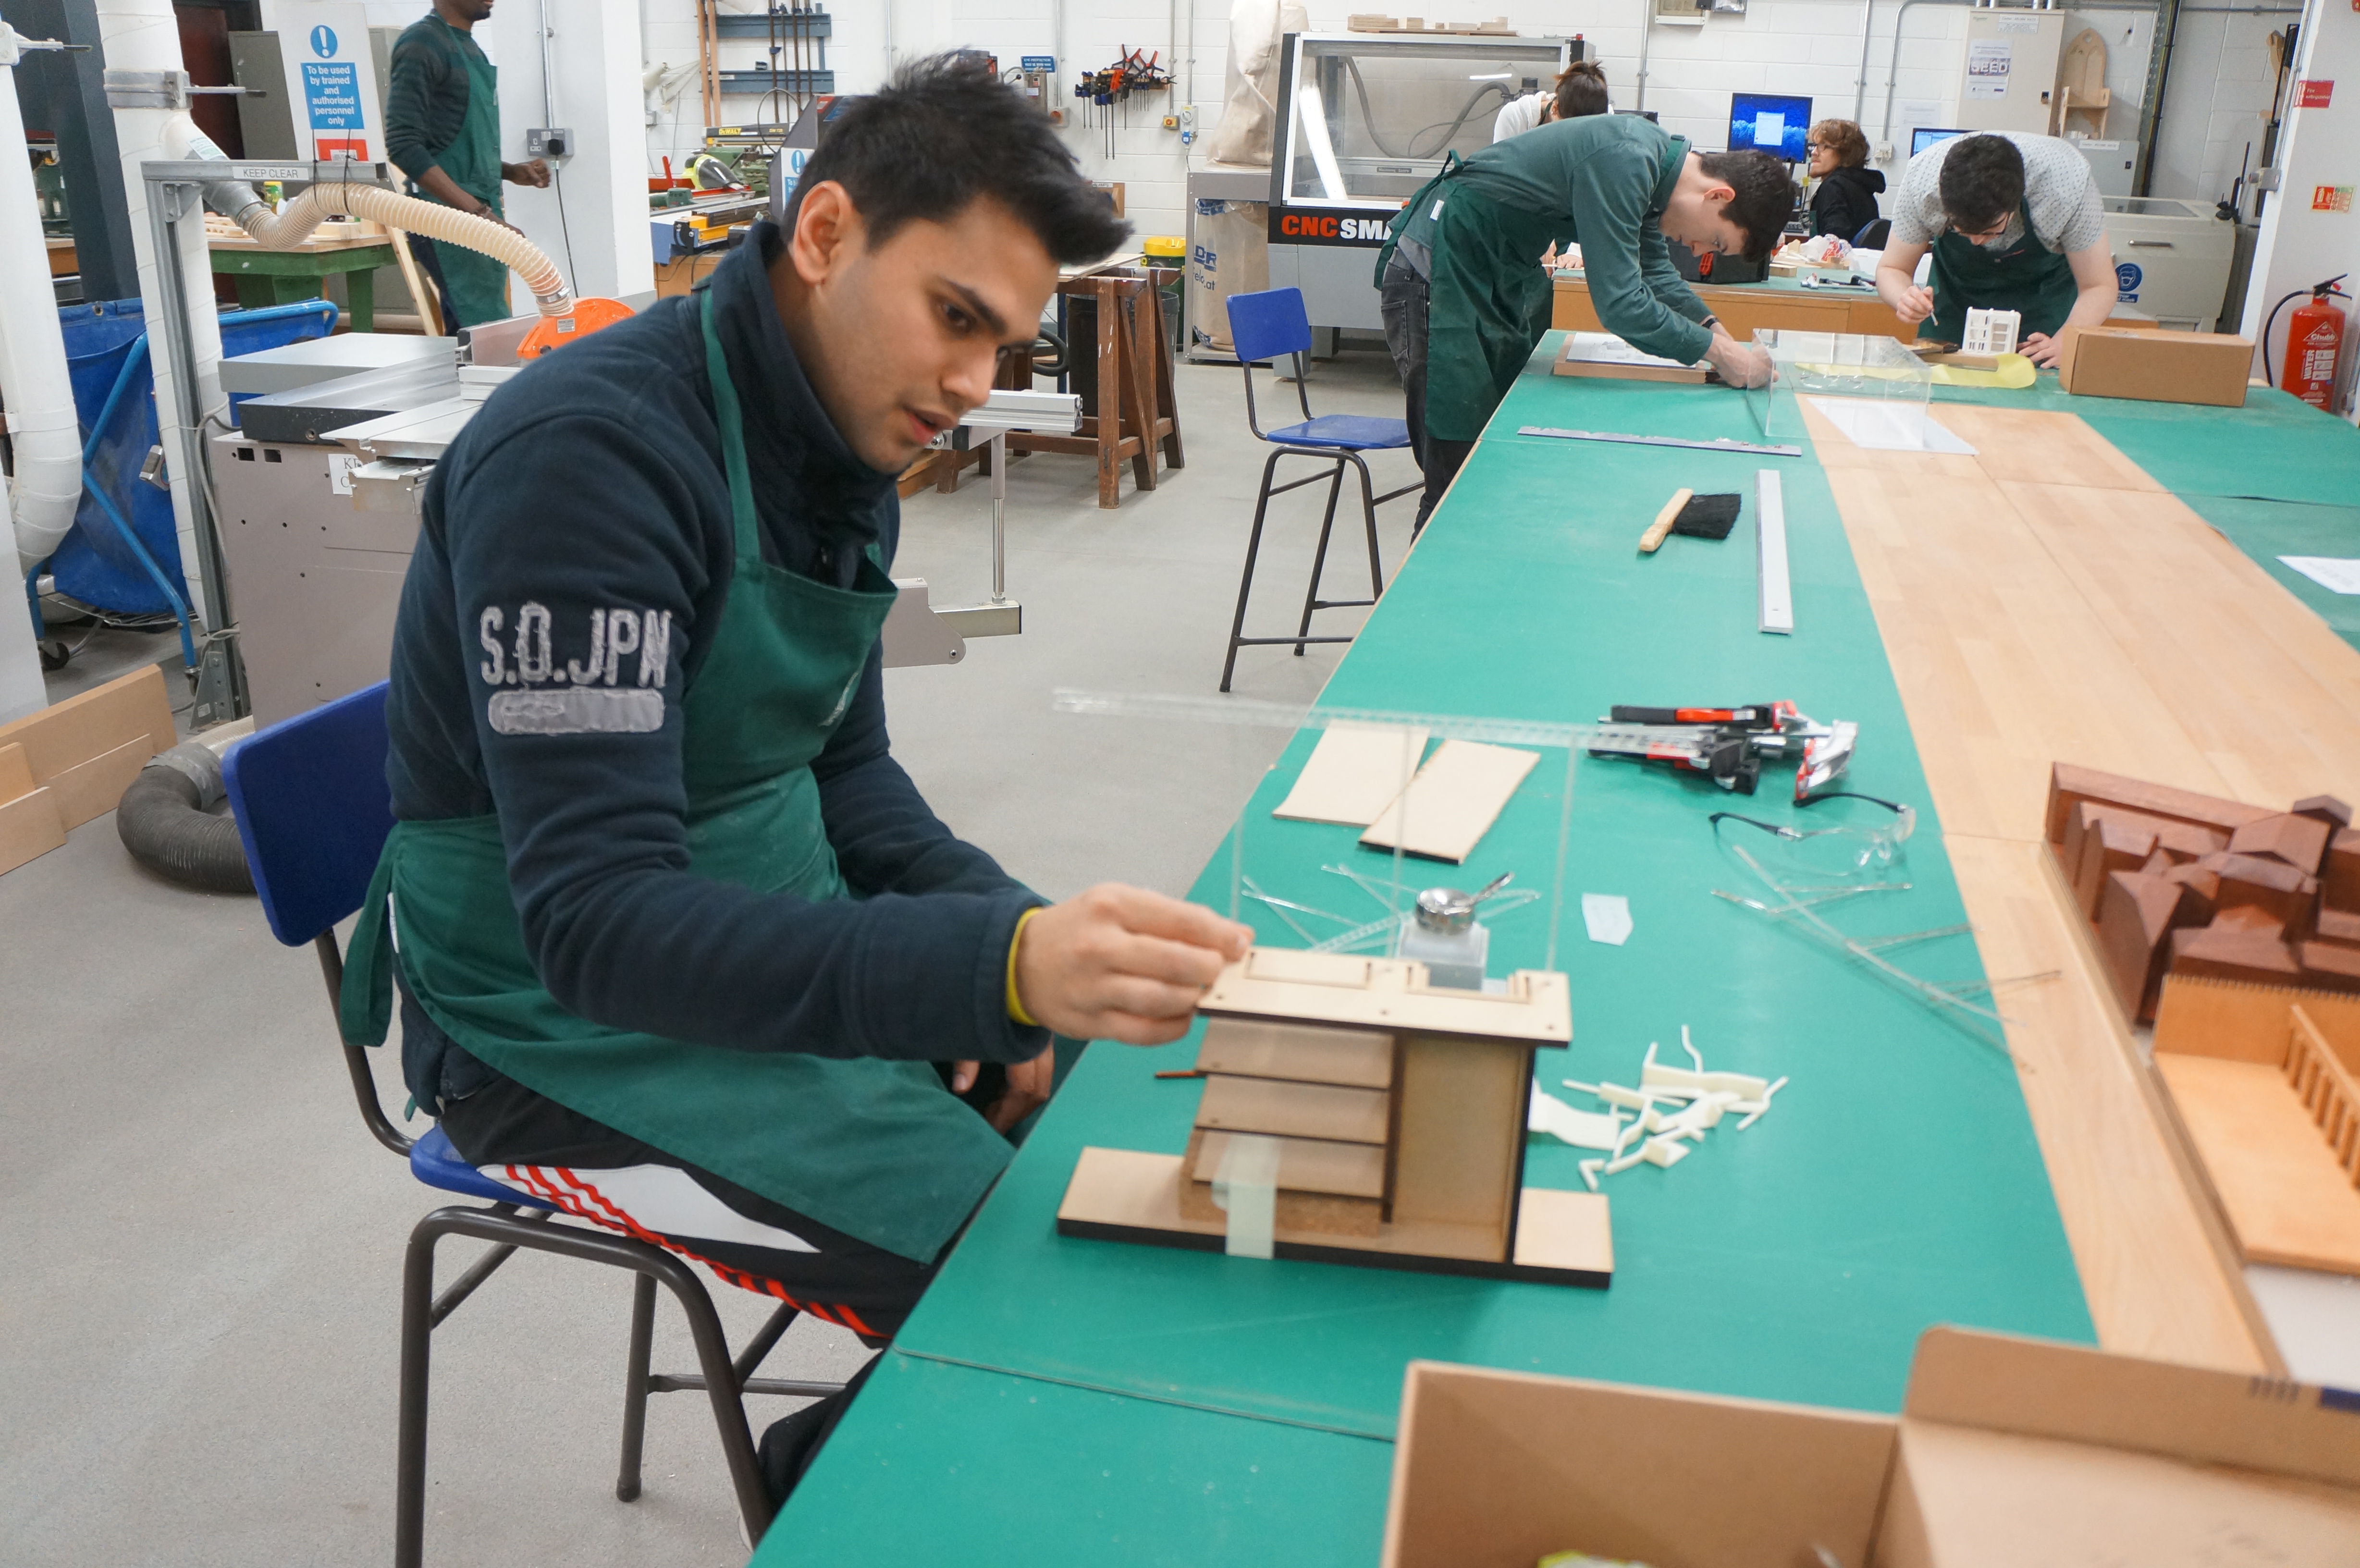
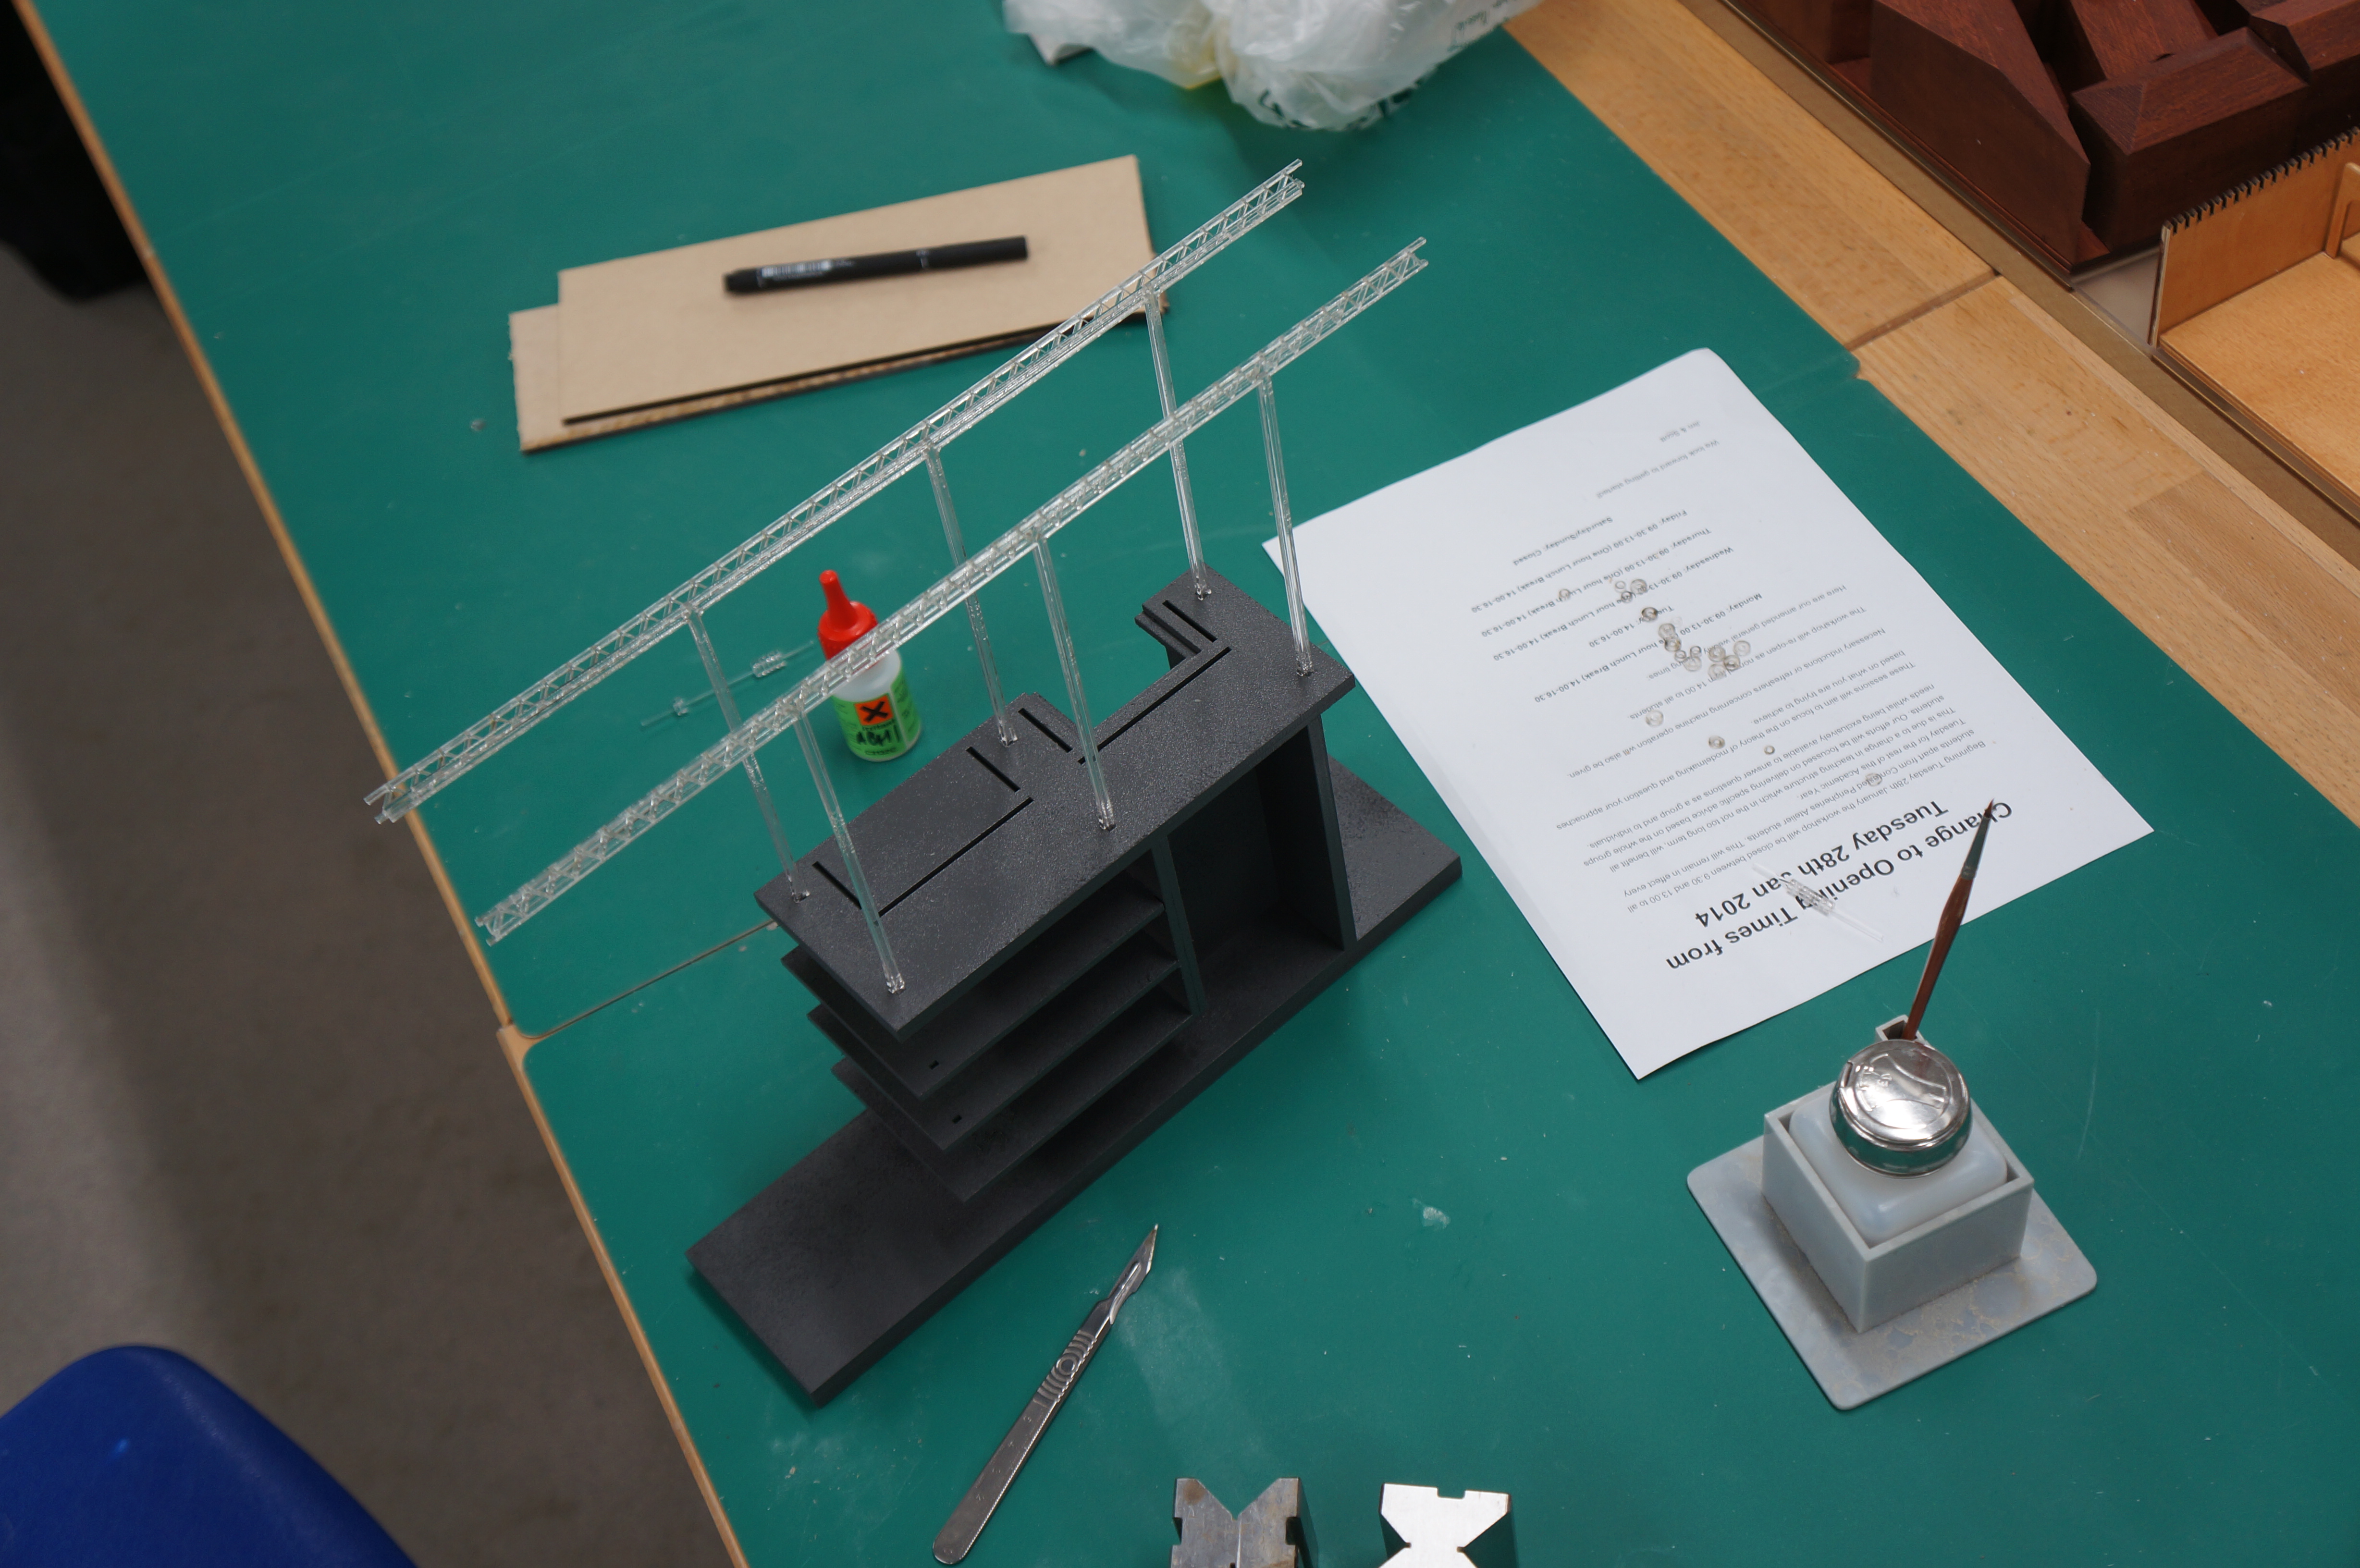
It has been a year now since we purchased our own SLA resin 3D Printer. In this time we have had a varied degree of successes. Perhaps due to its relative infancy, we have come up against numerous issues with this printer meaning its use has been limited as it often required constant checking to ensure the process is working correctly. The best uses have come when a student has taken initiative to research the process for their own requirements. One such student is 3rd year Akhil Mathew who has kindly written about his application of the process and the various pro’s and con’s he experienced.

DSC05841

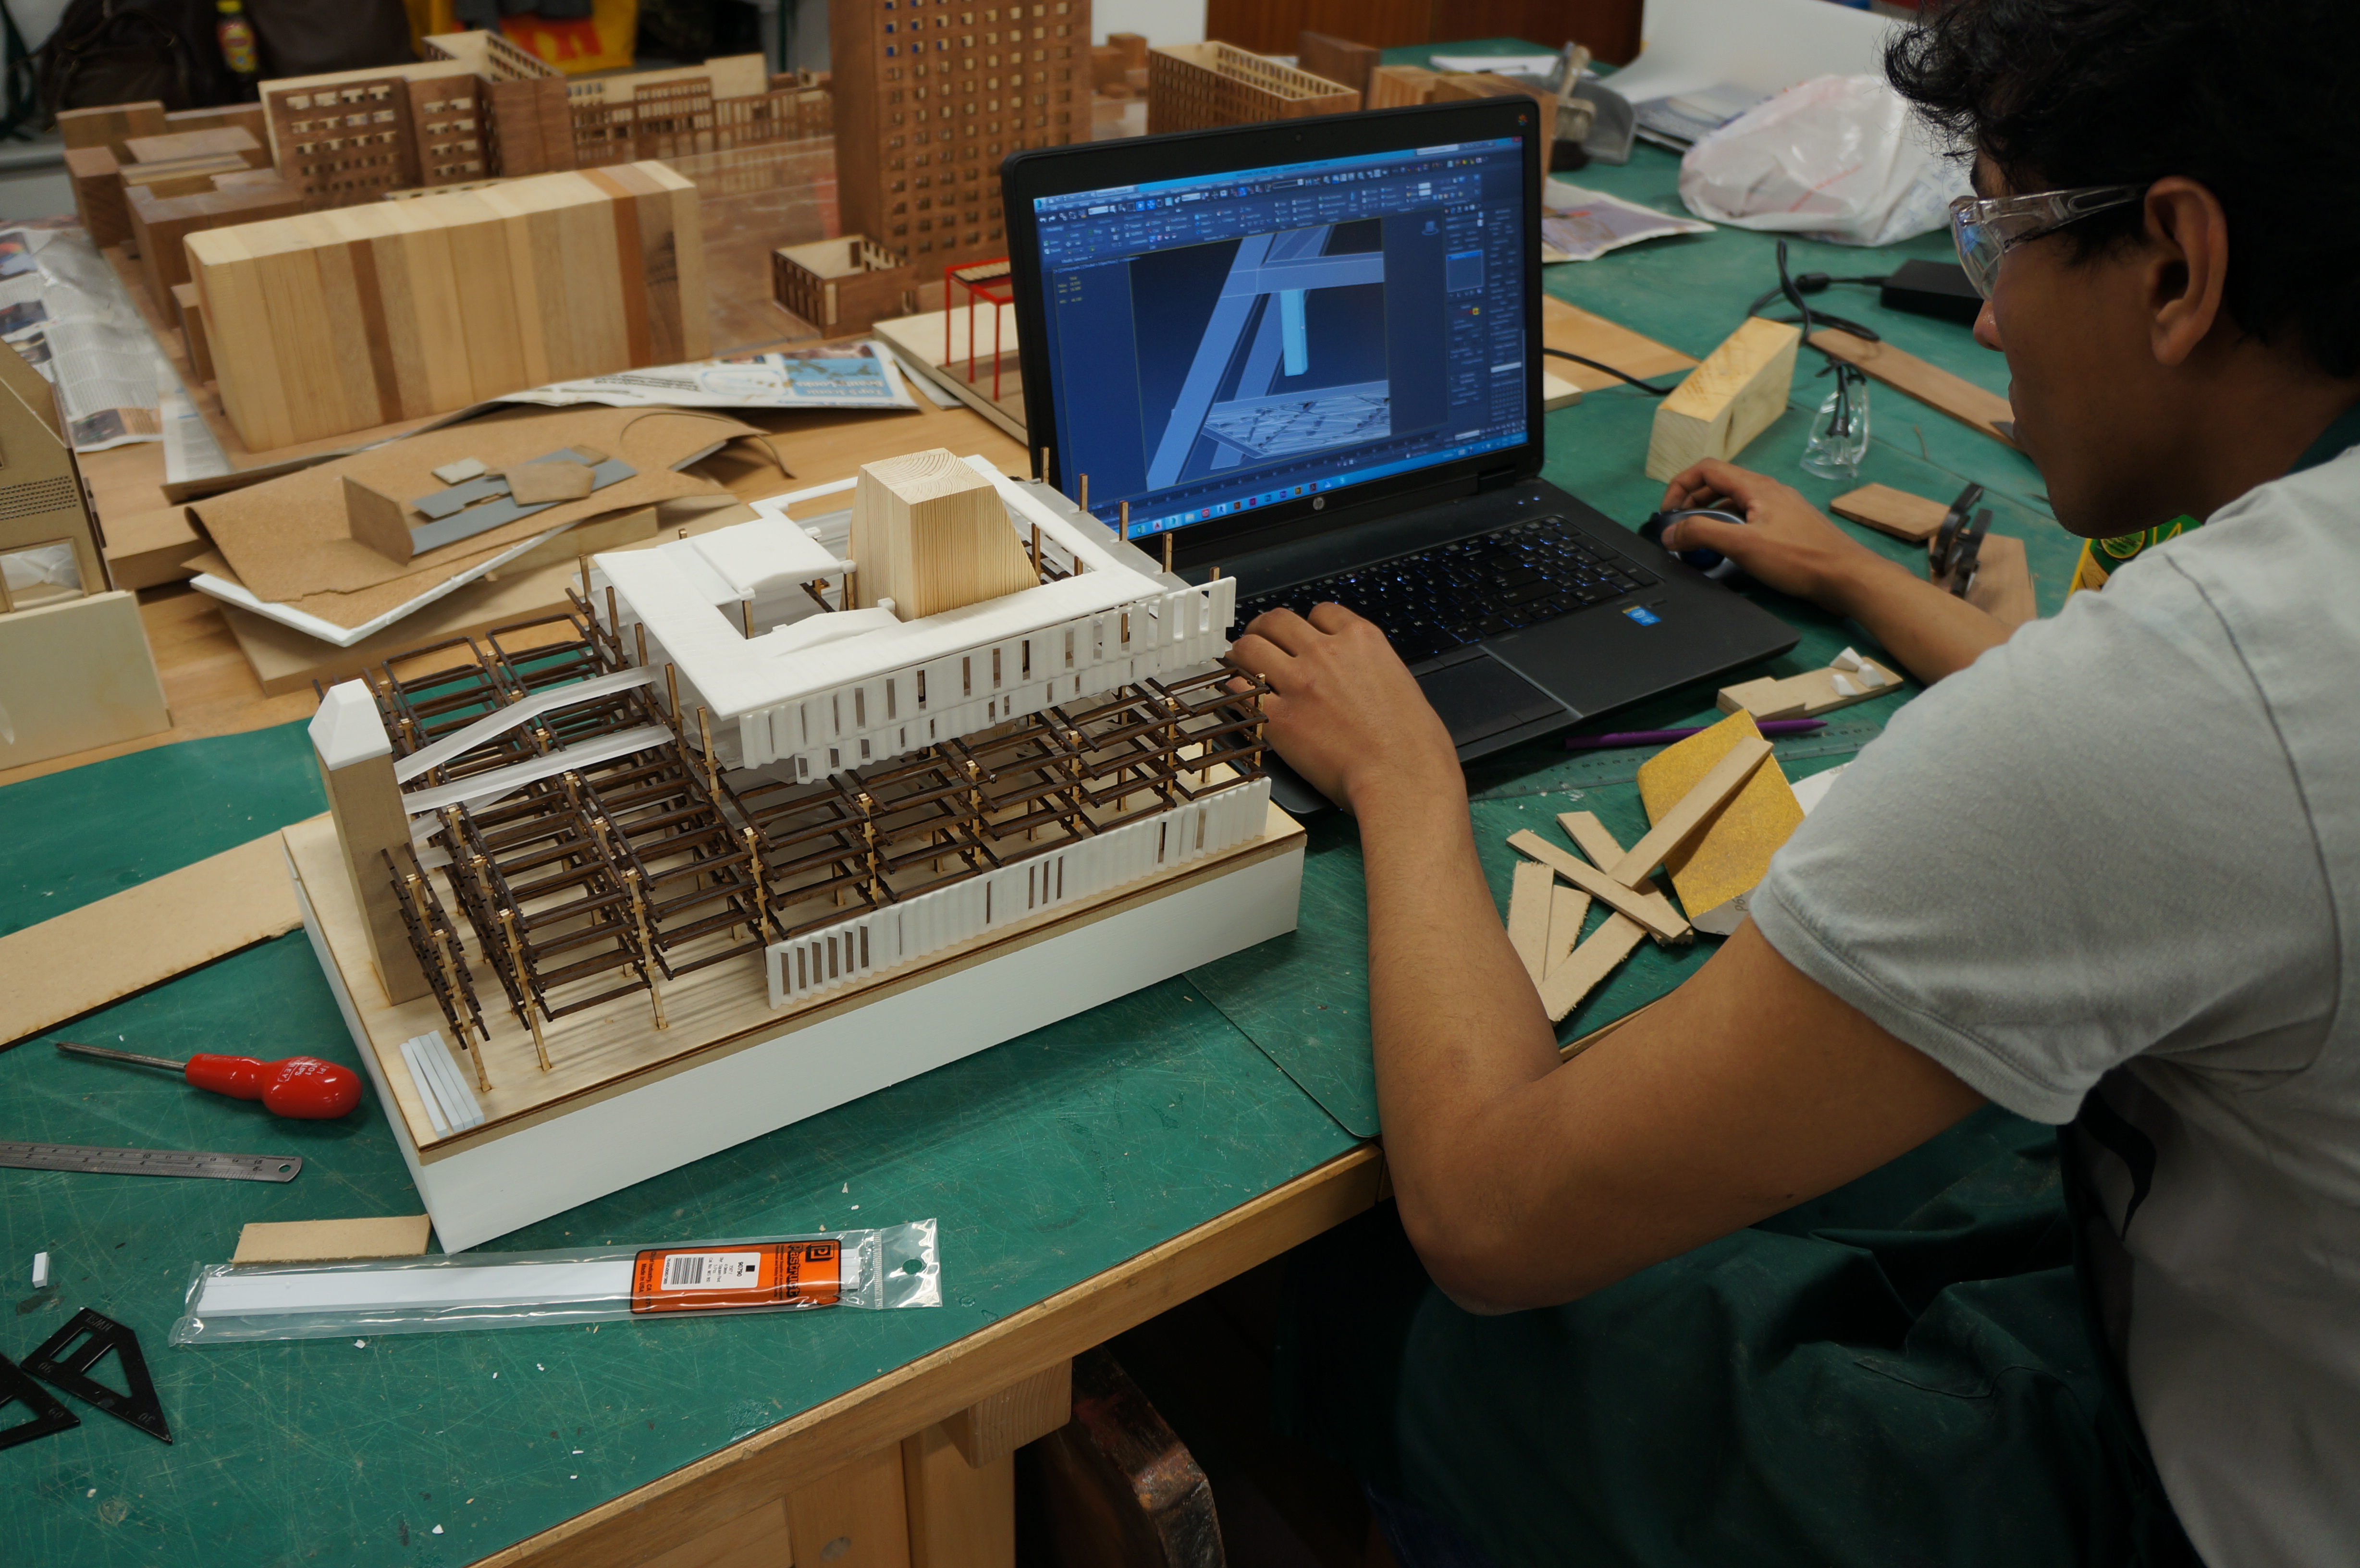
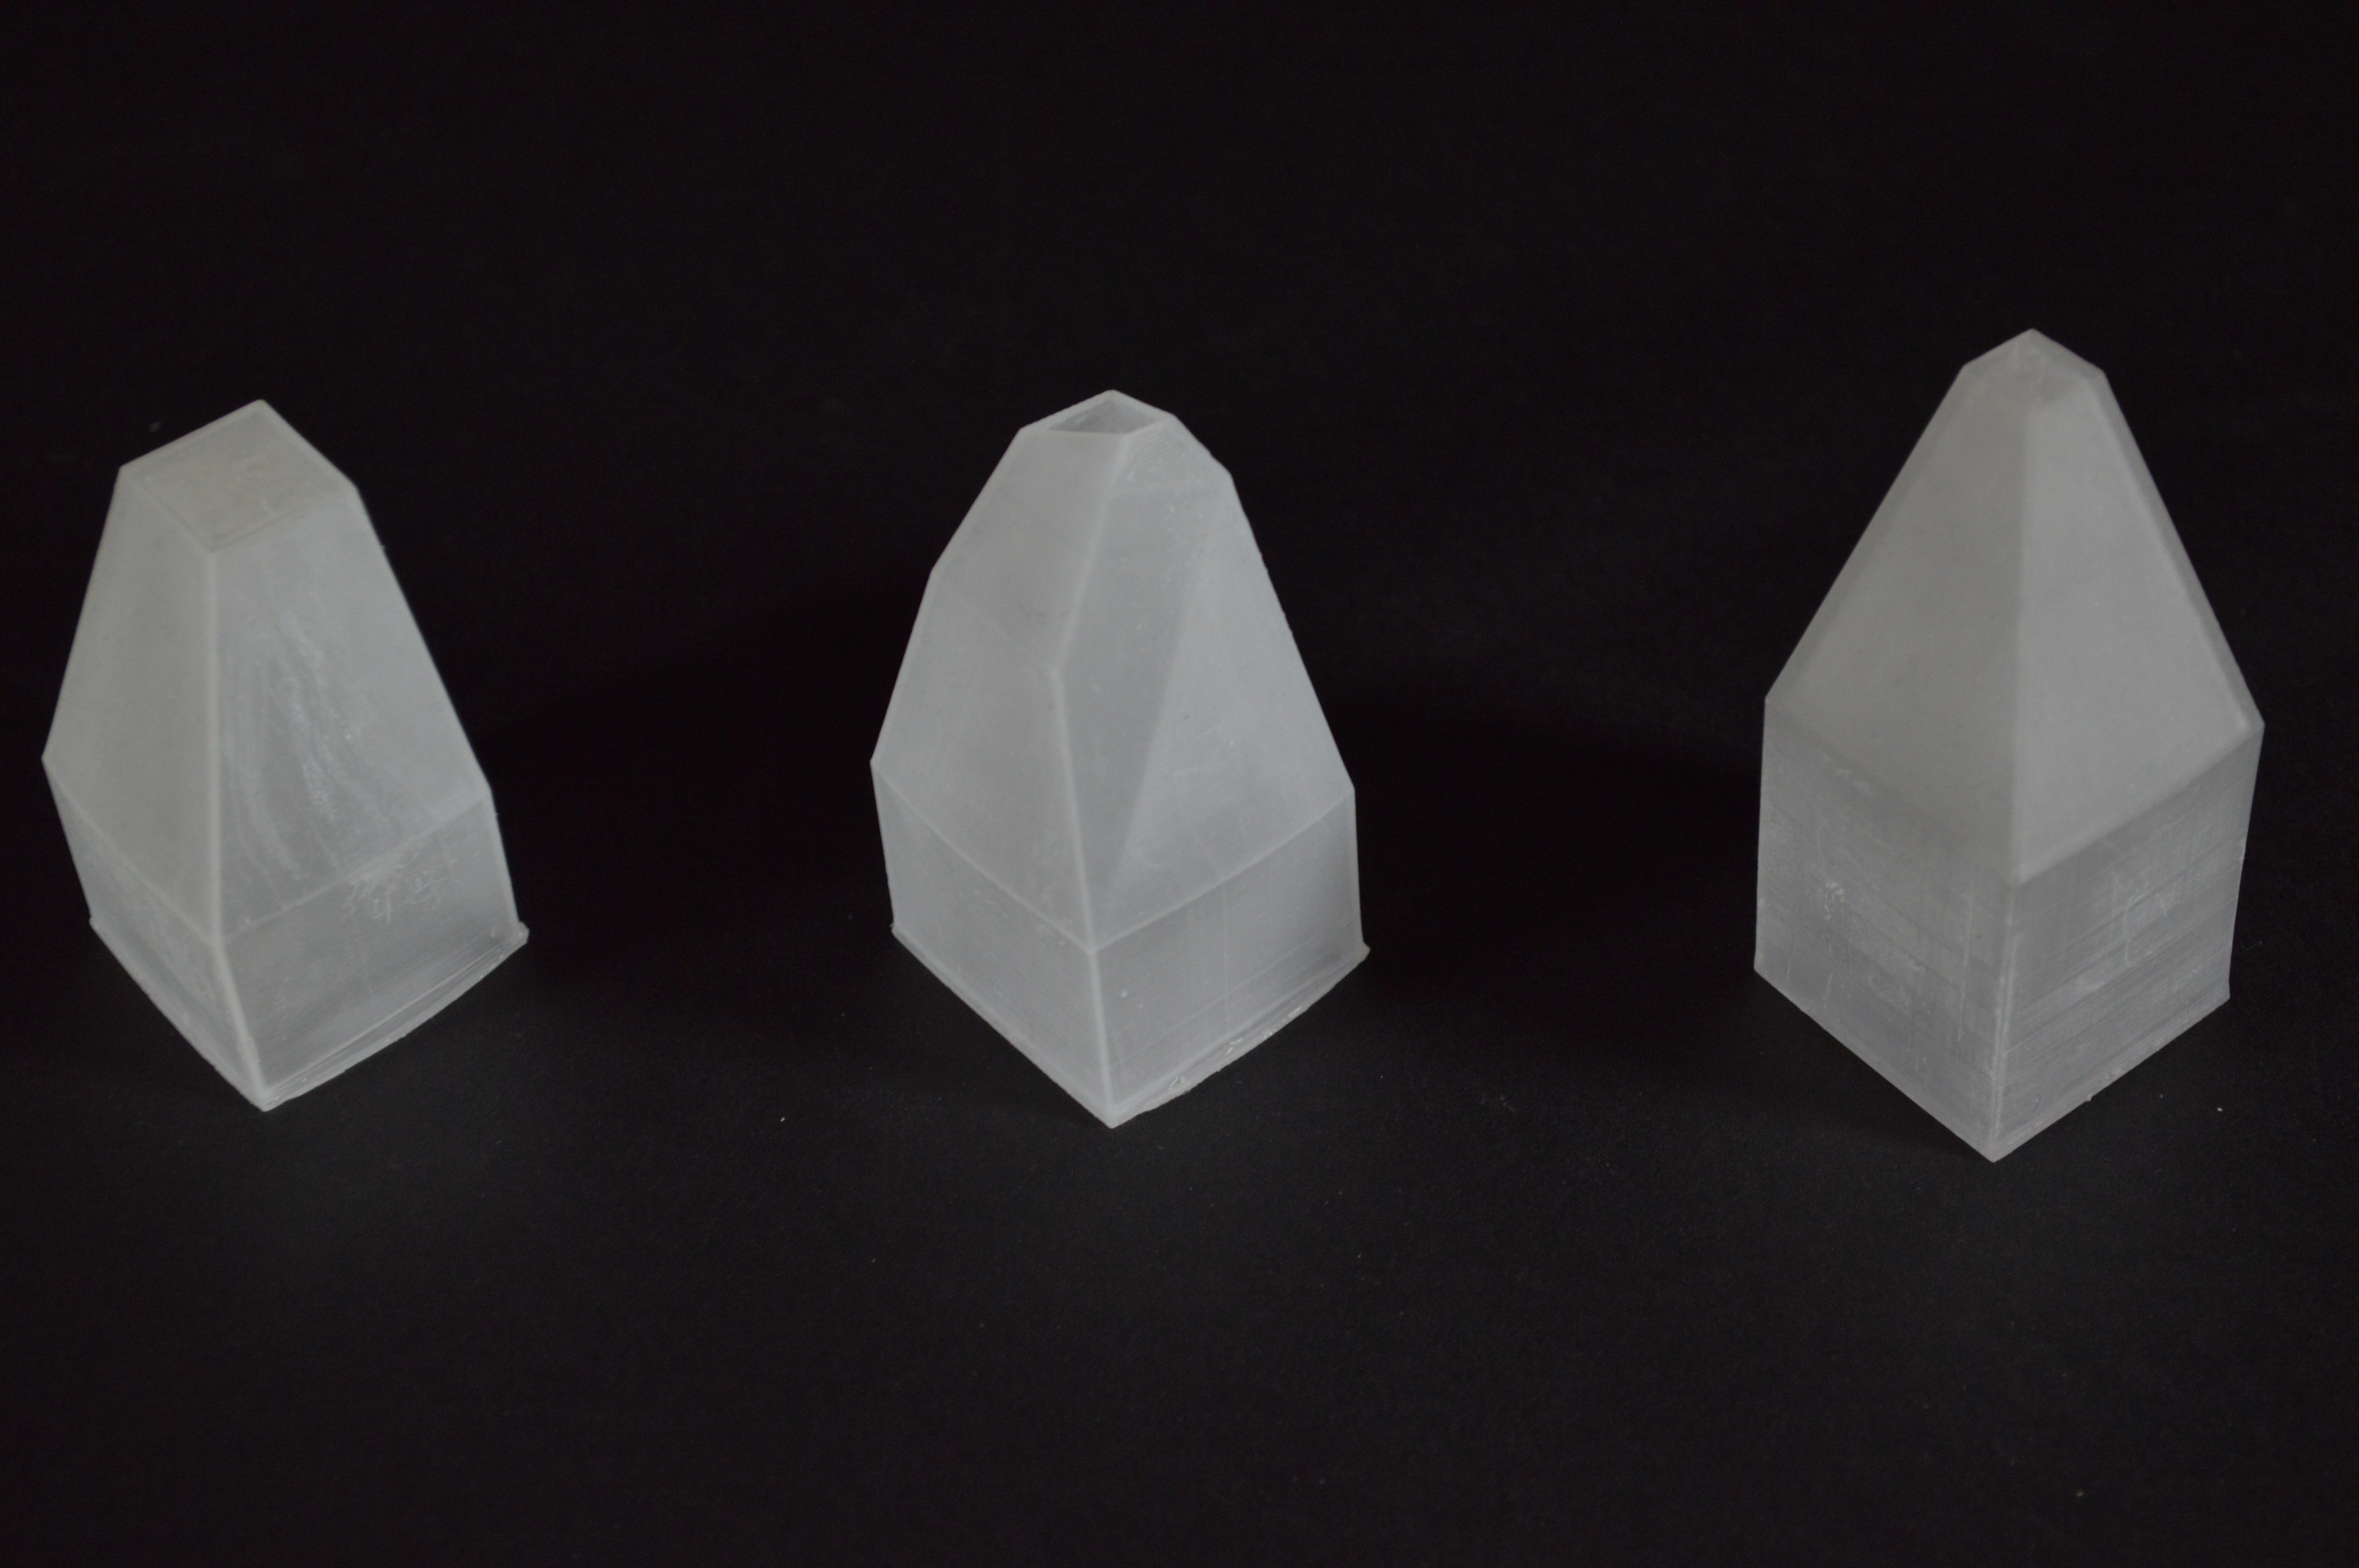
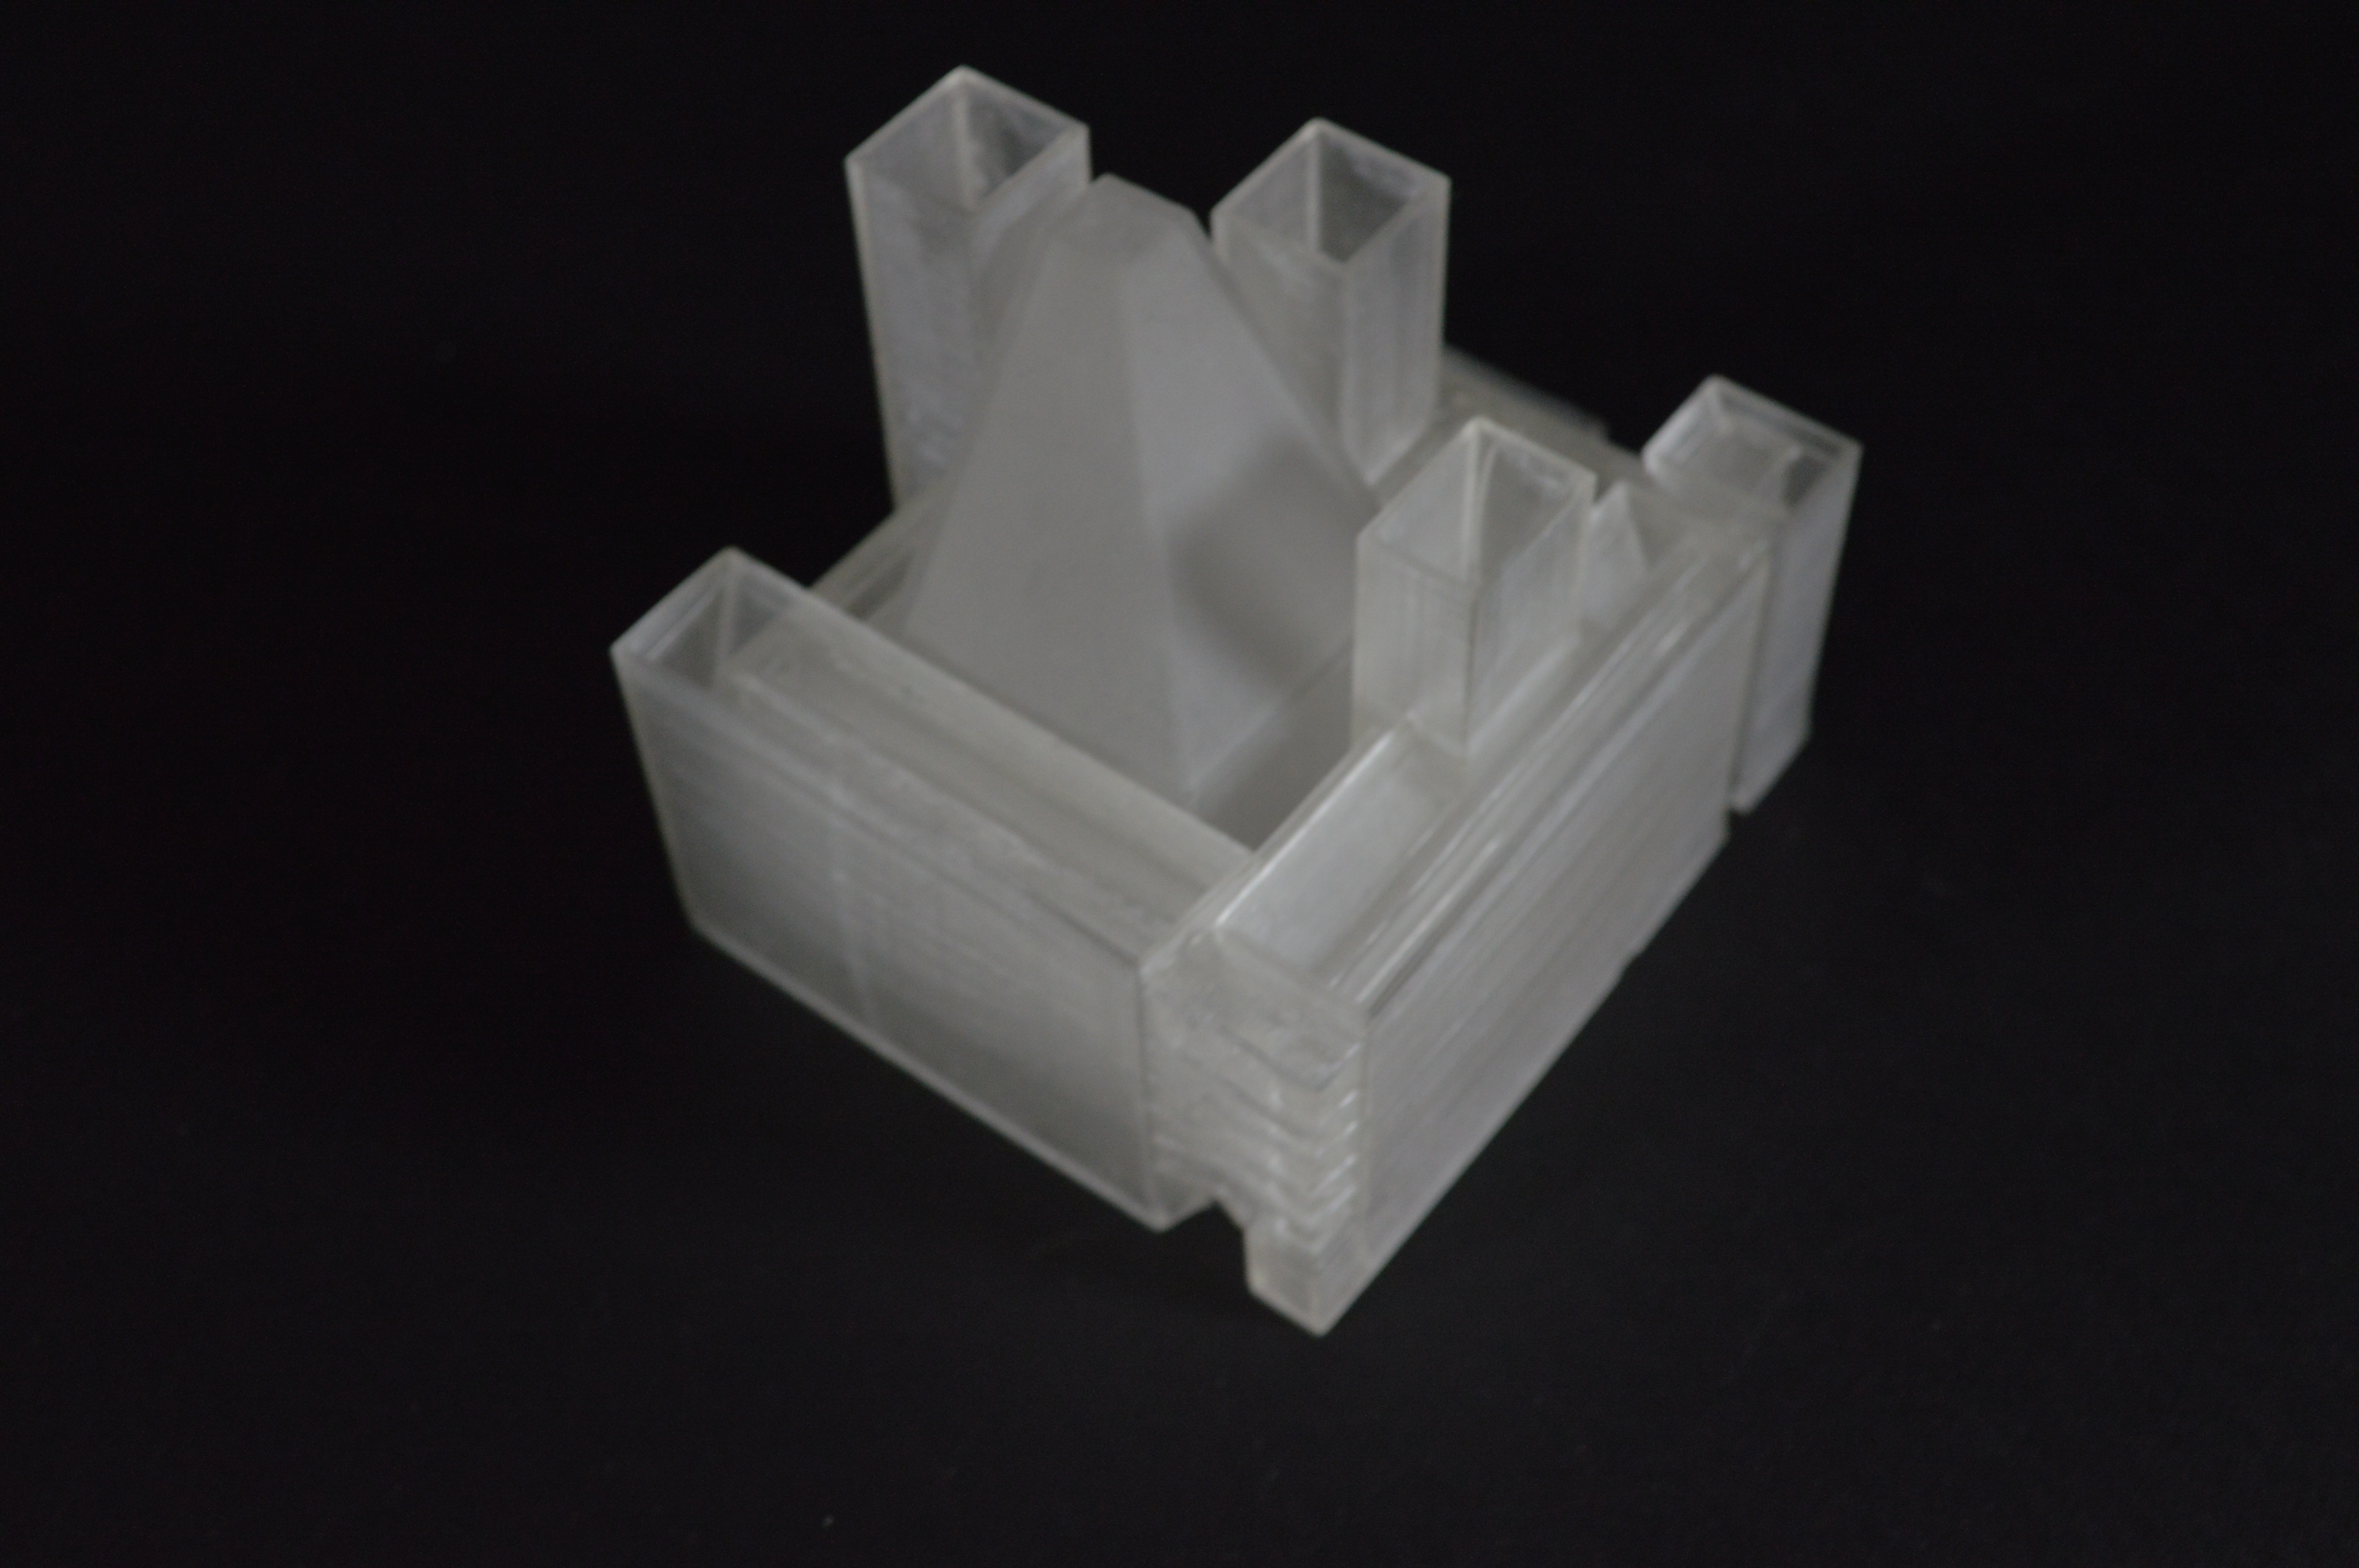
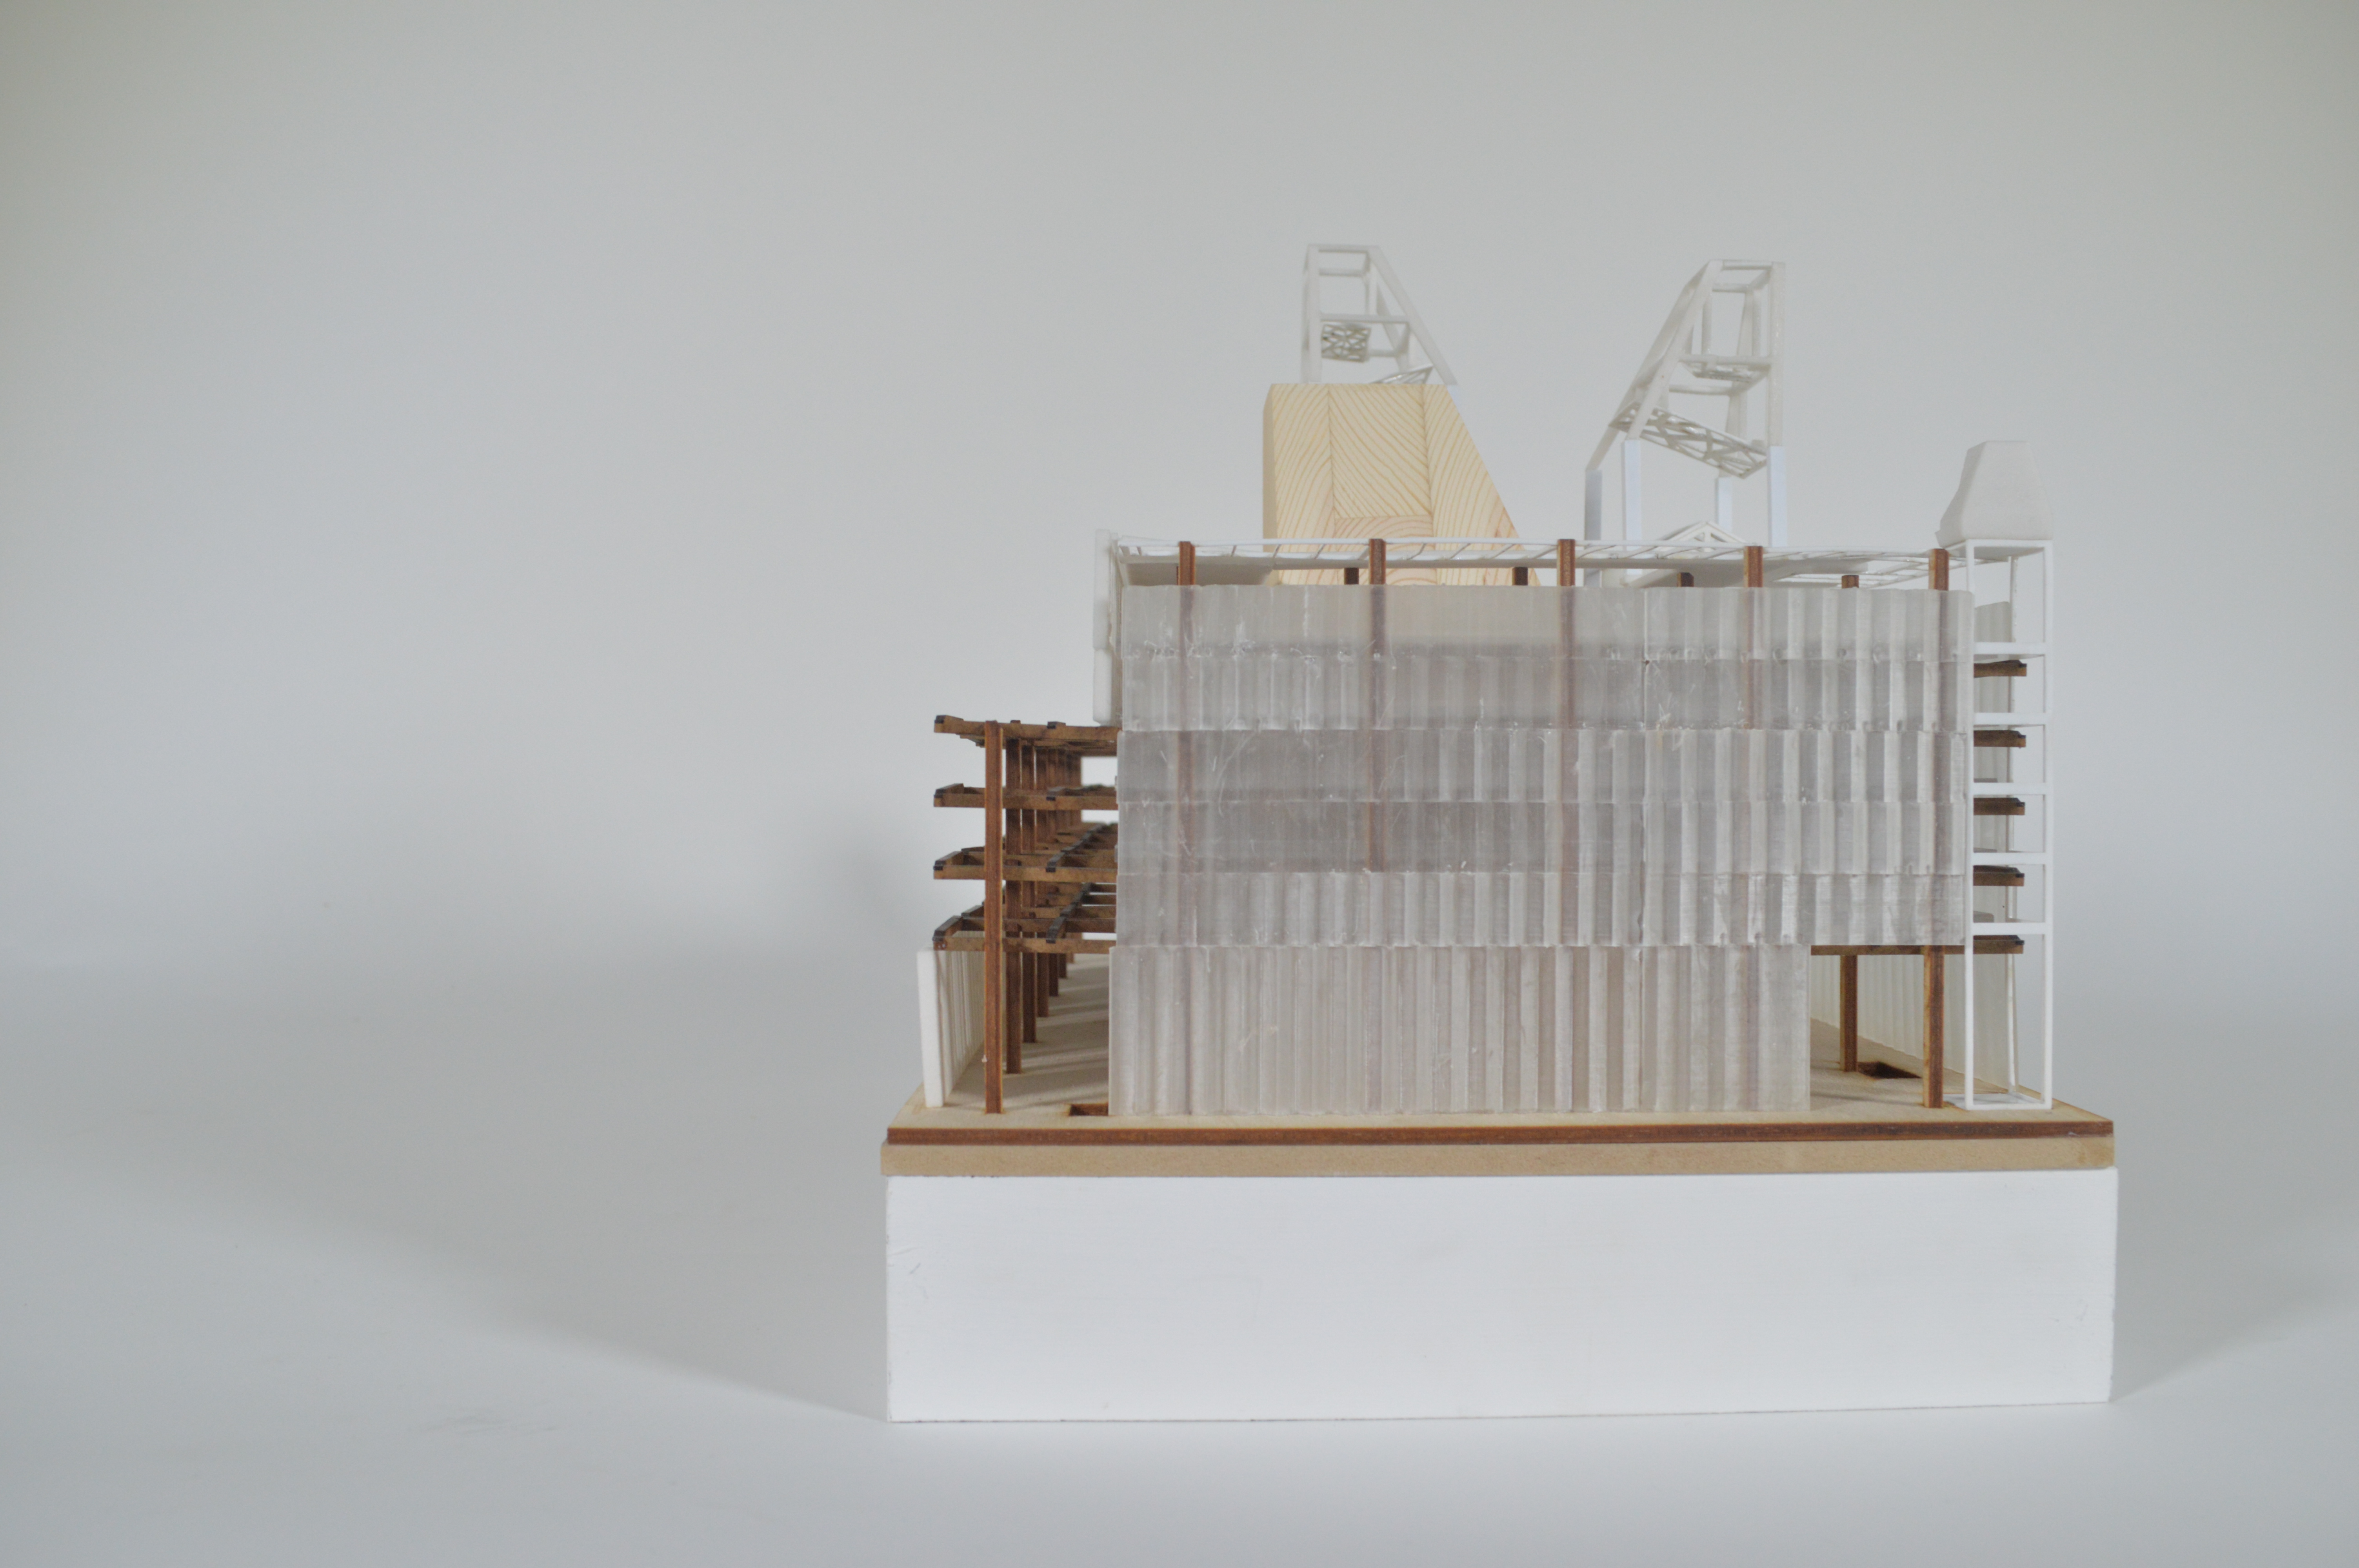
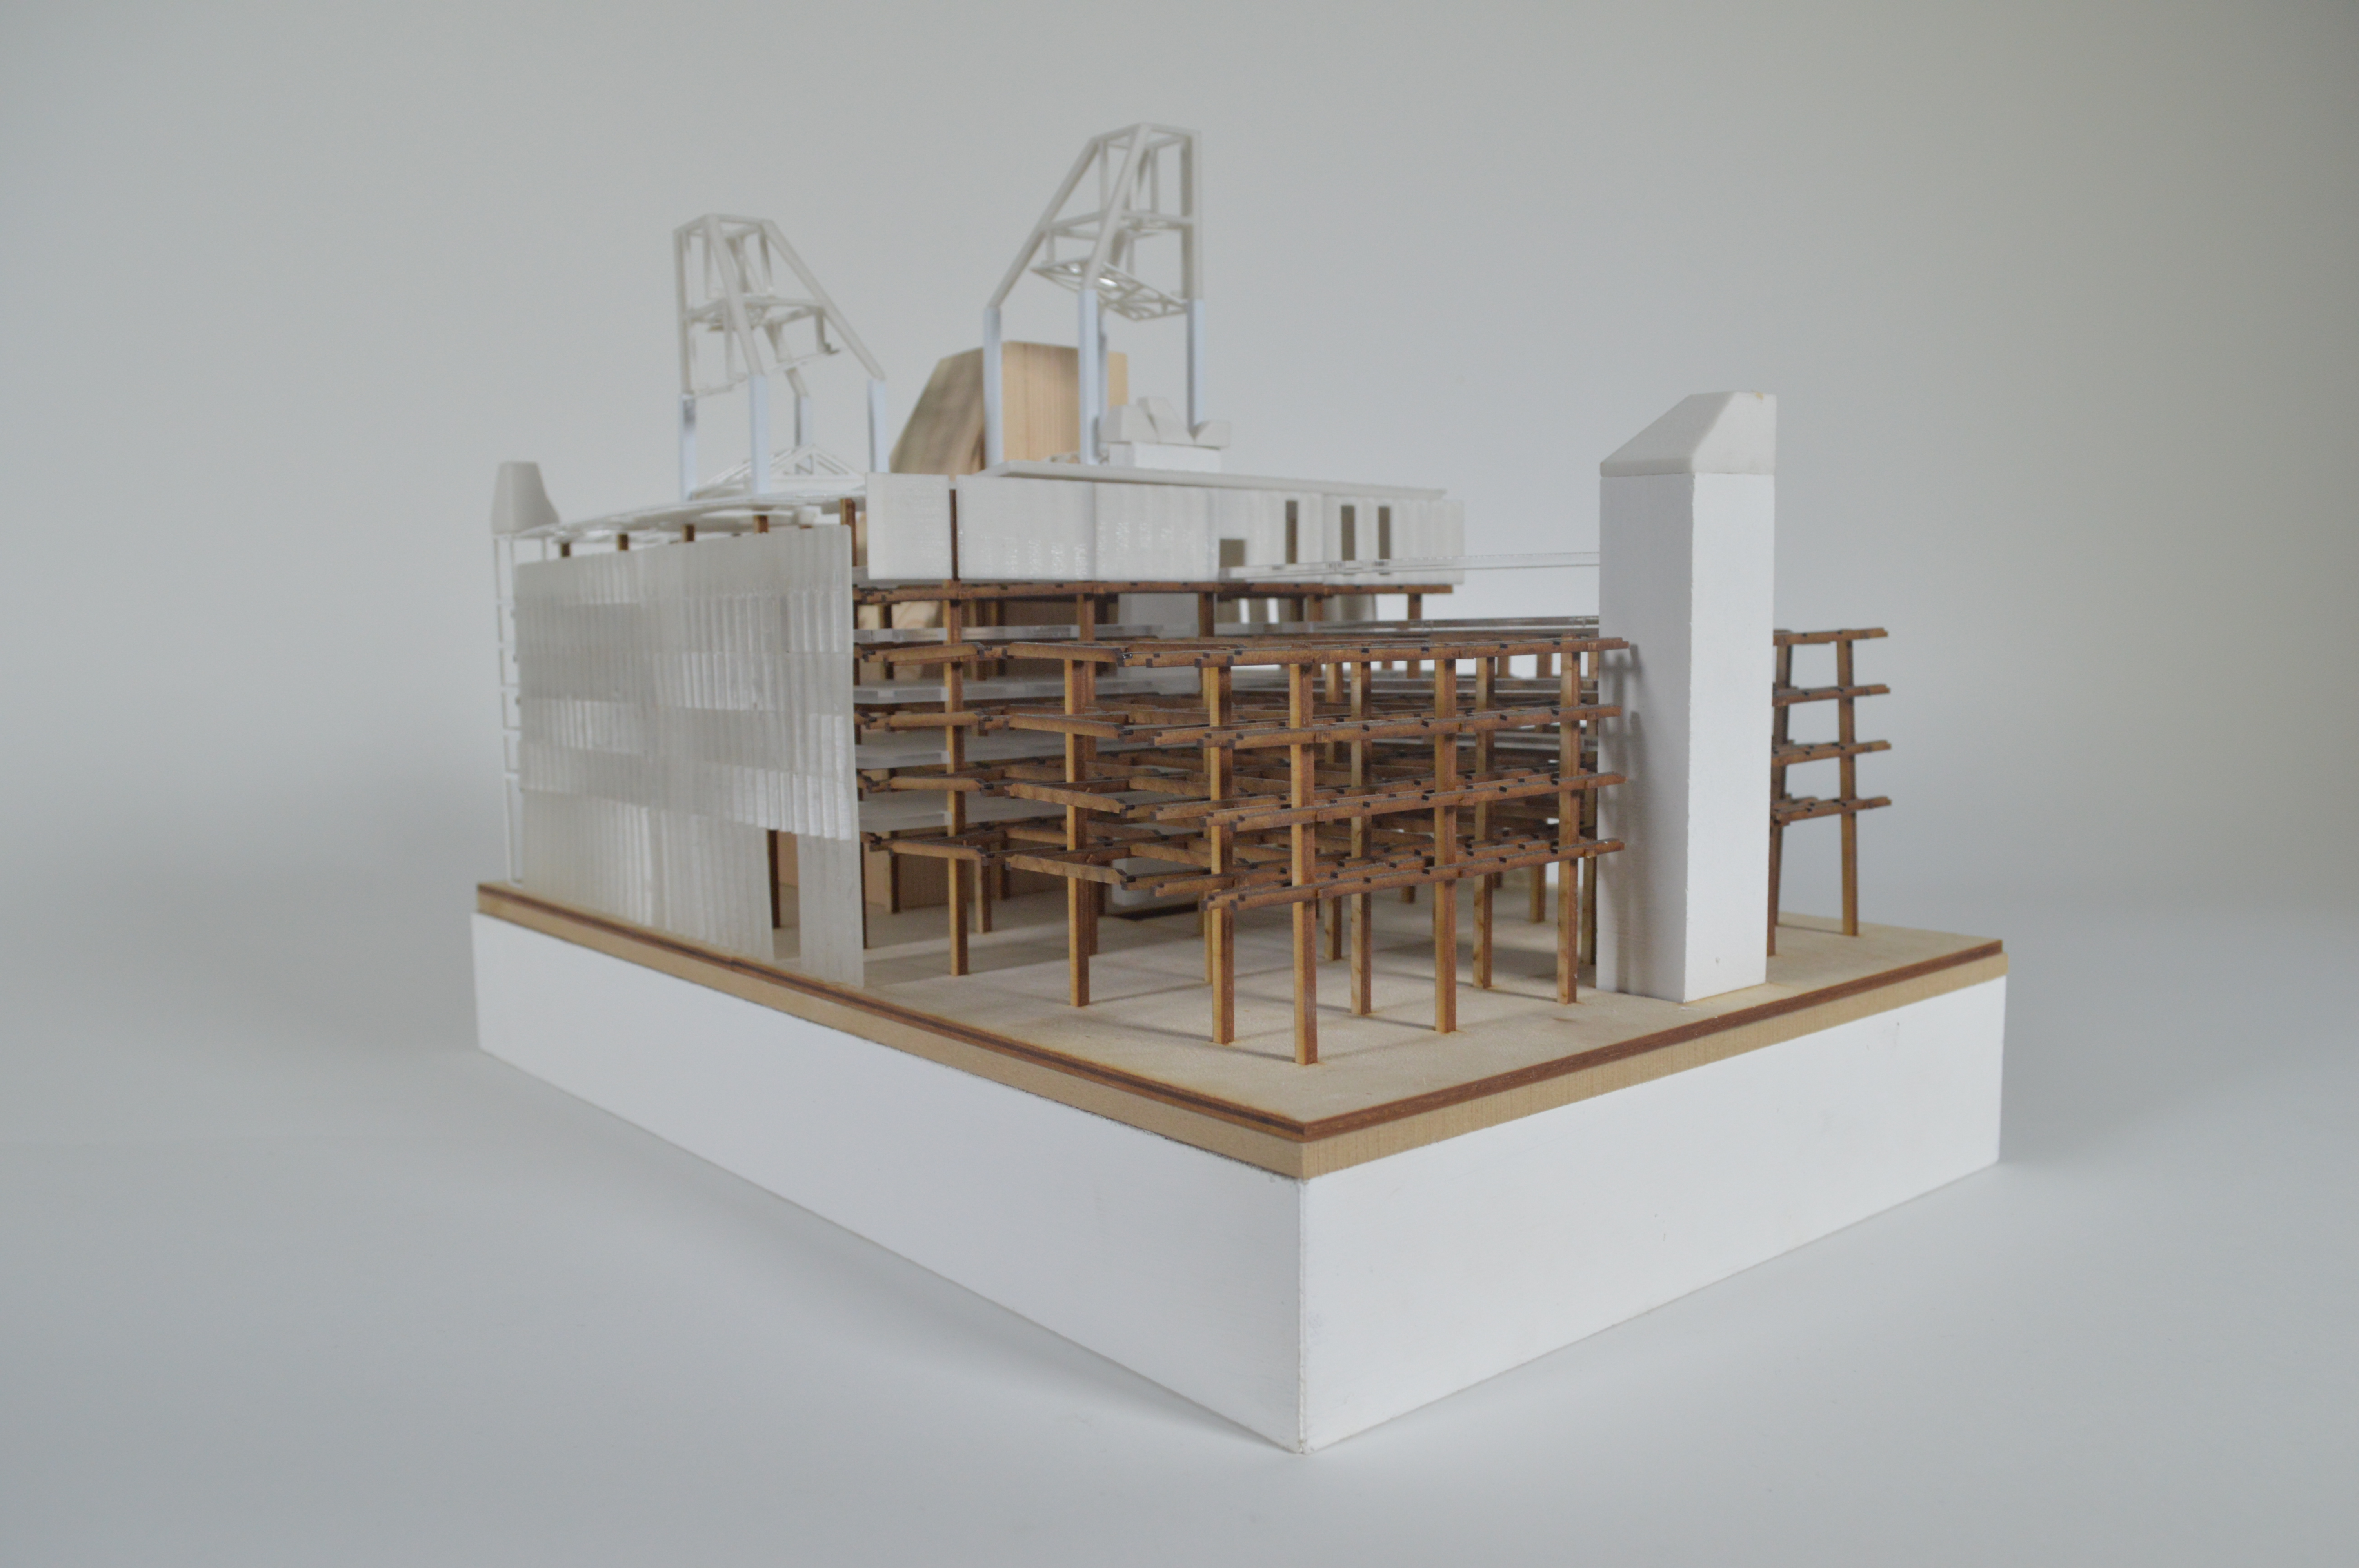
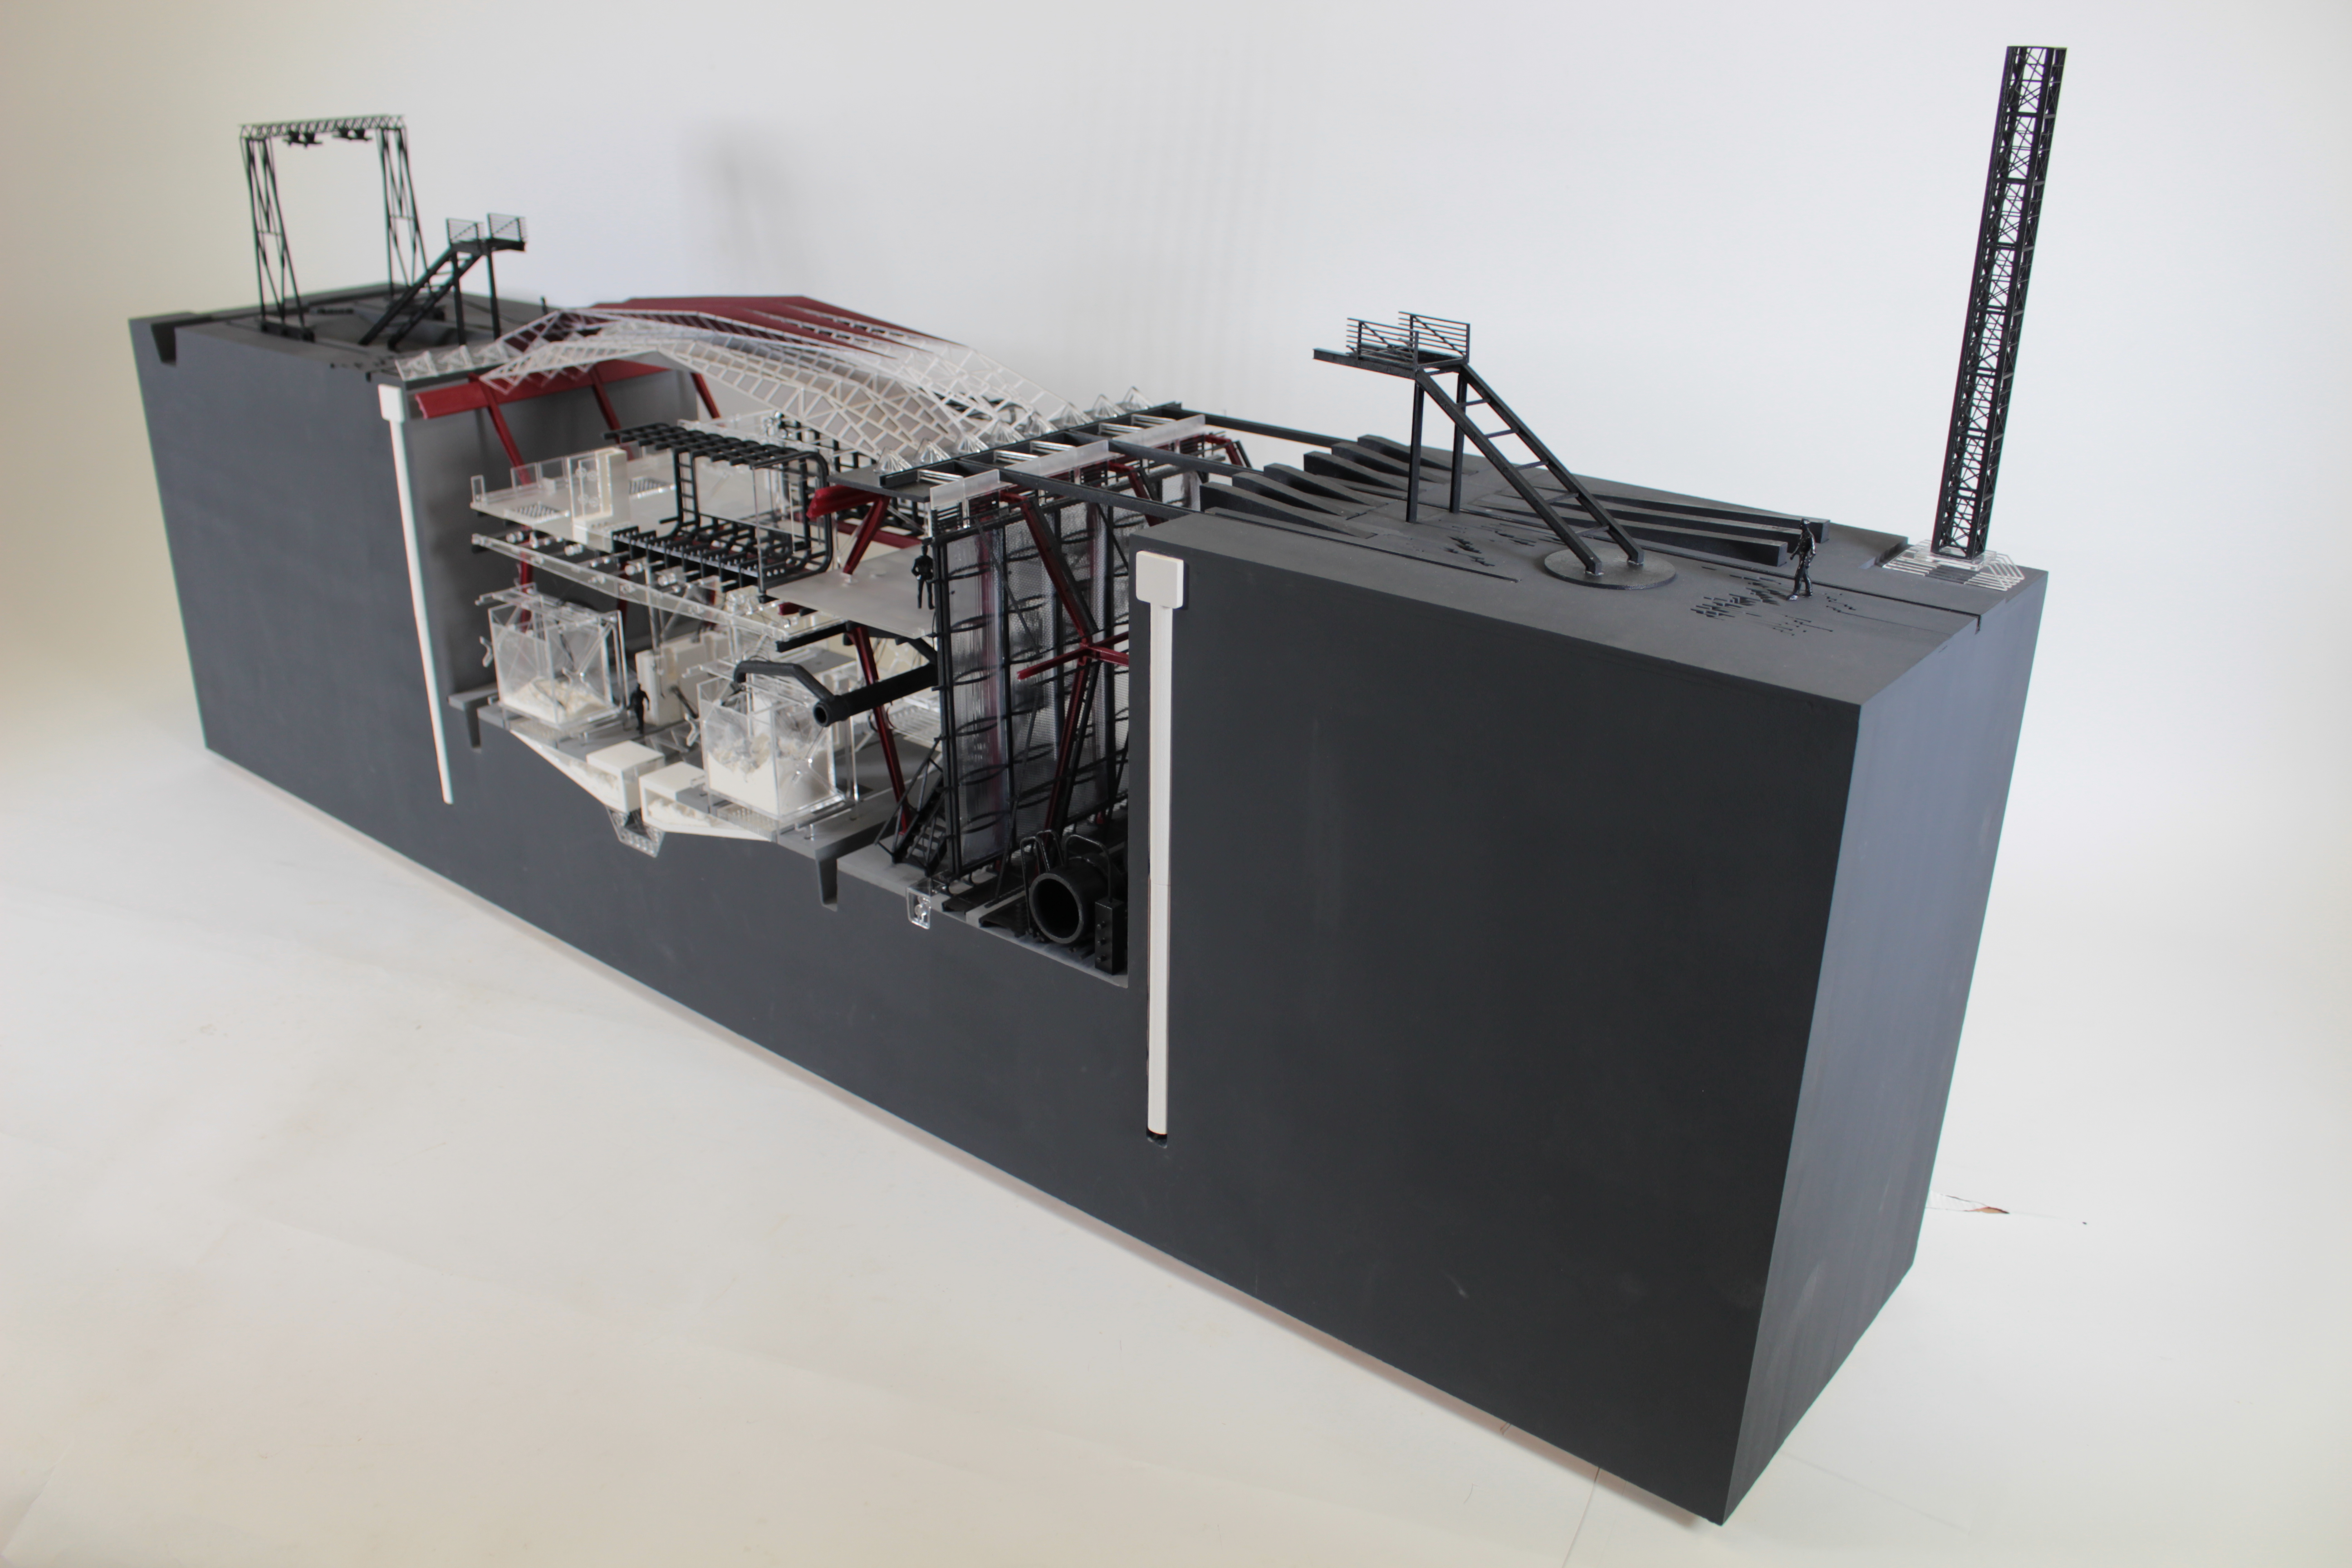
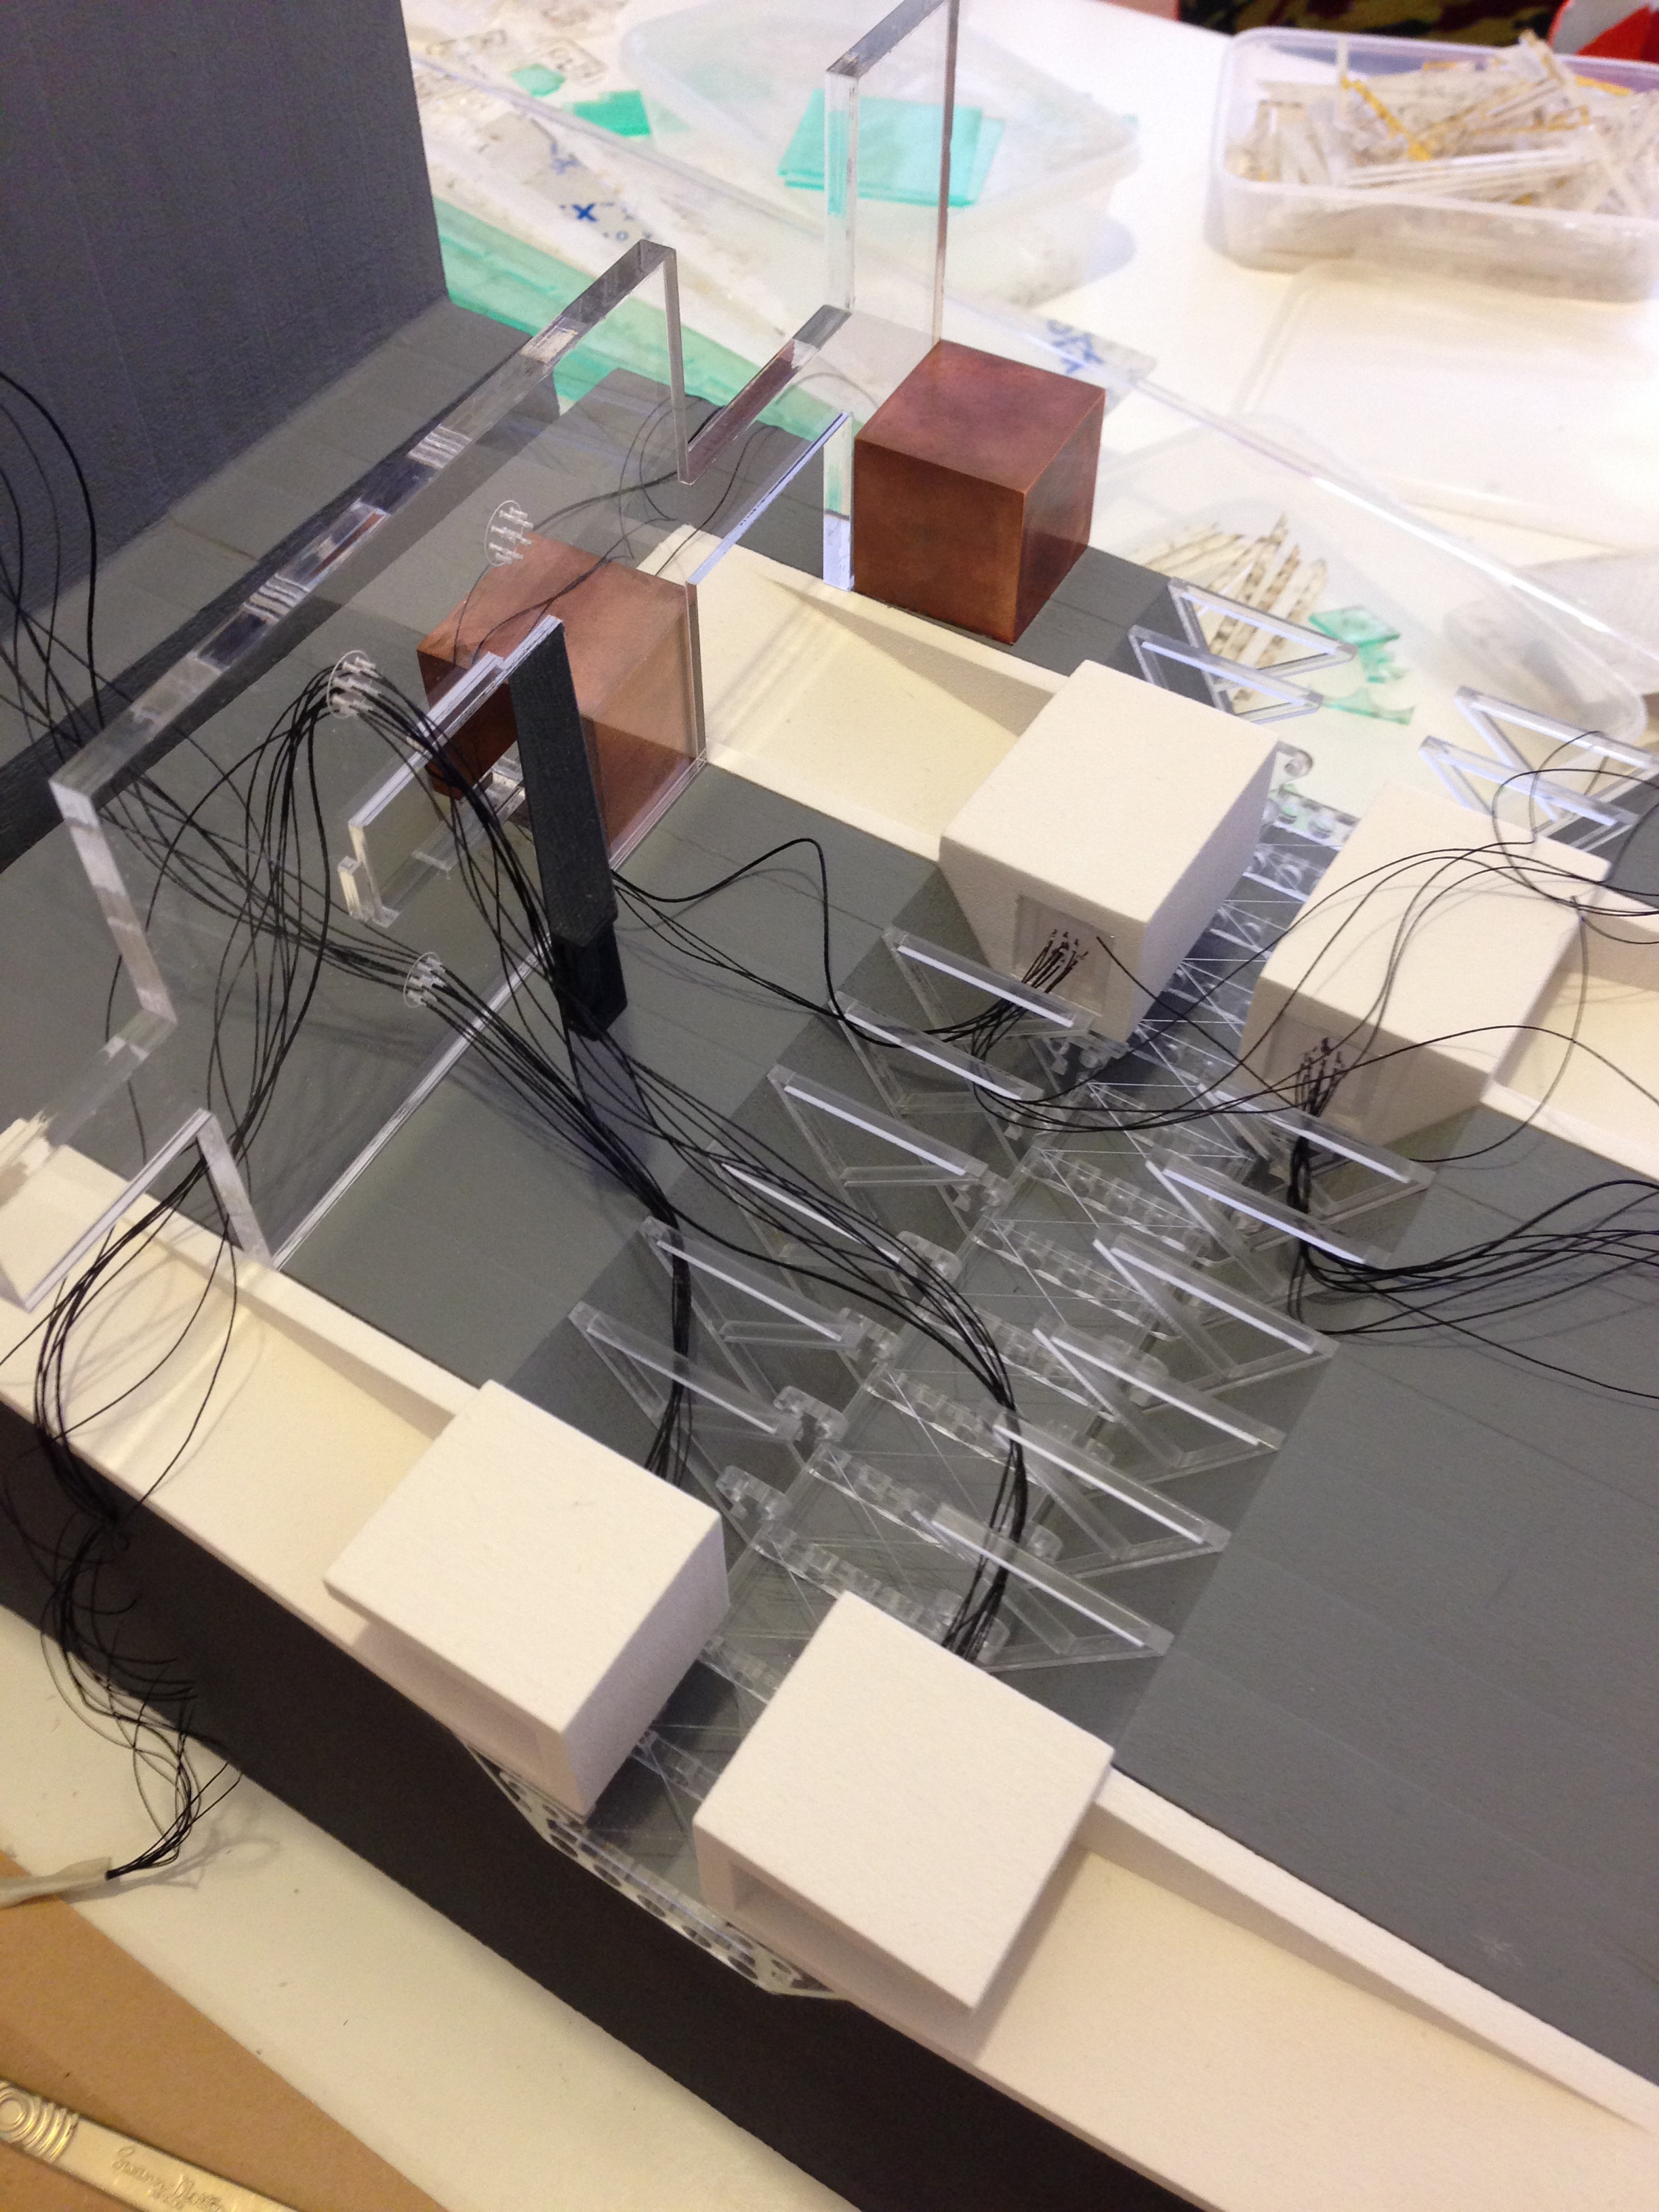
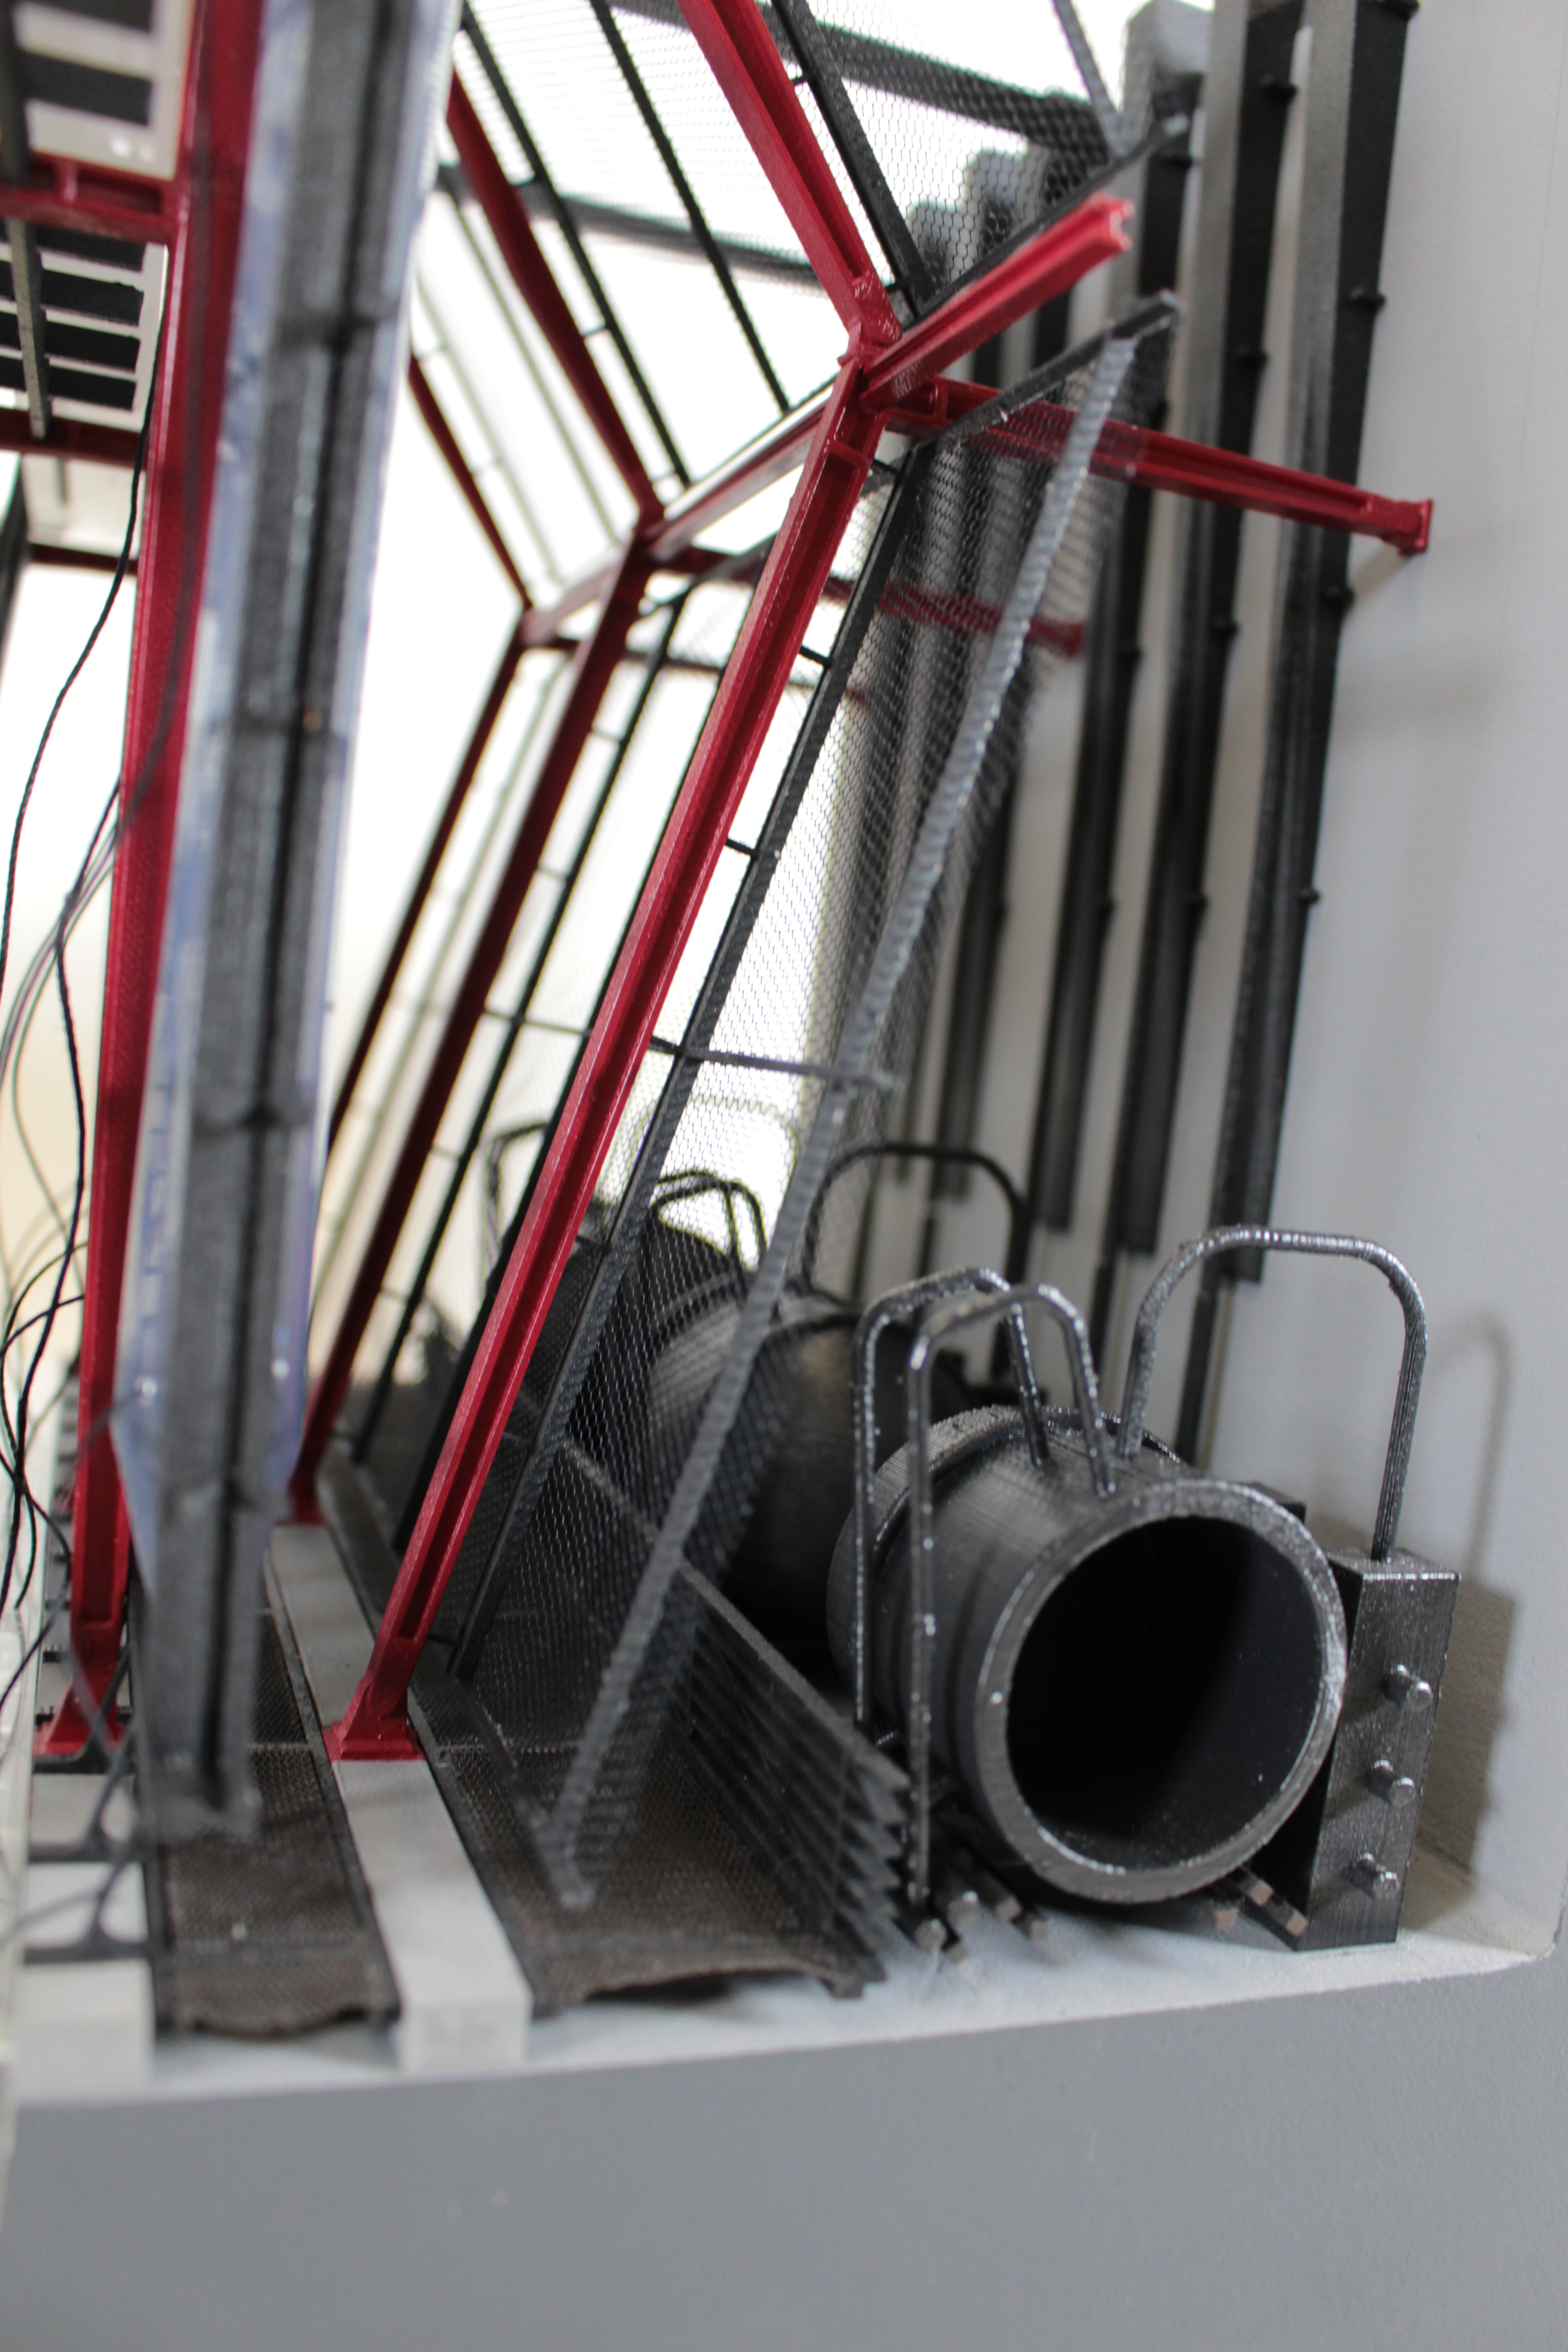
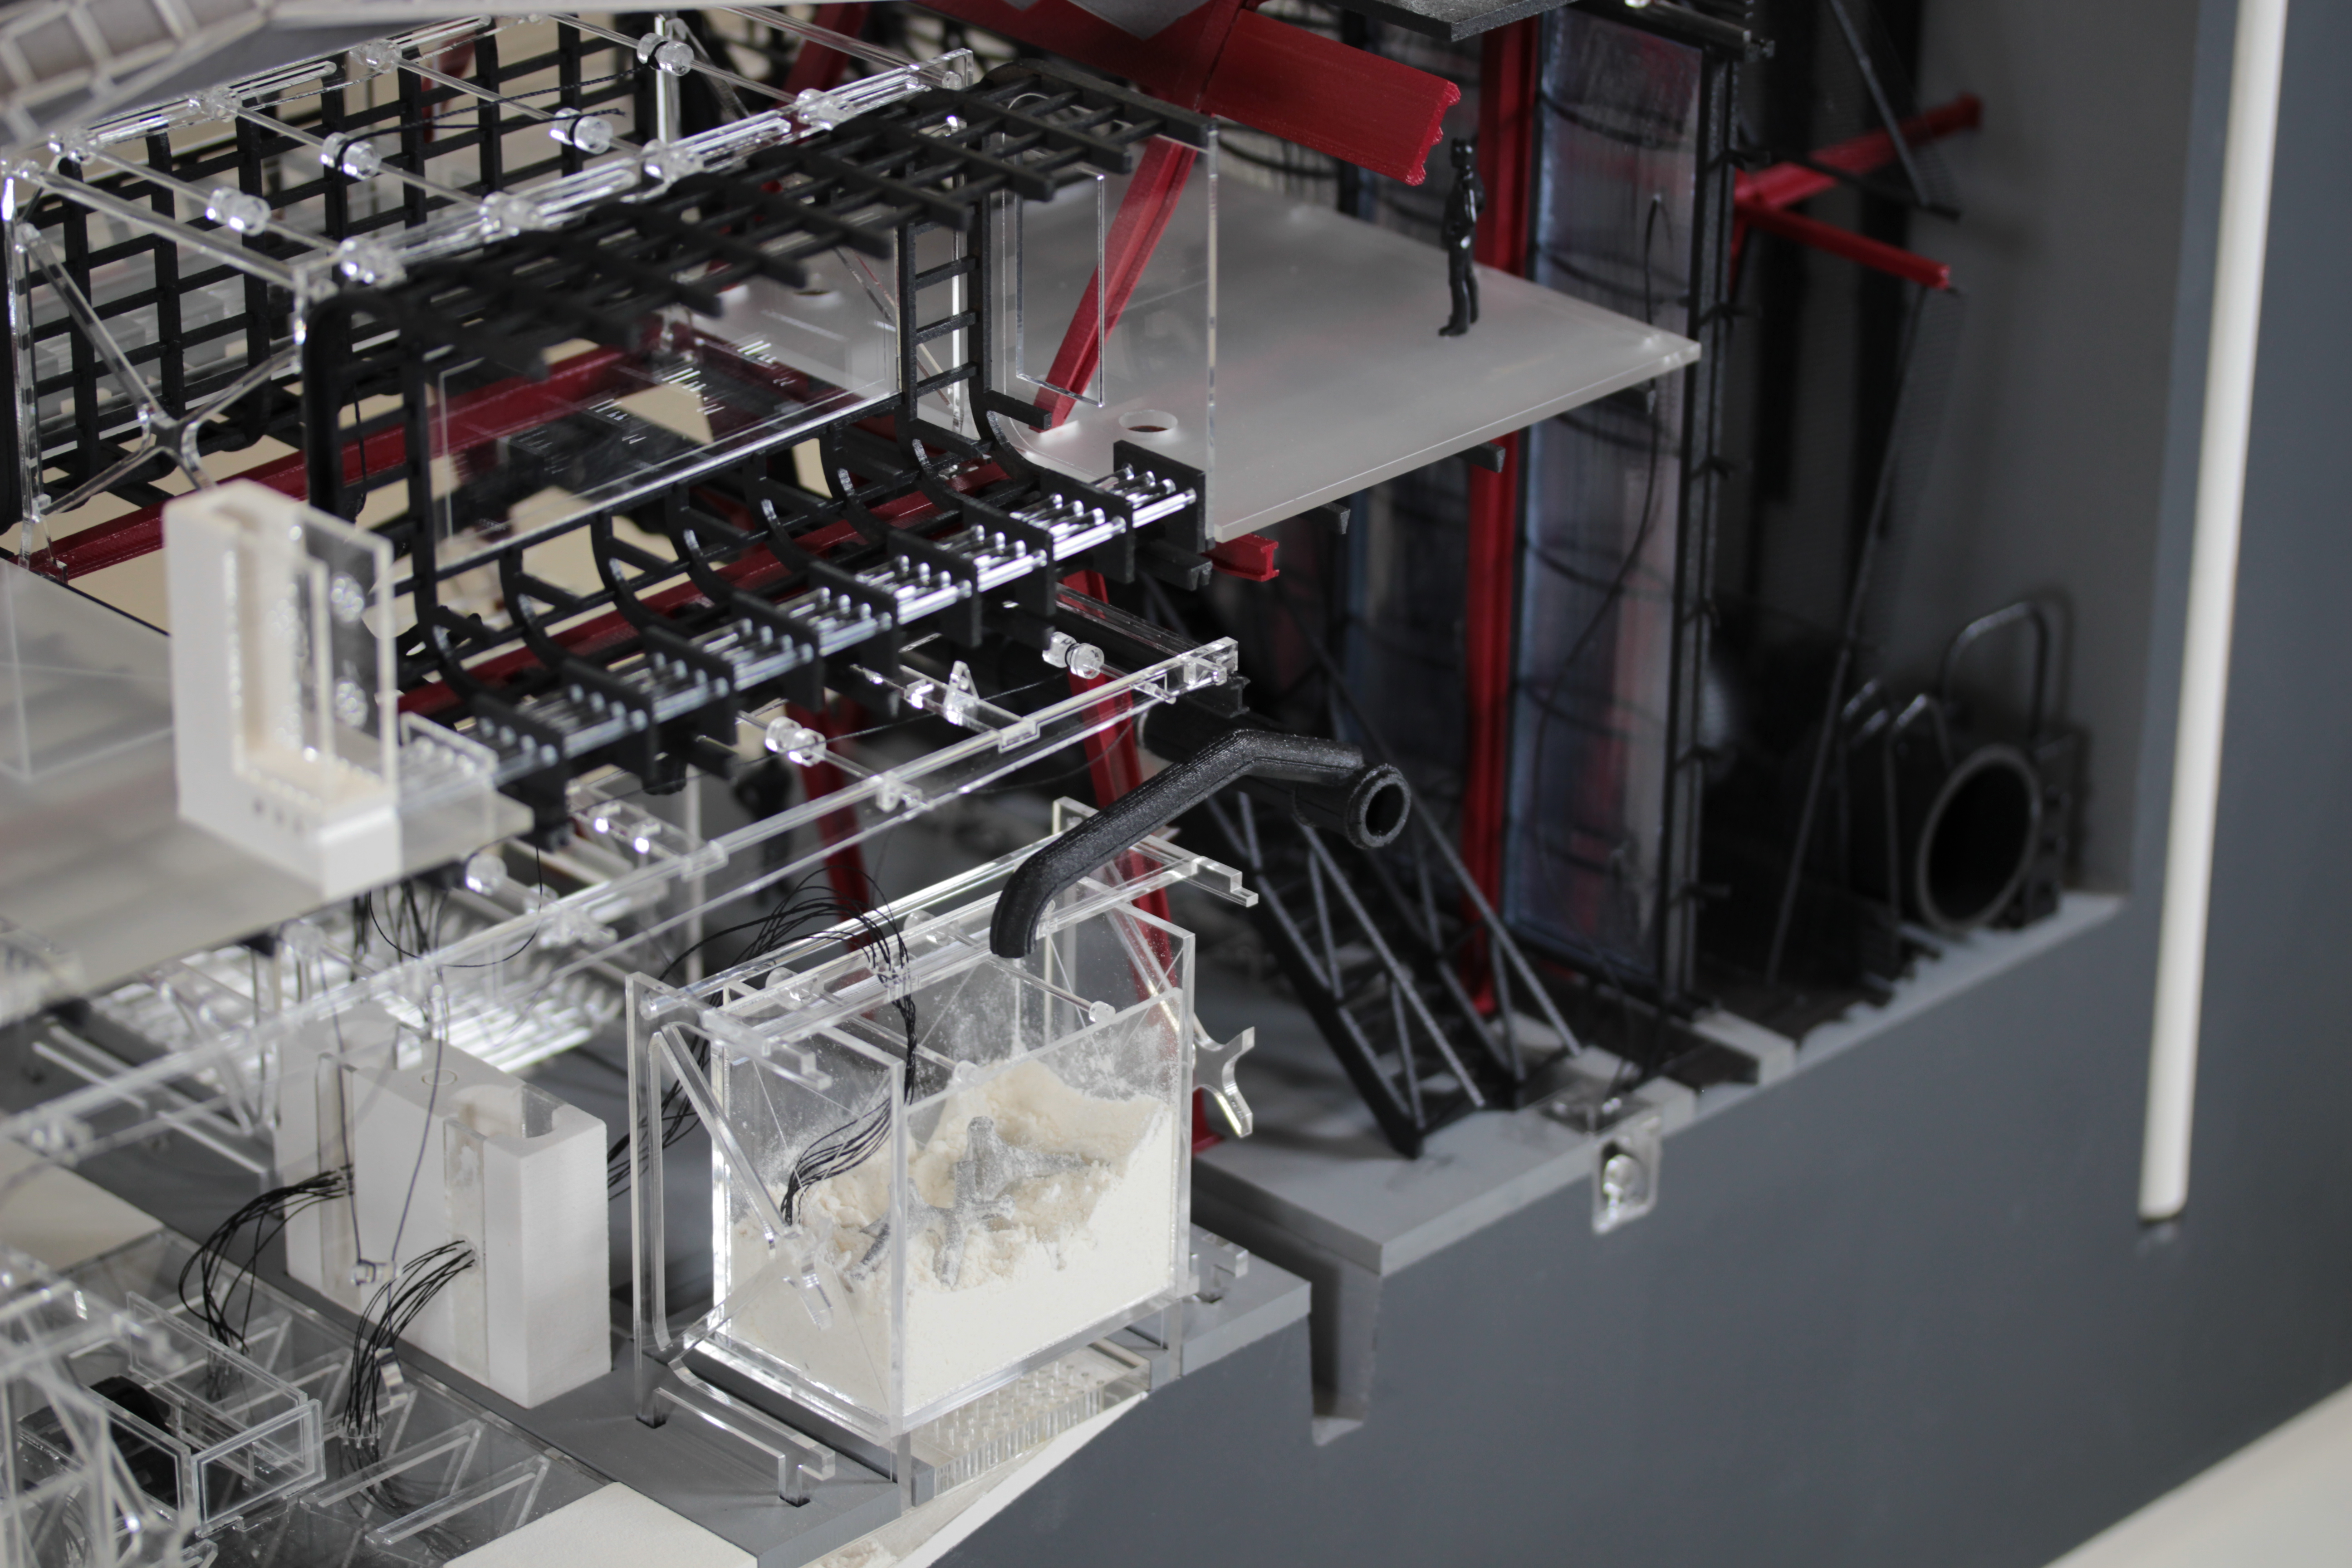
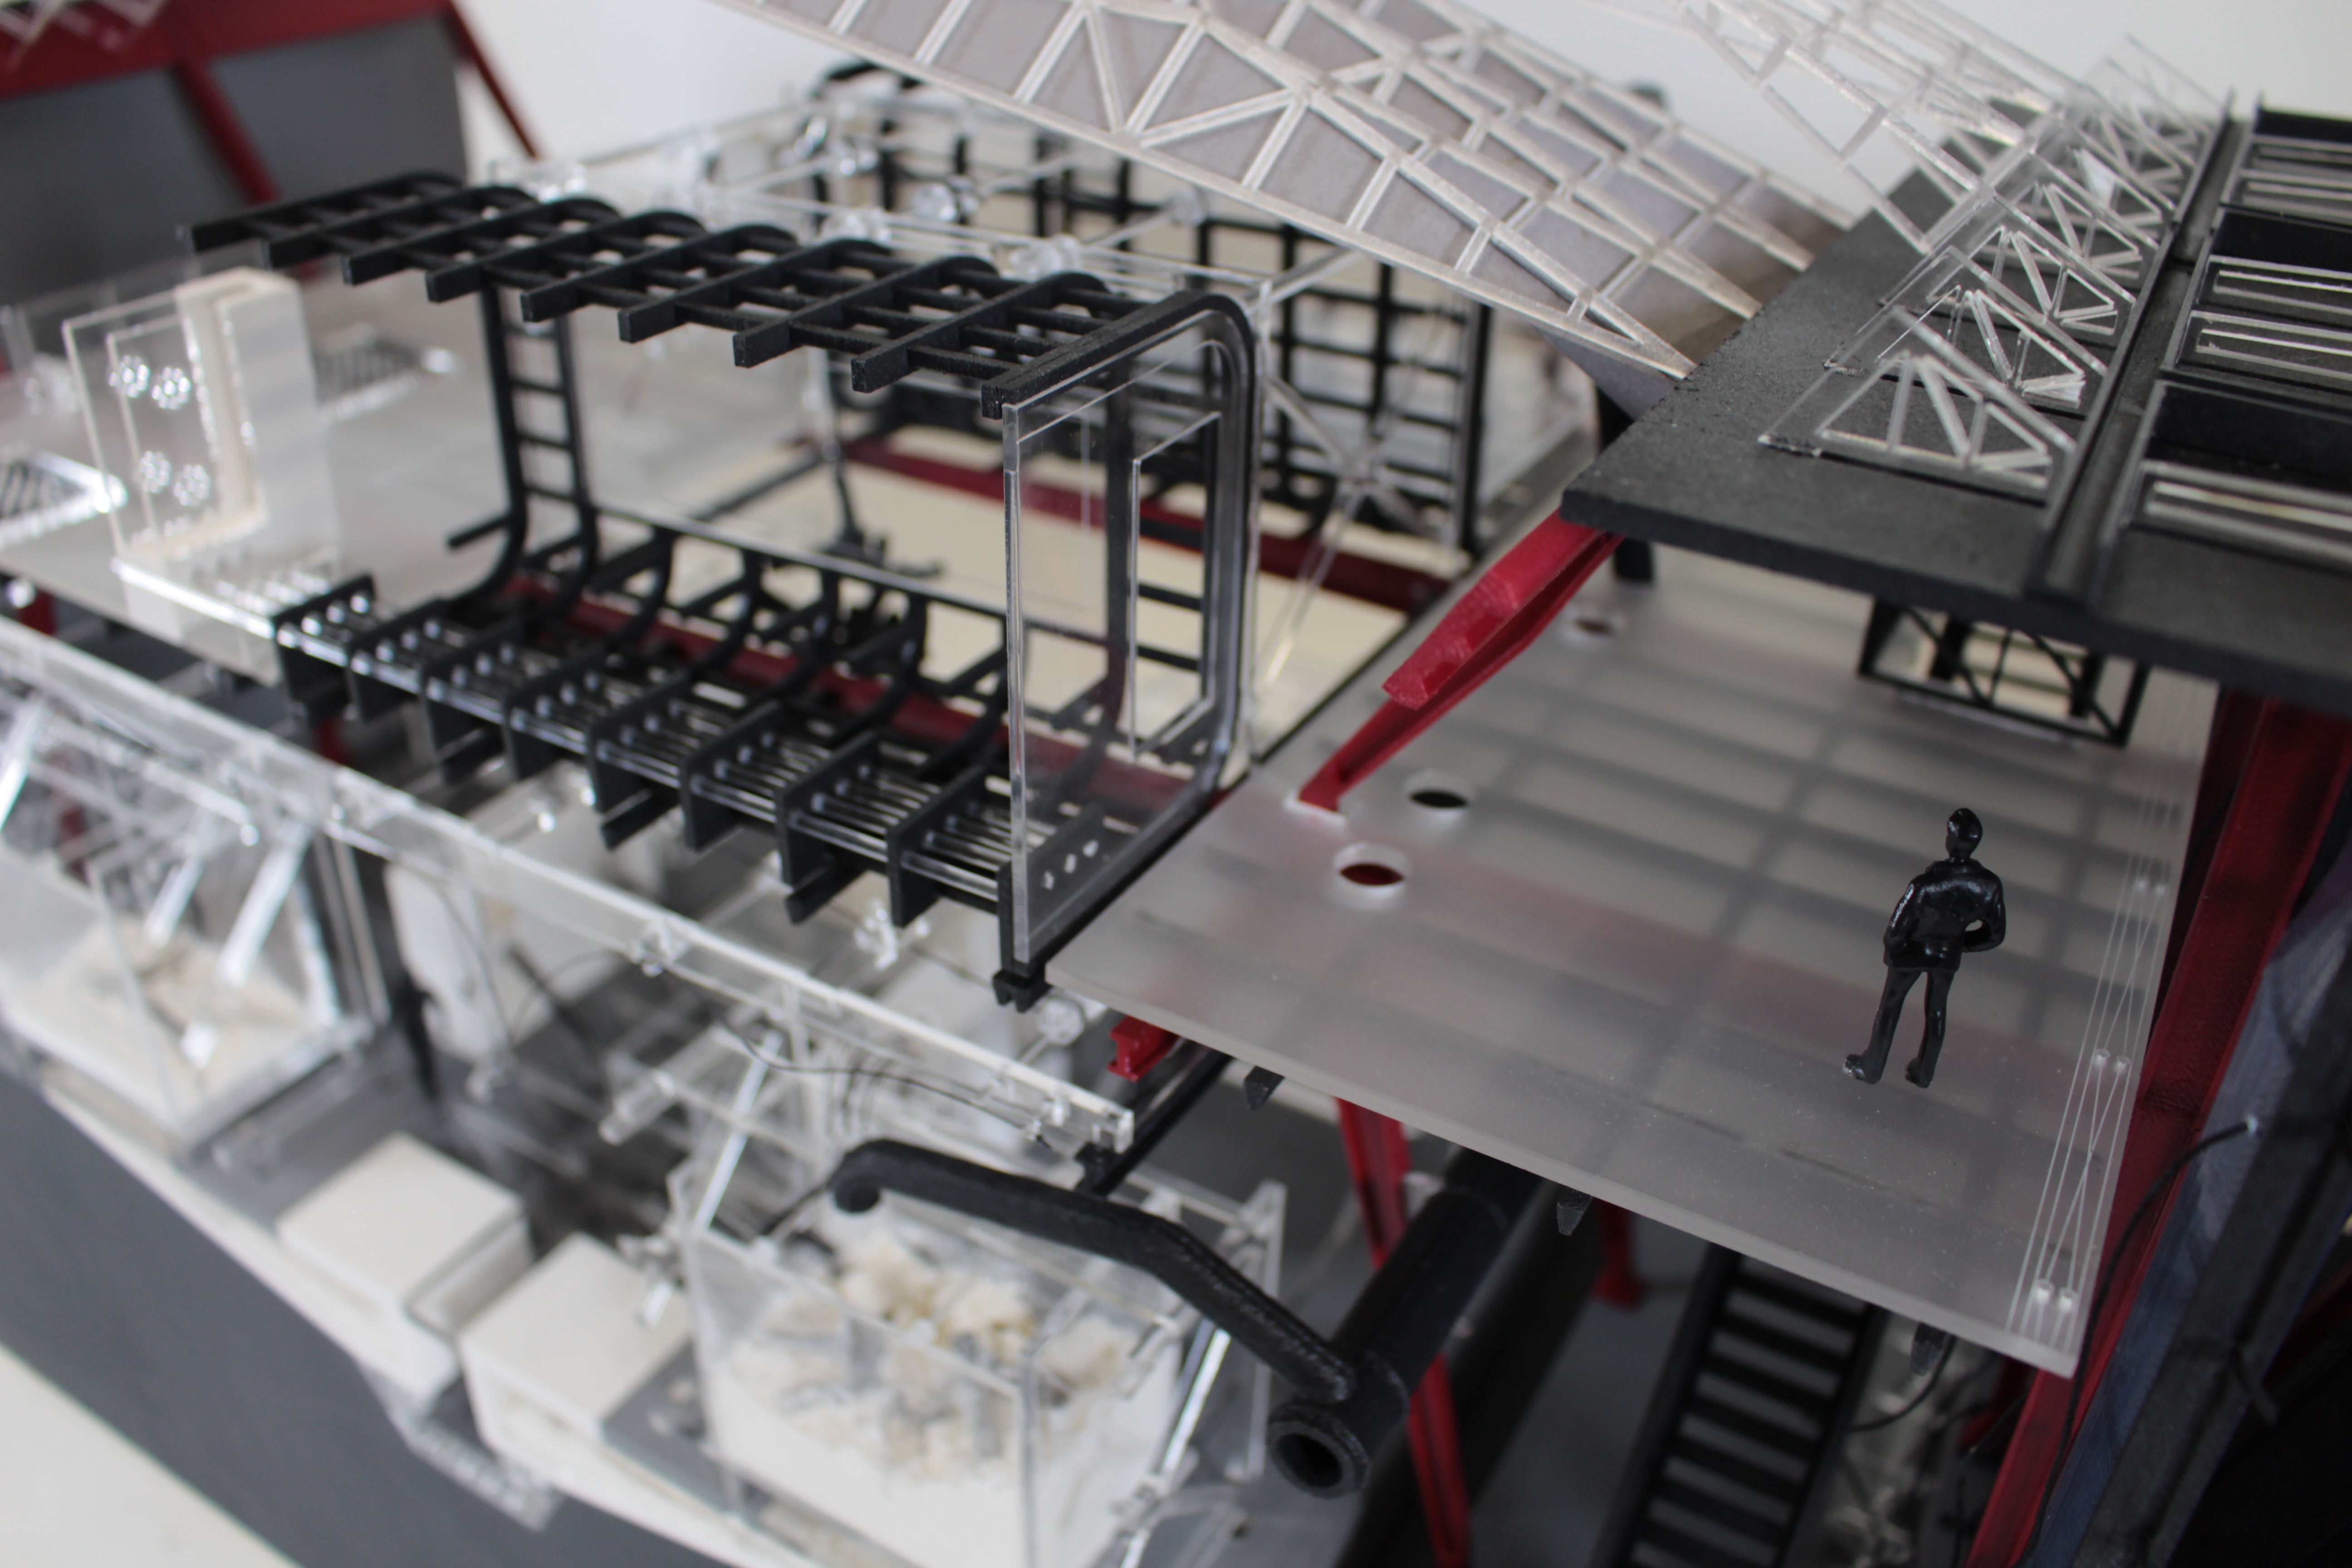
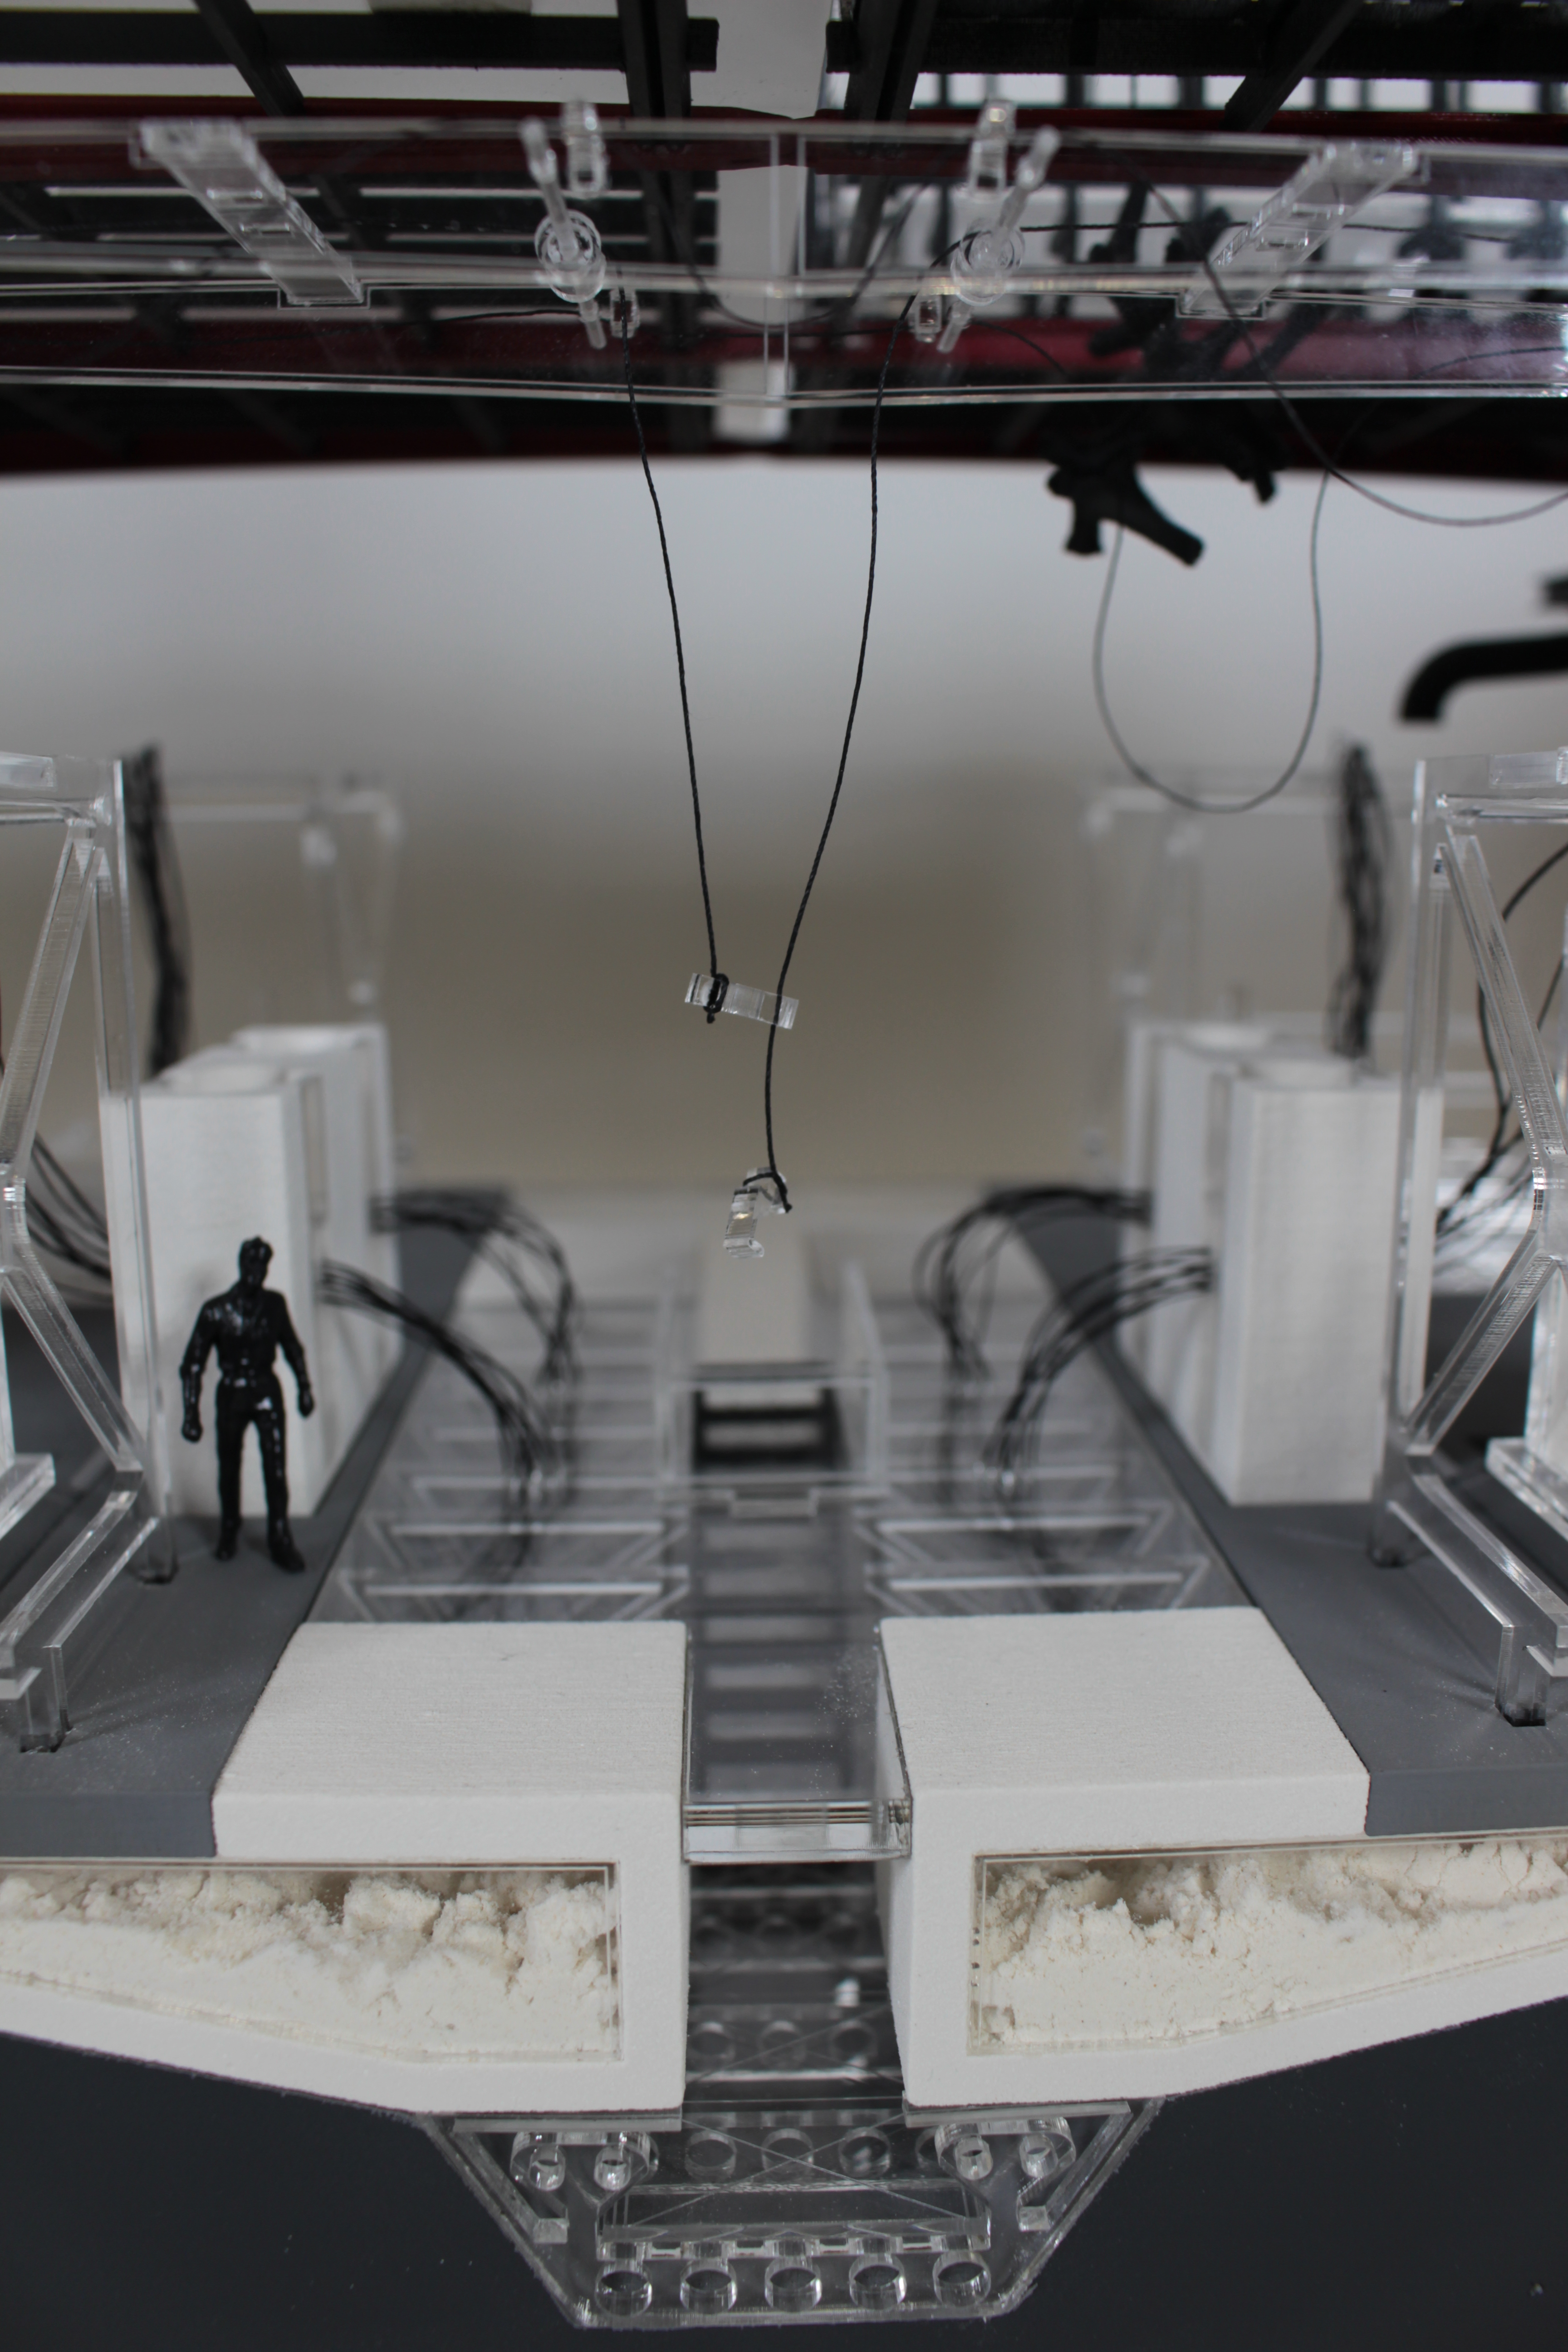
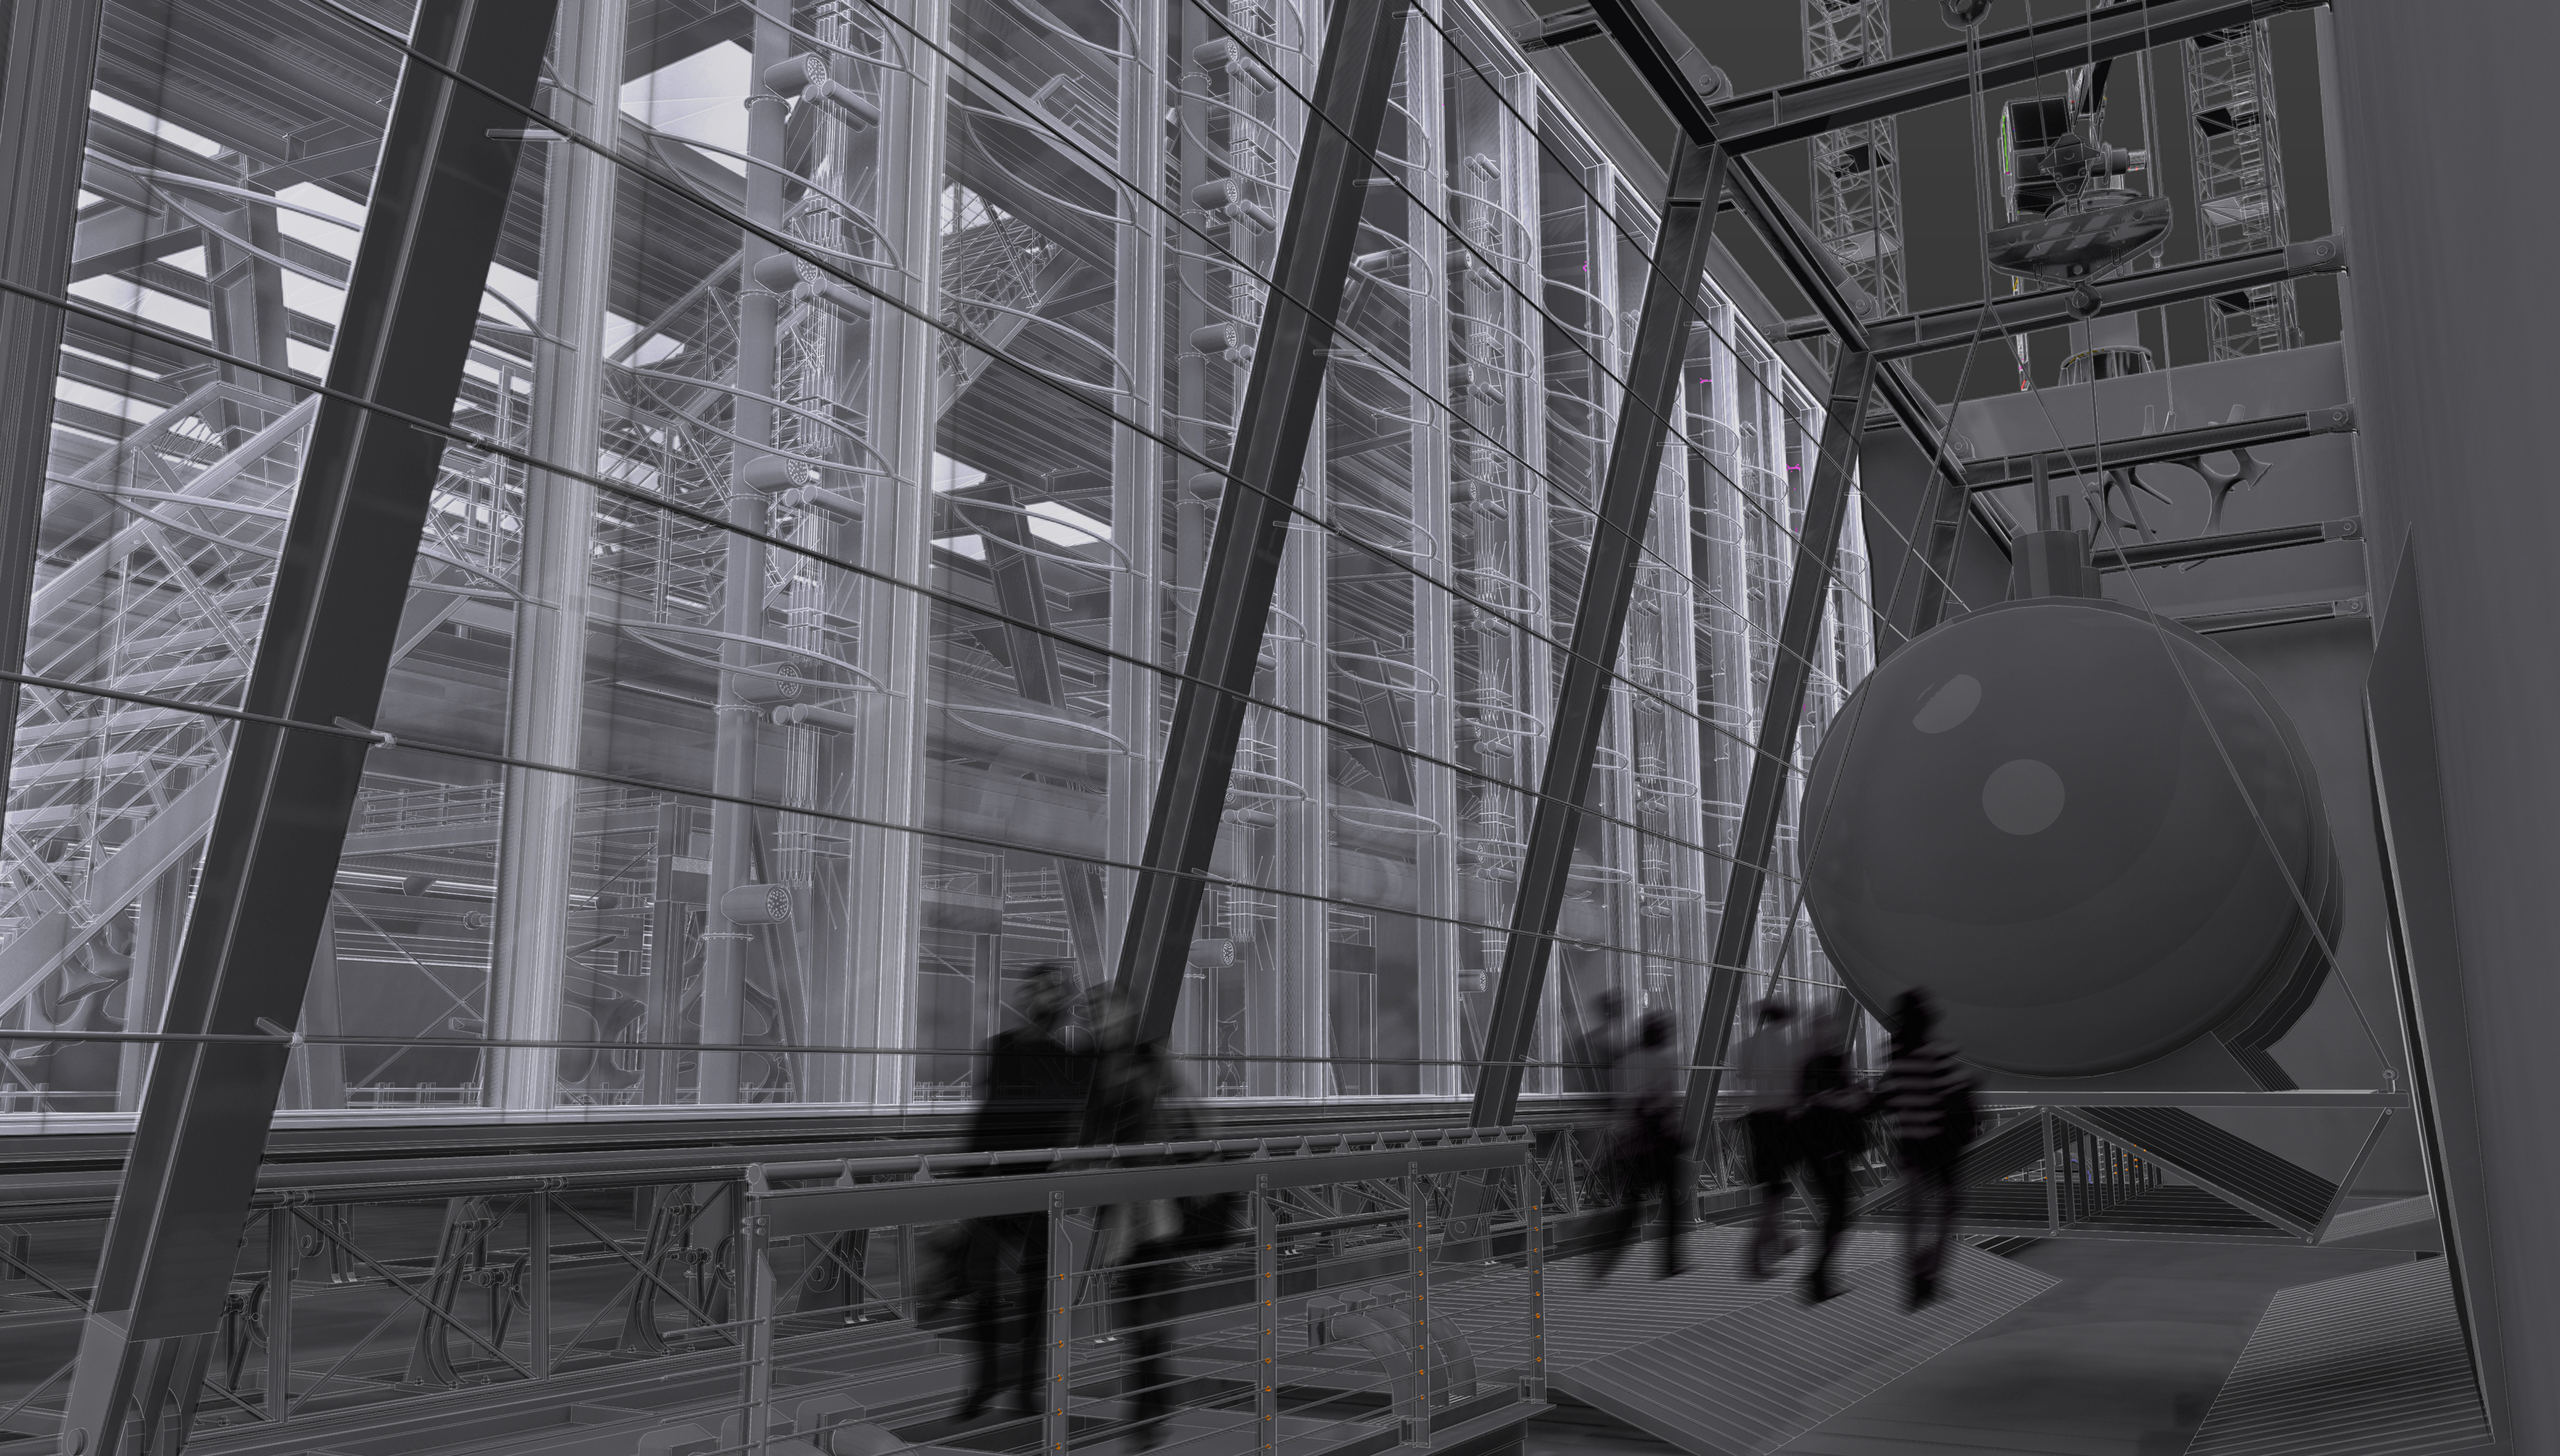
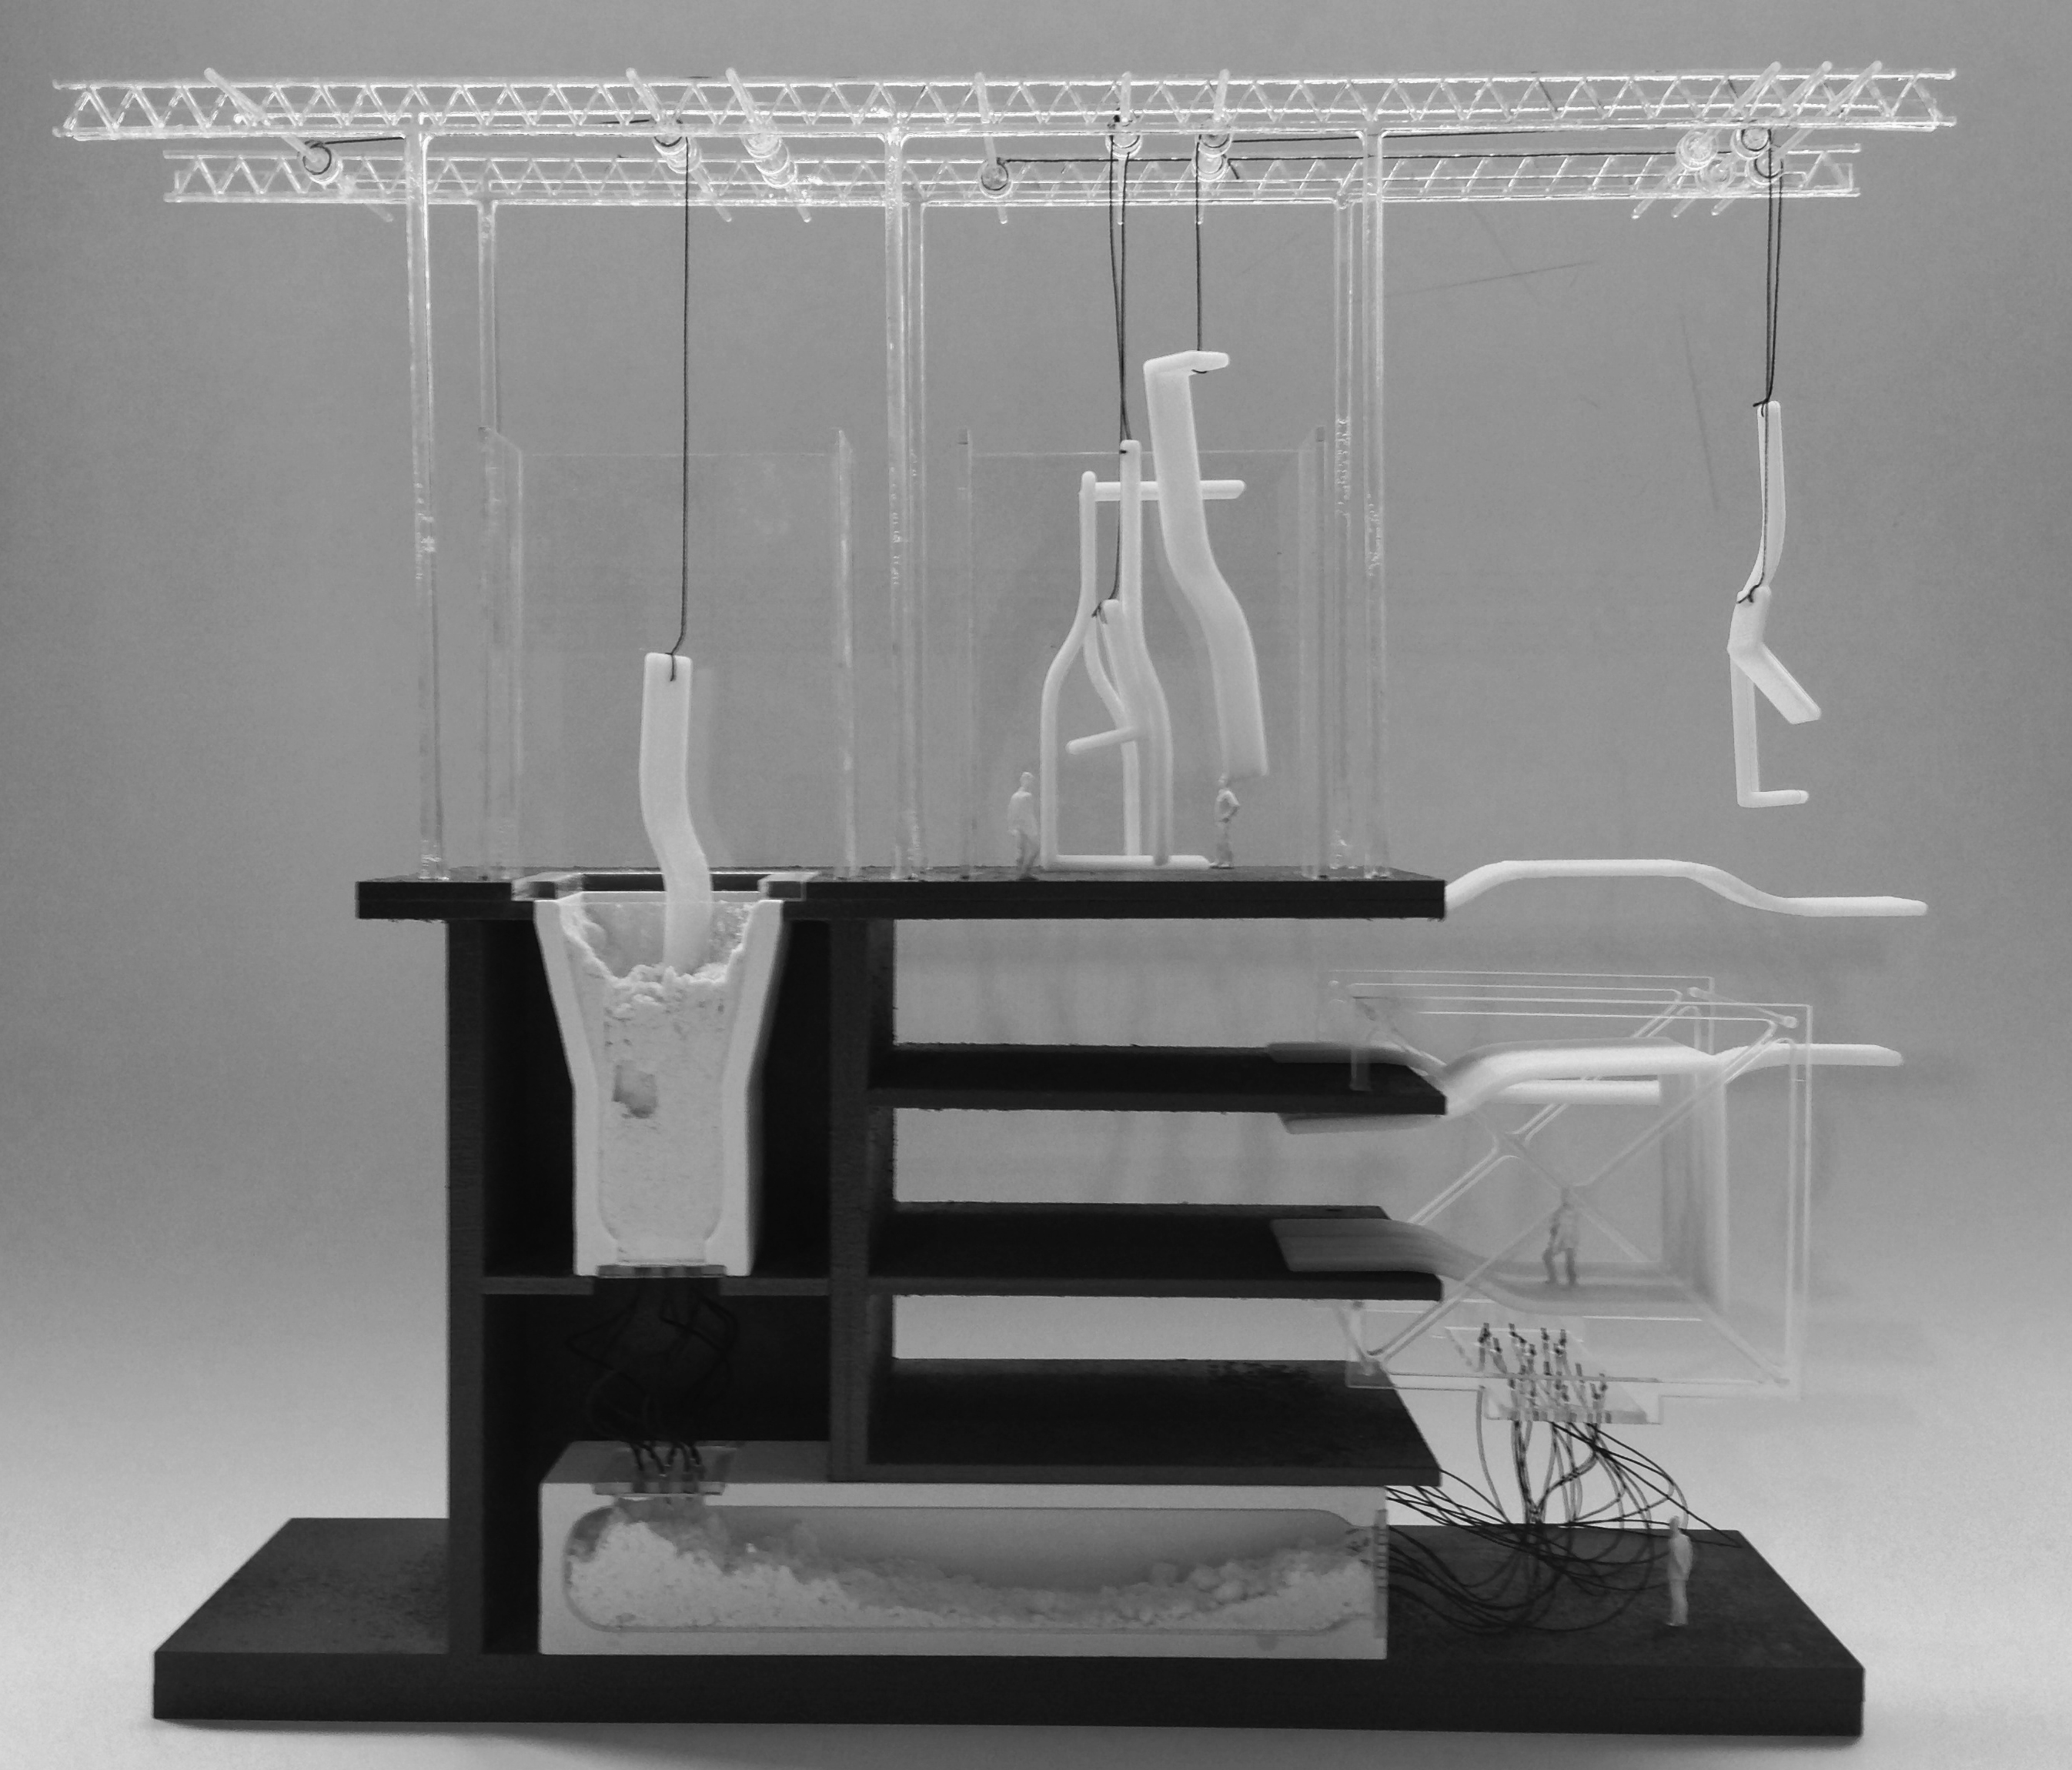
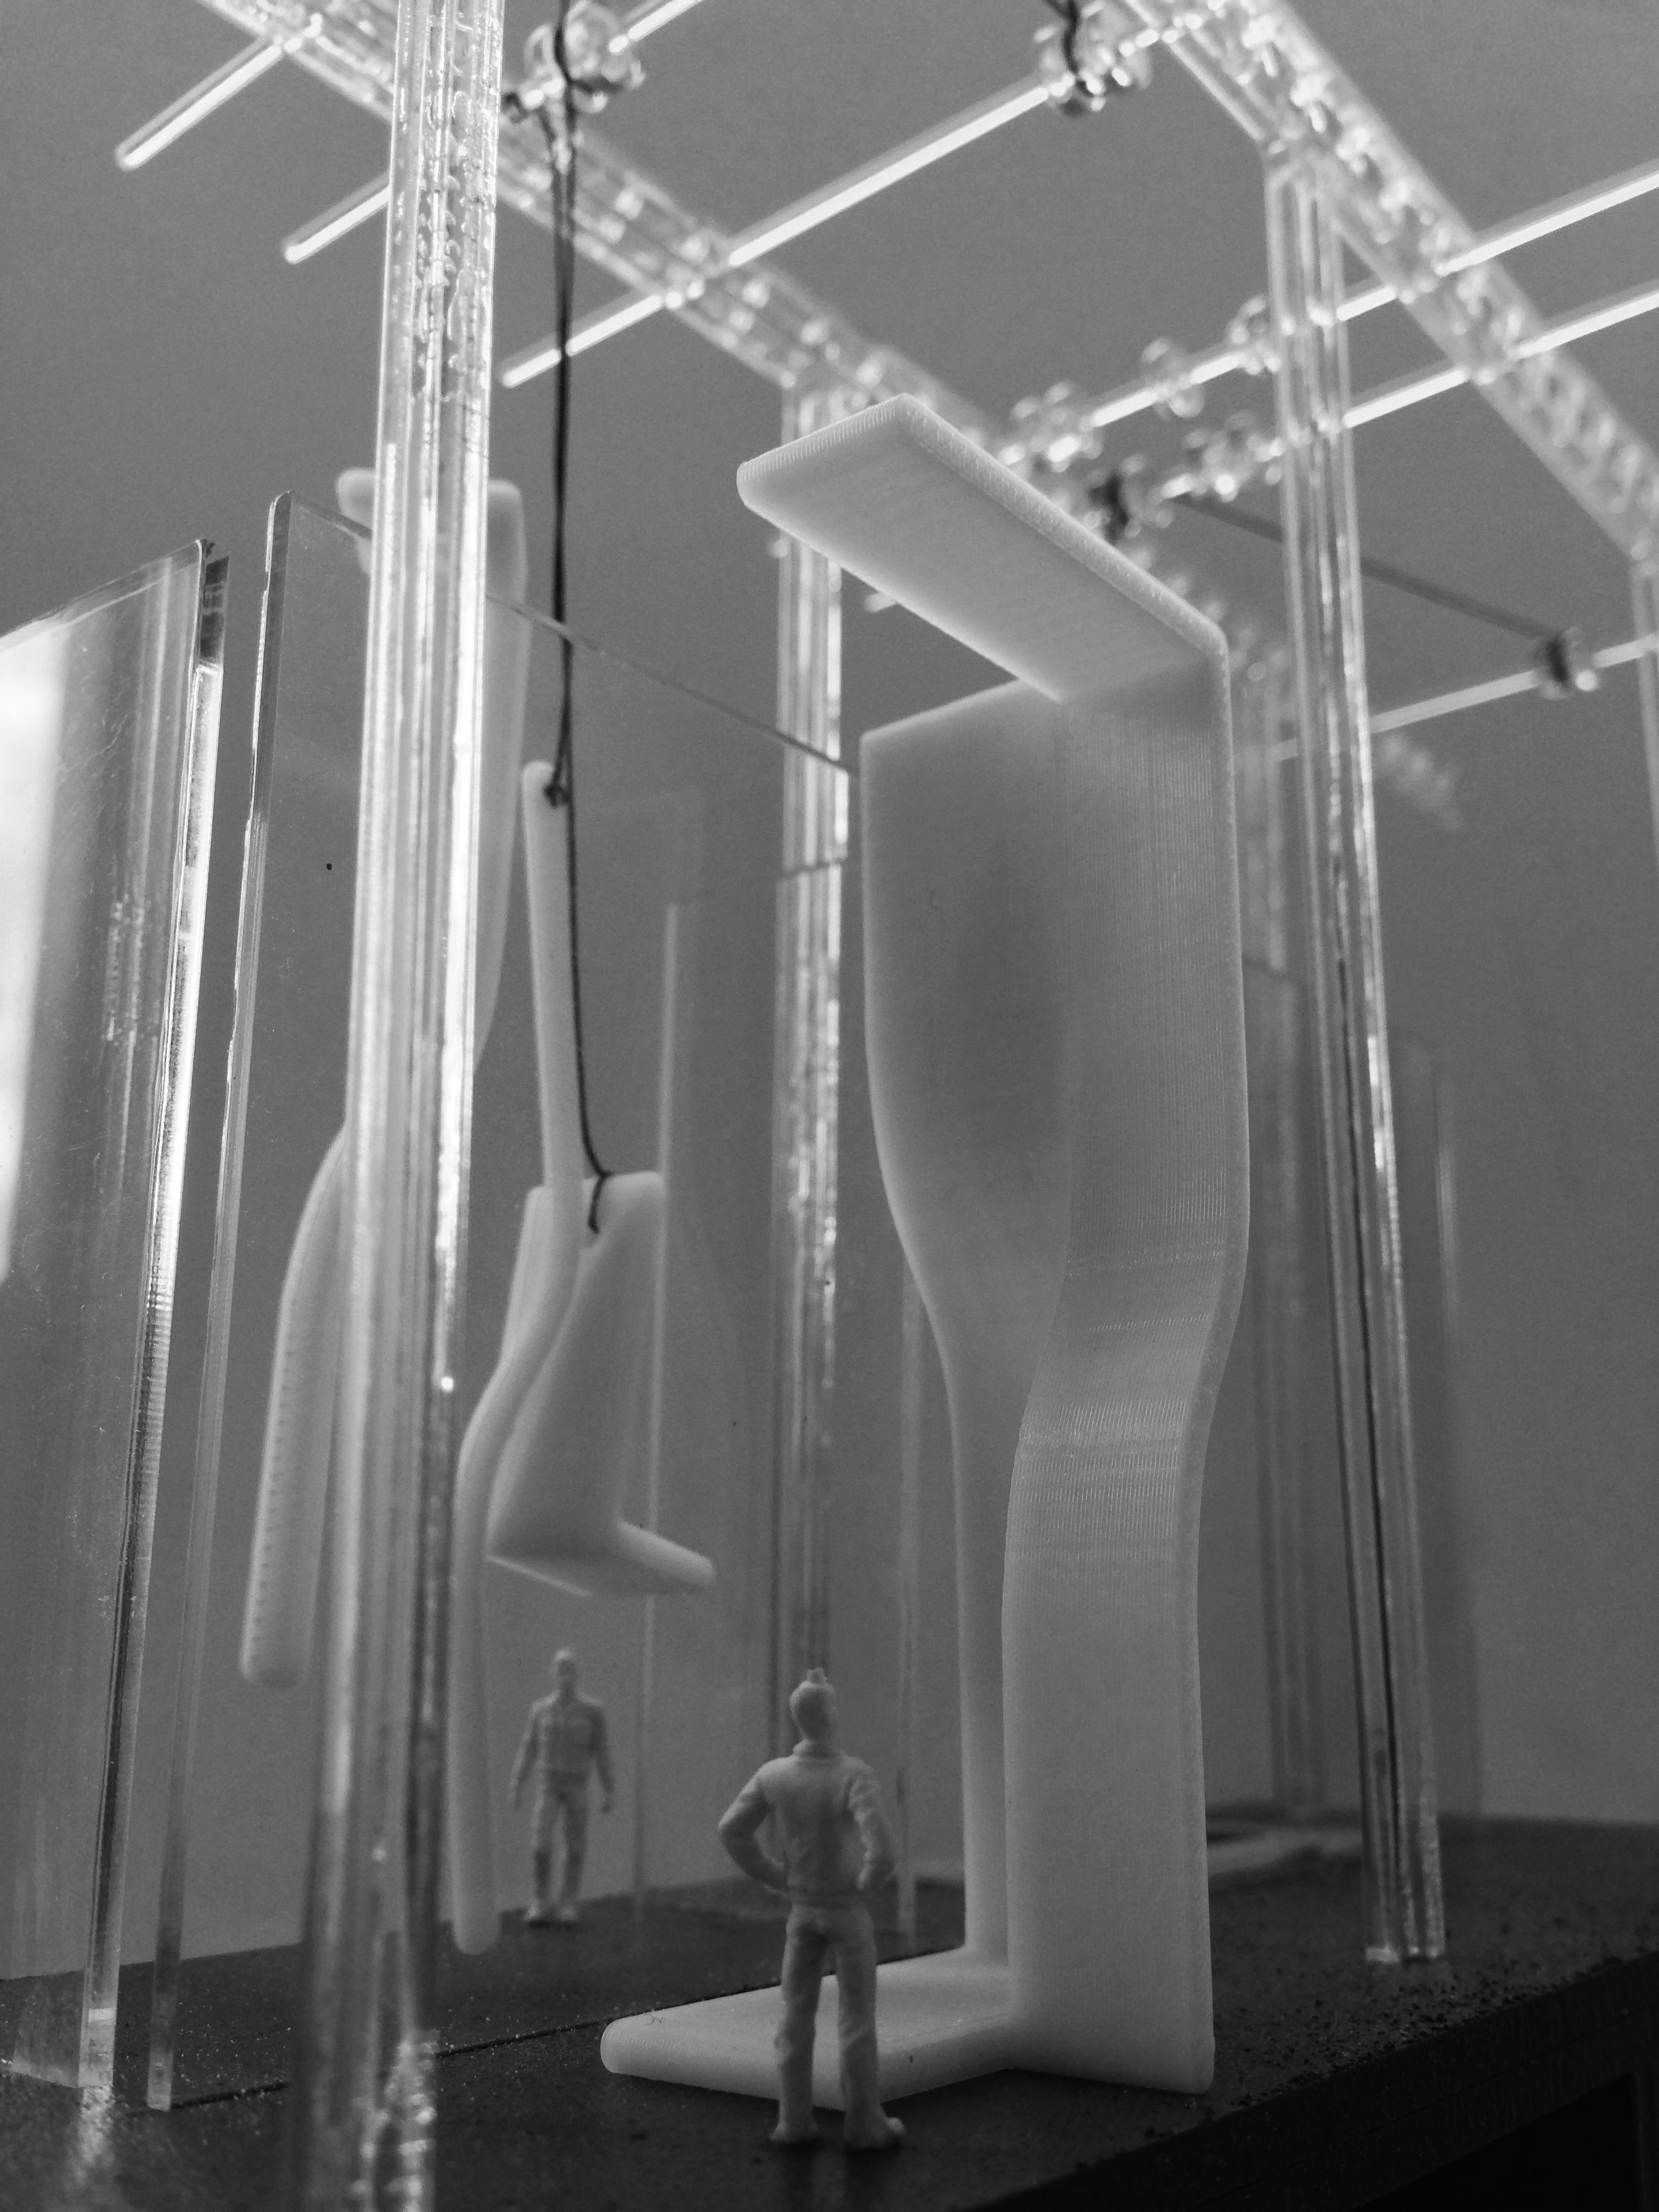
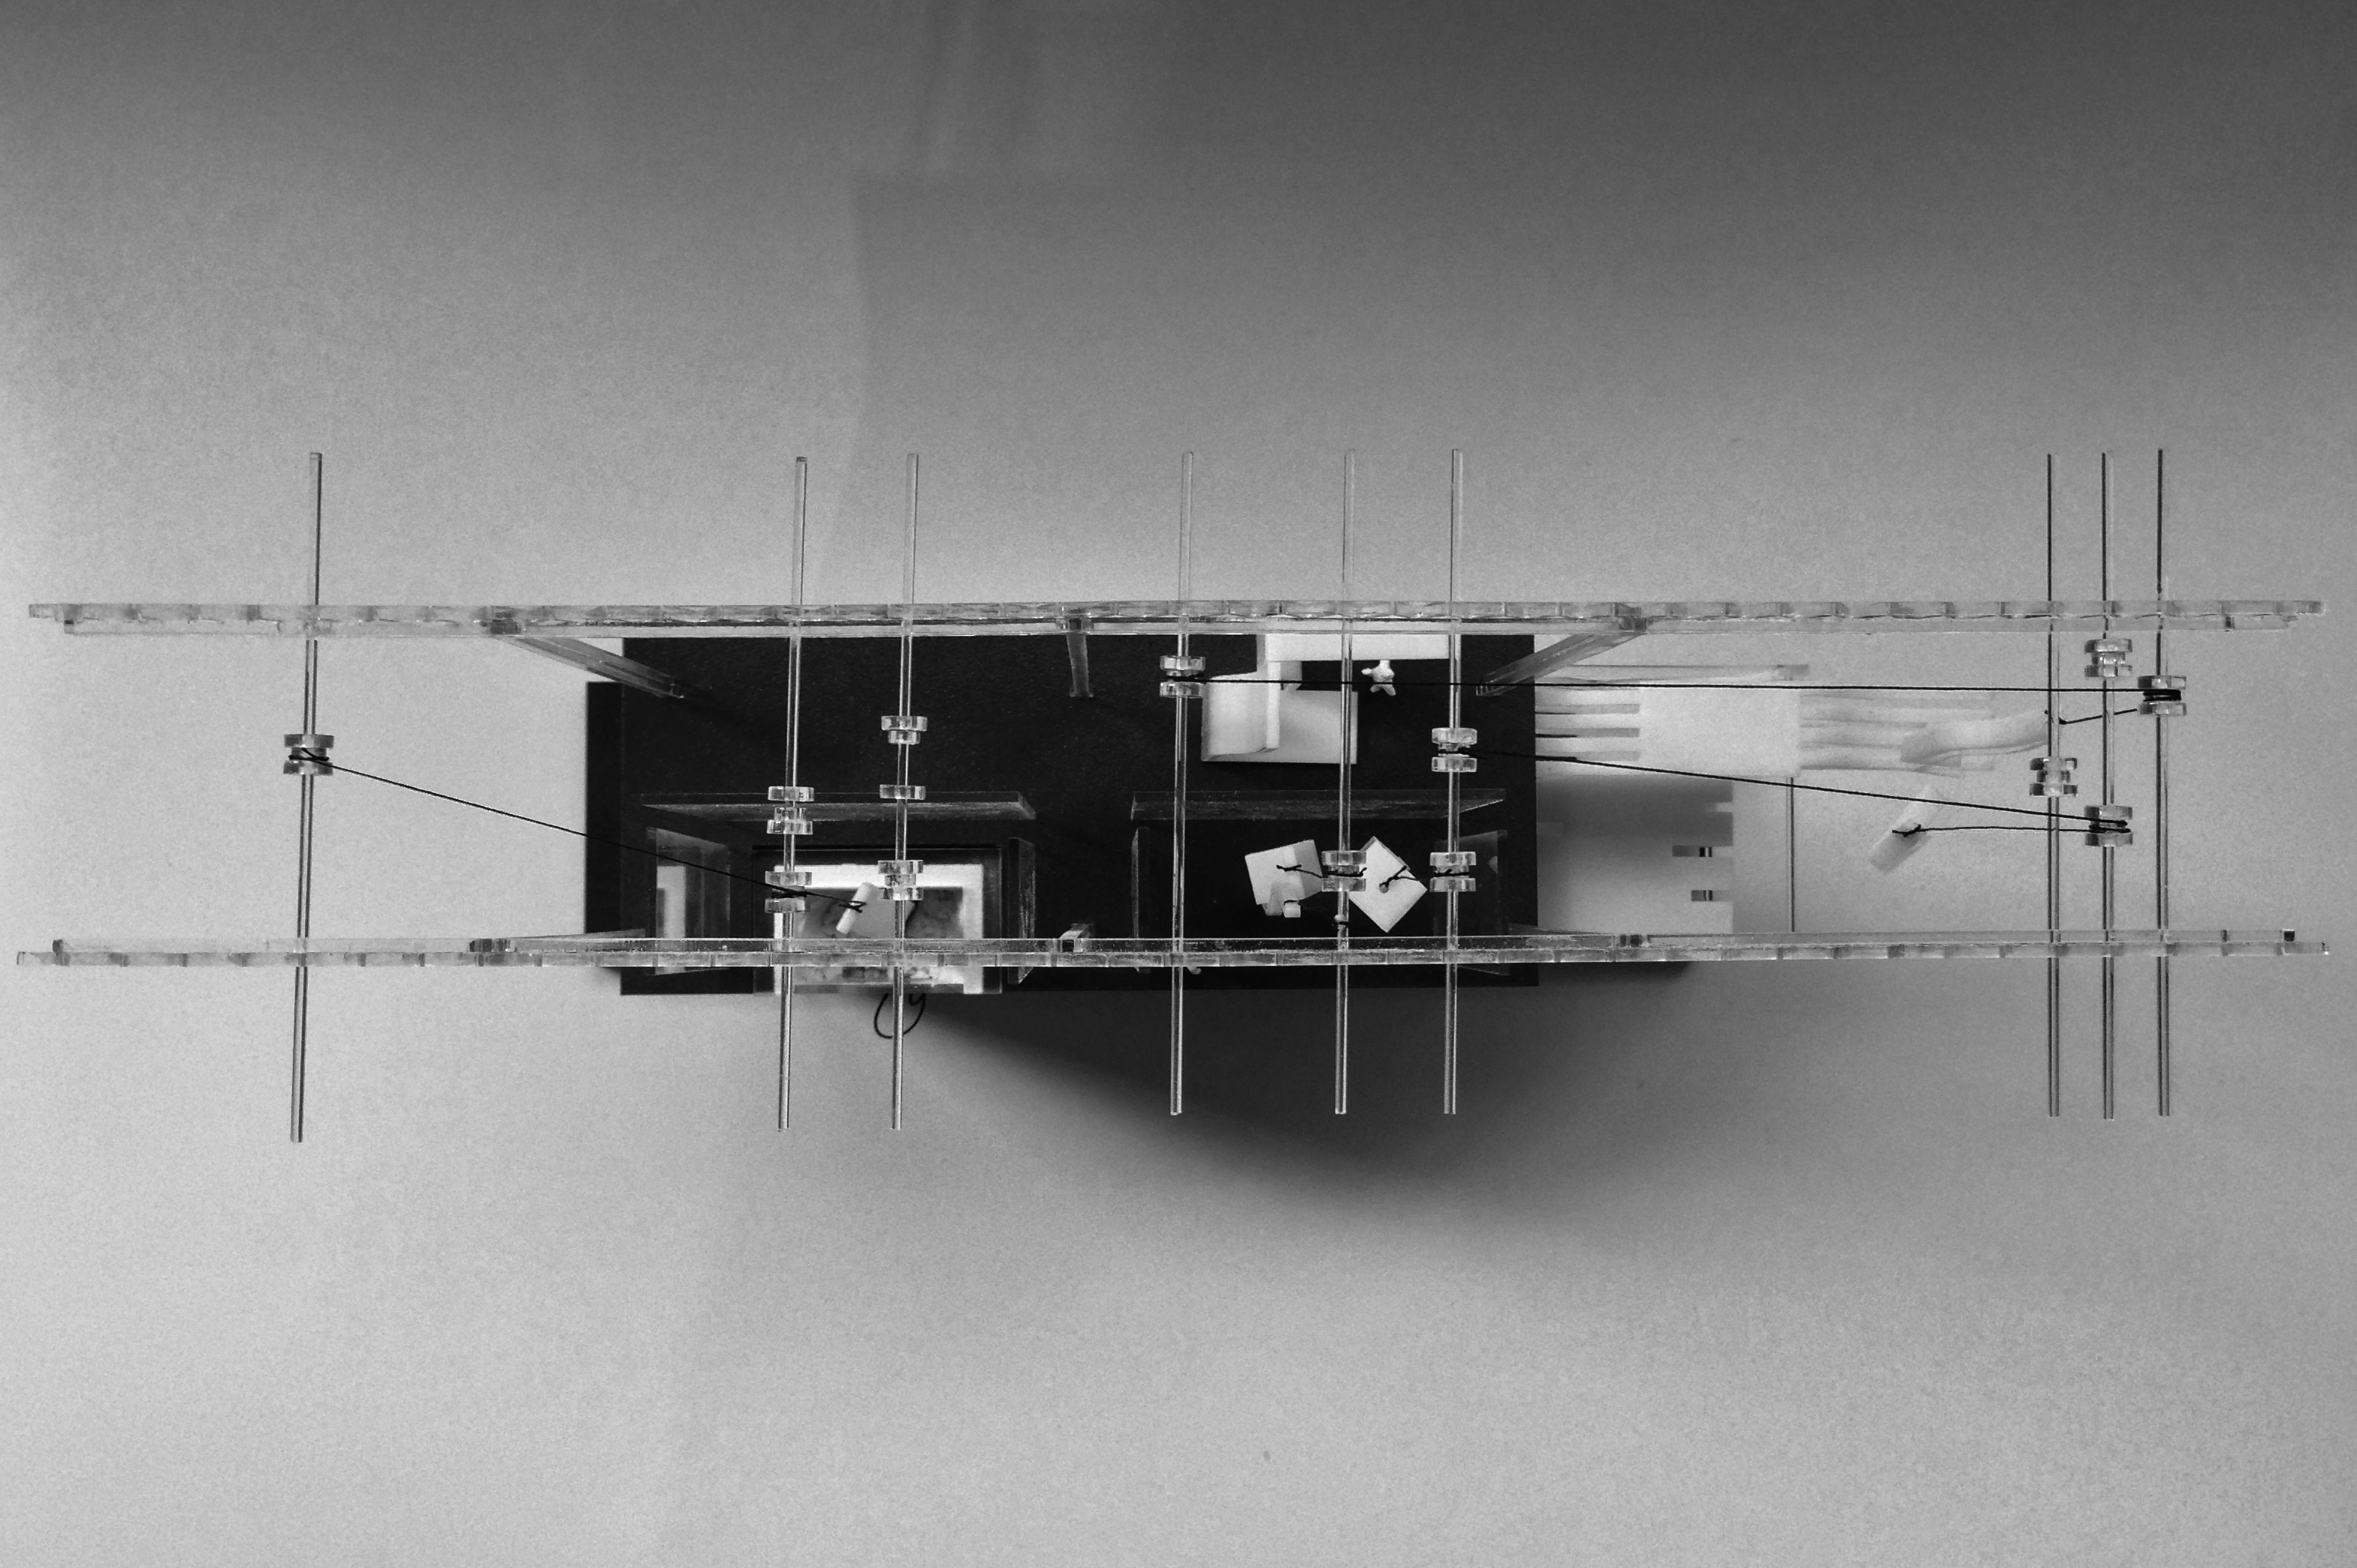
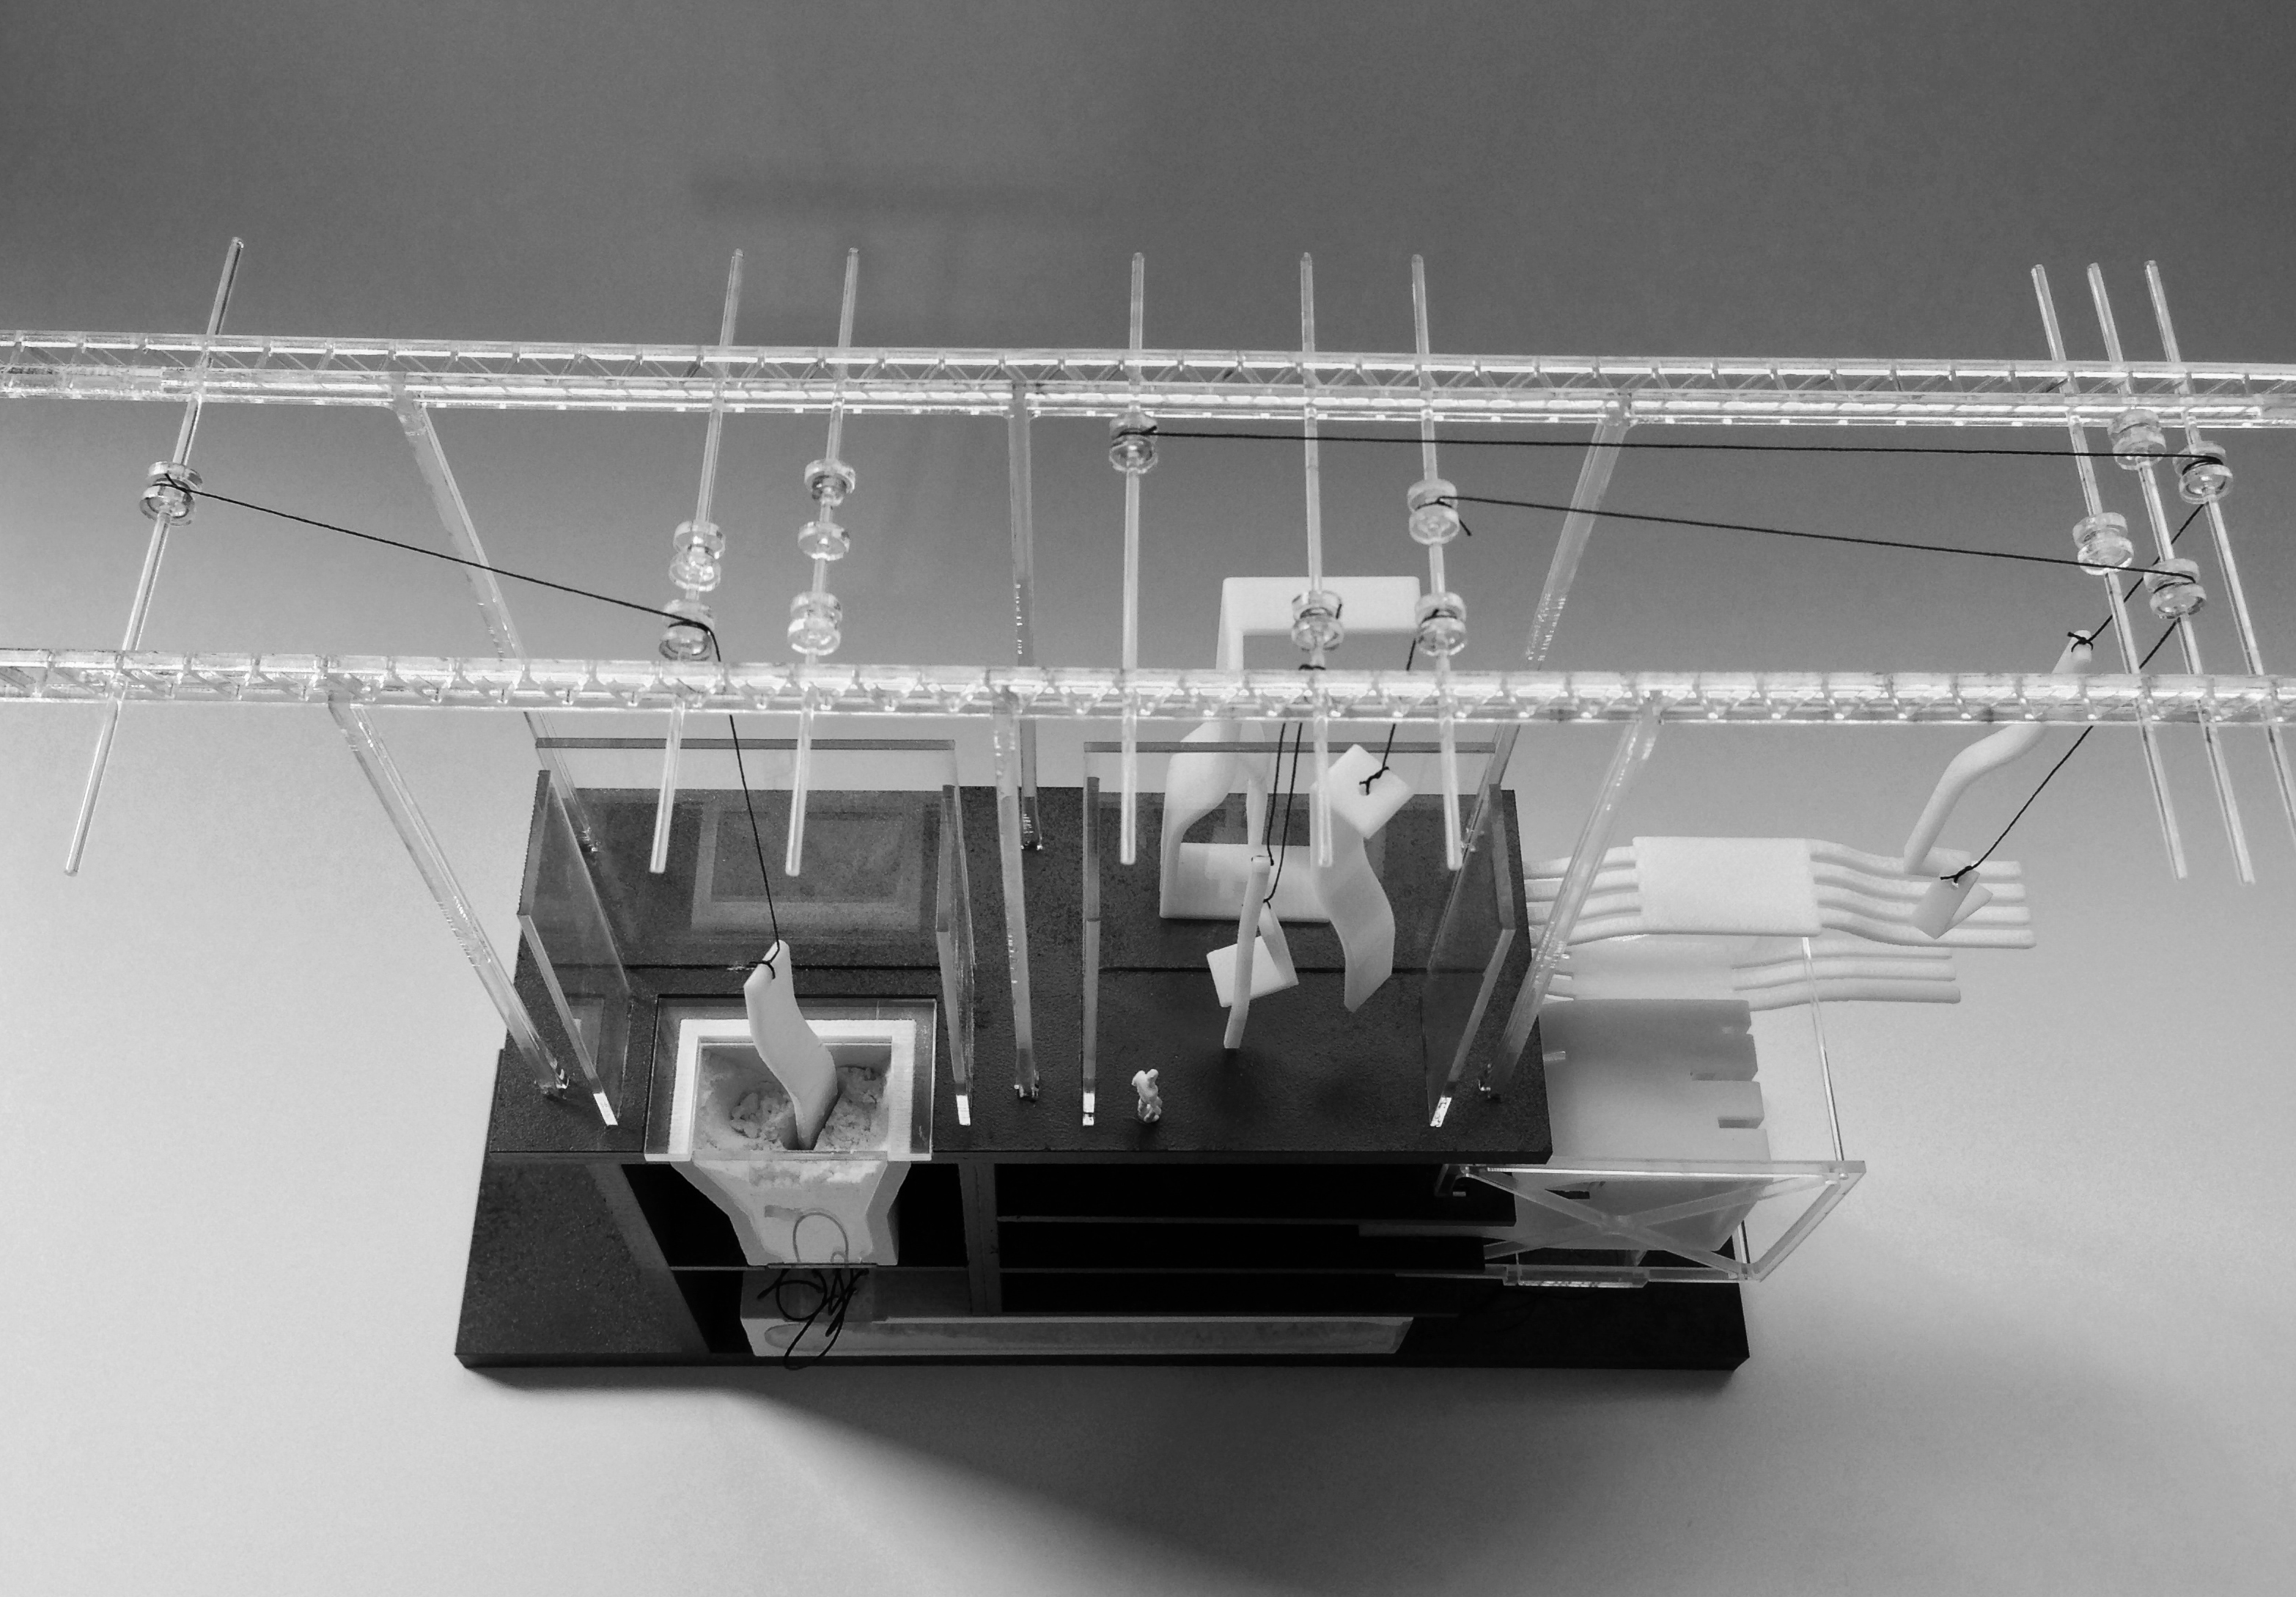
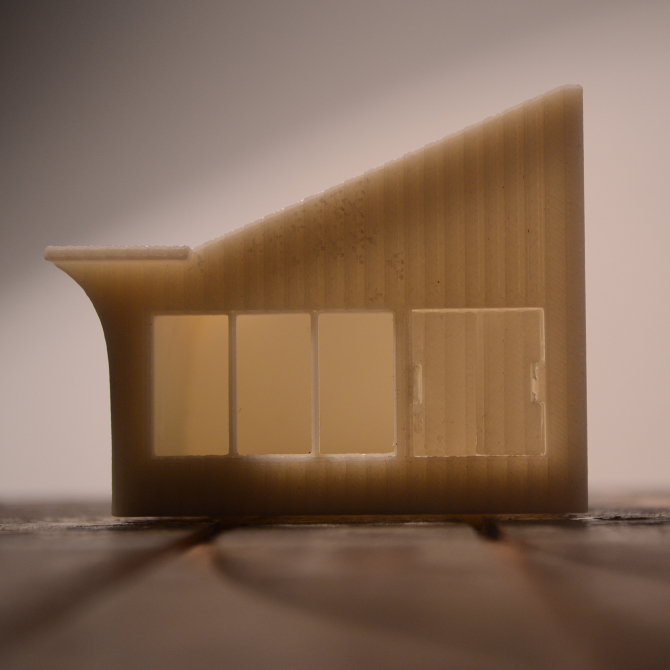
The SLA resin printer is very useful to communicate certain aspects of design due to the material the printer prints with. The printer can use a variety of coloured or clear resins to print. My project featured a separate internal structure within an external frame and therefore the clear resin was ideal for communicating this aspect of the design.

However, to make sure your model is printed correctly, a number of points need to be kept in mind.

DSC_0436

DSC_0448

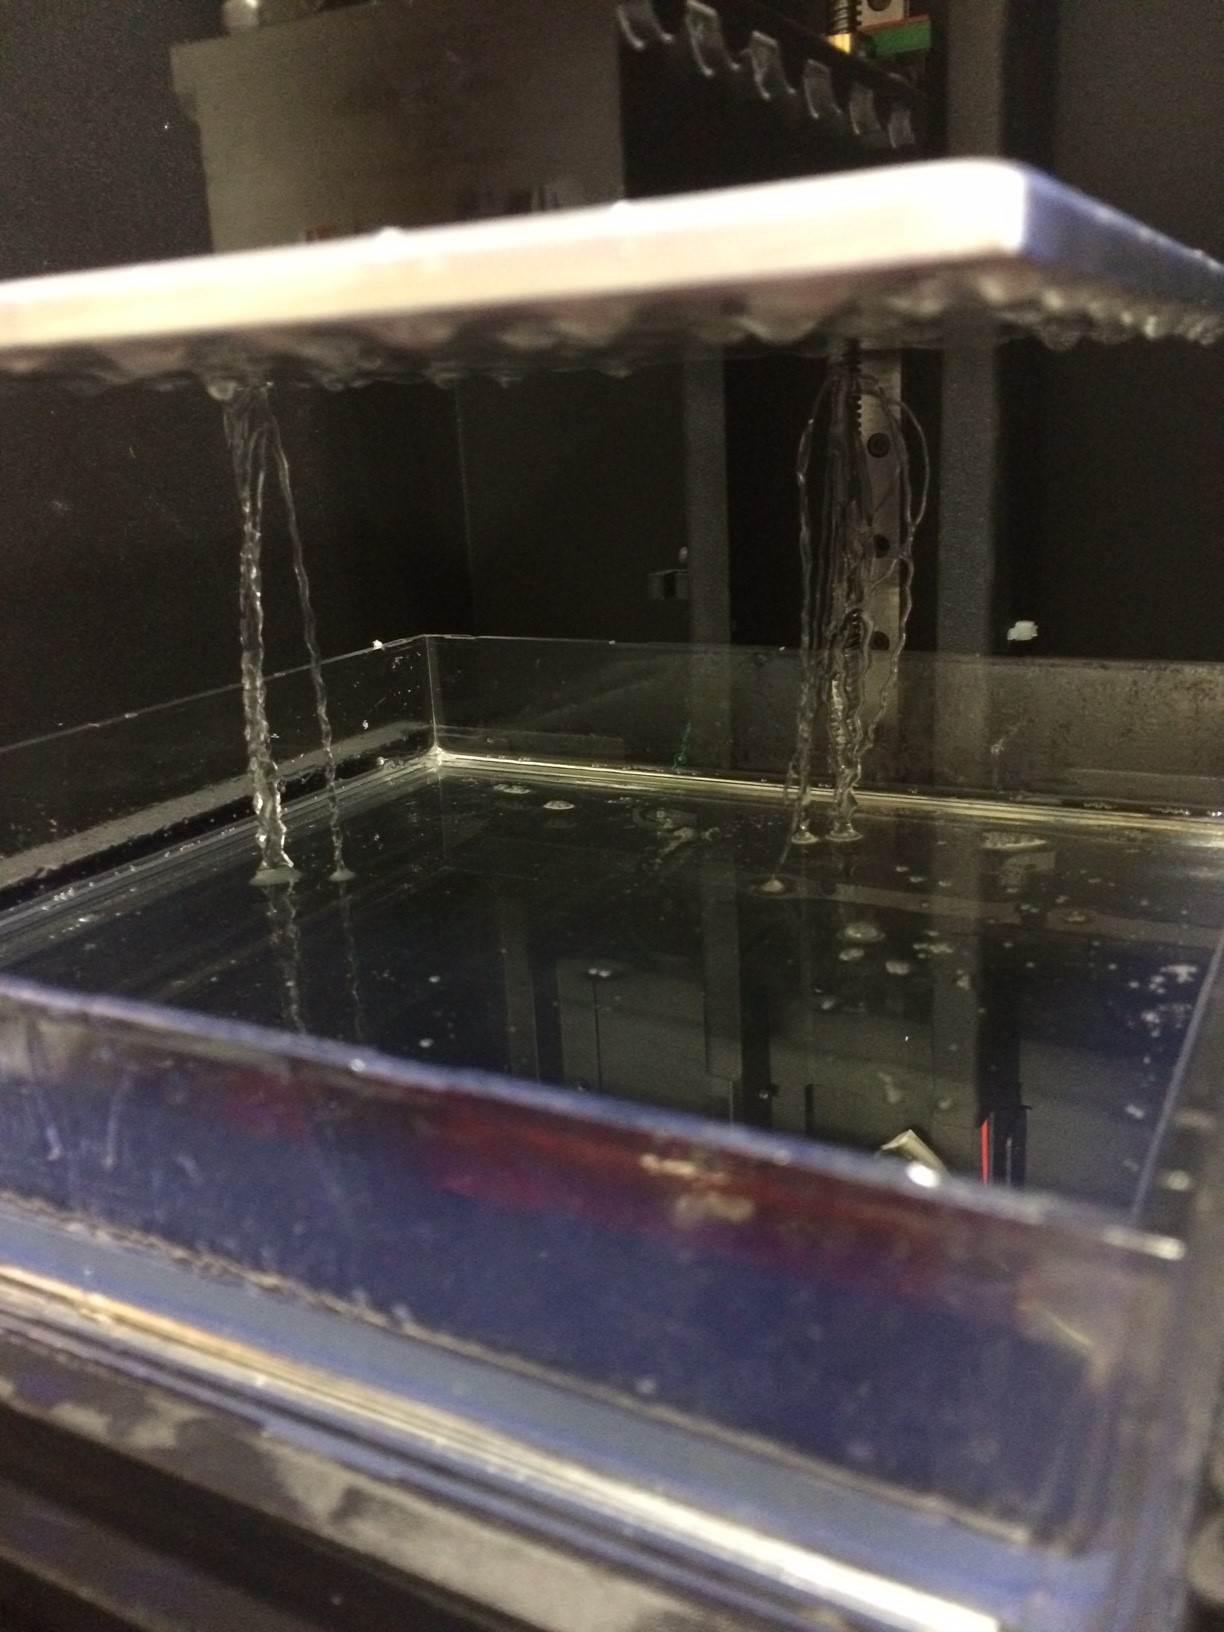
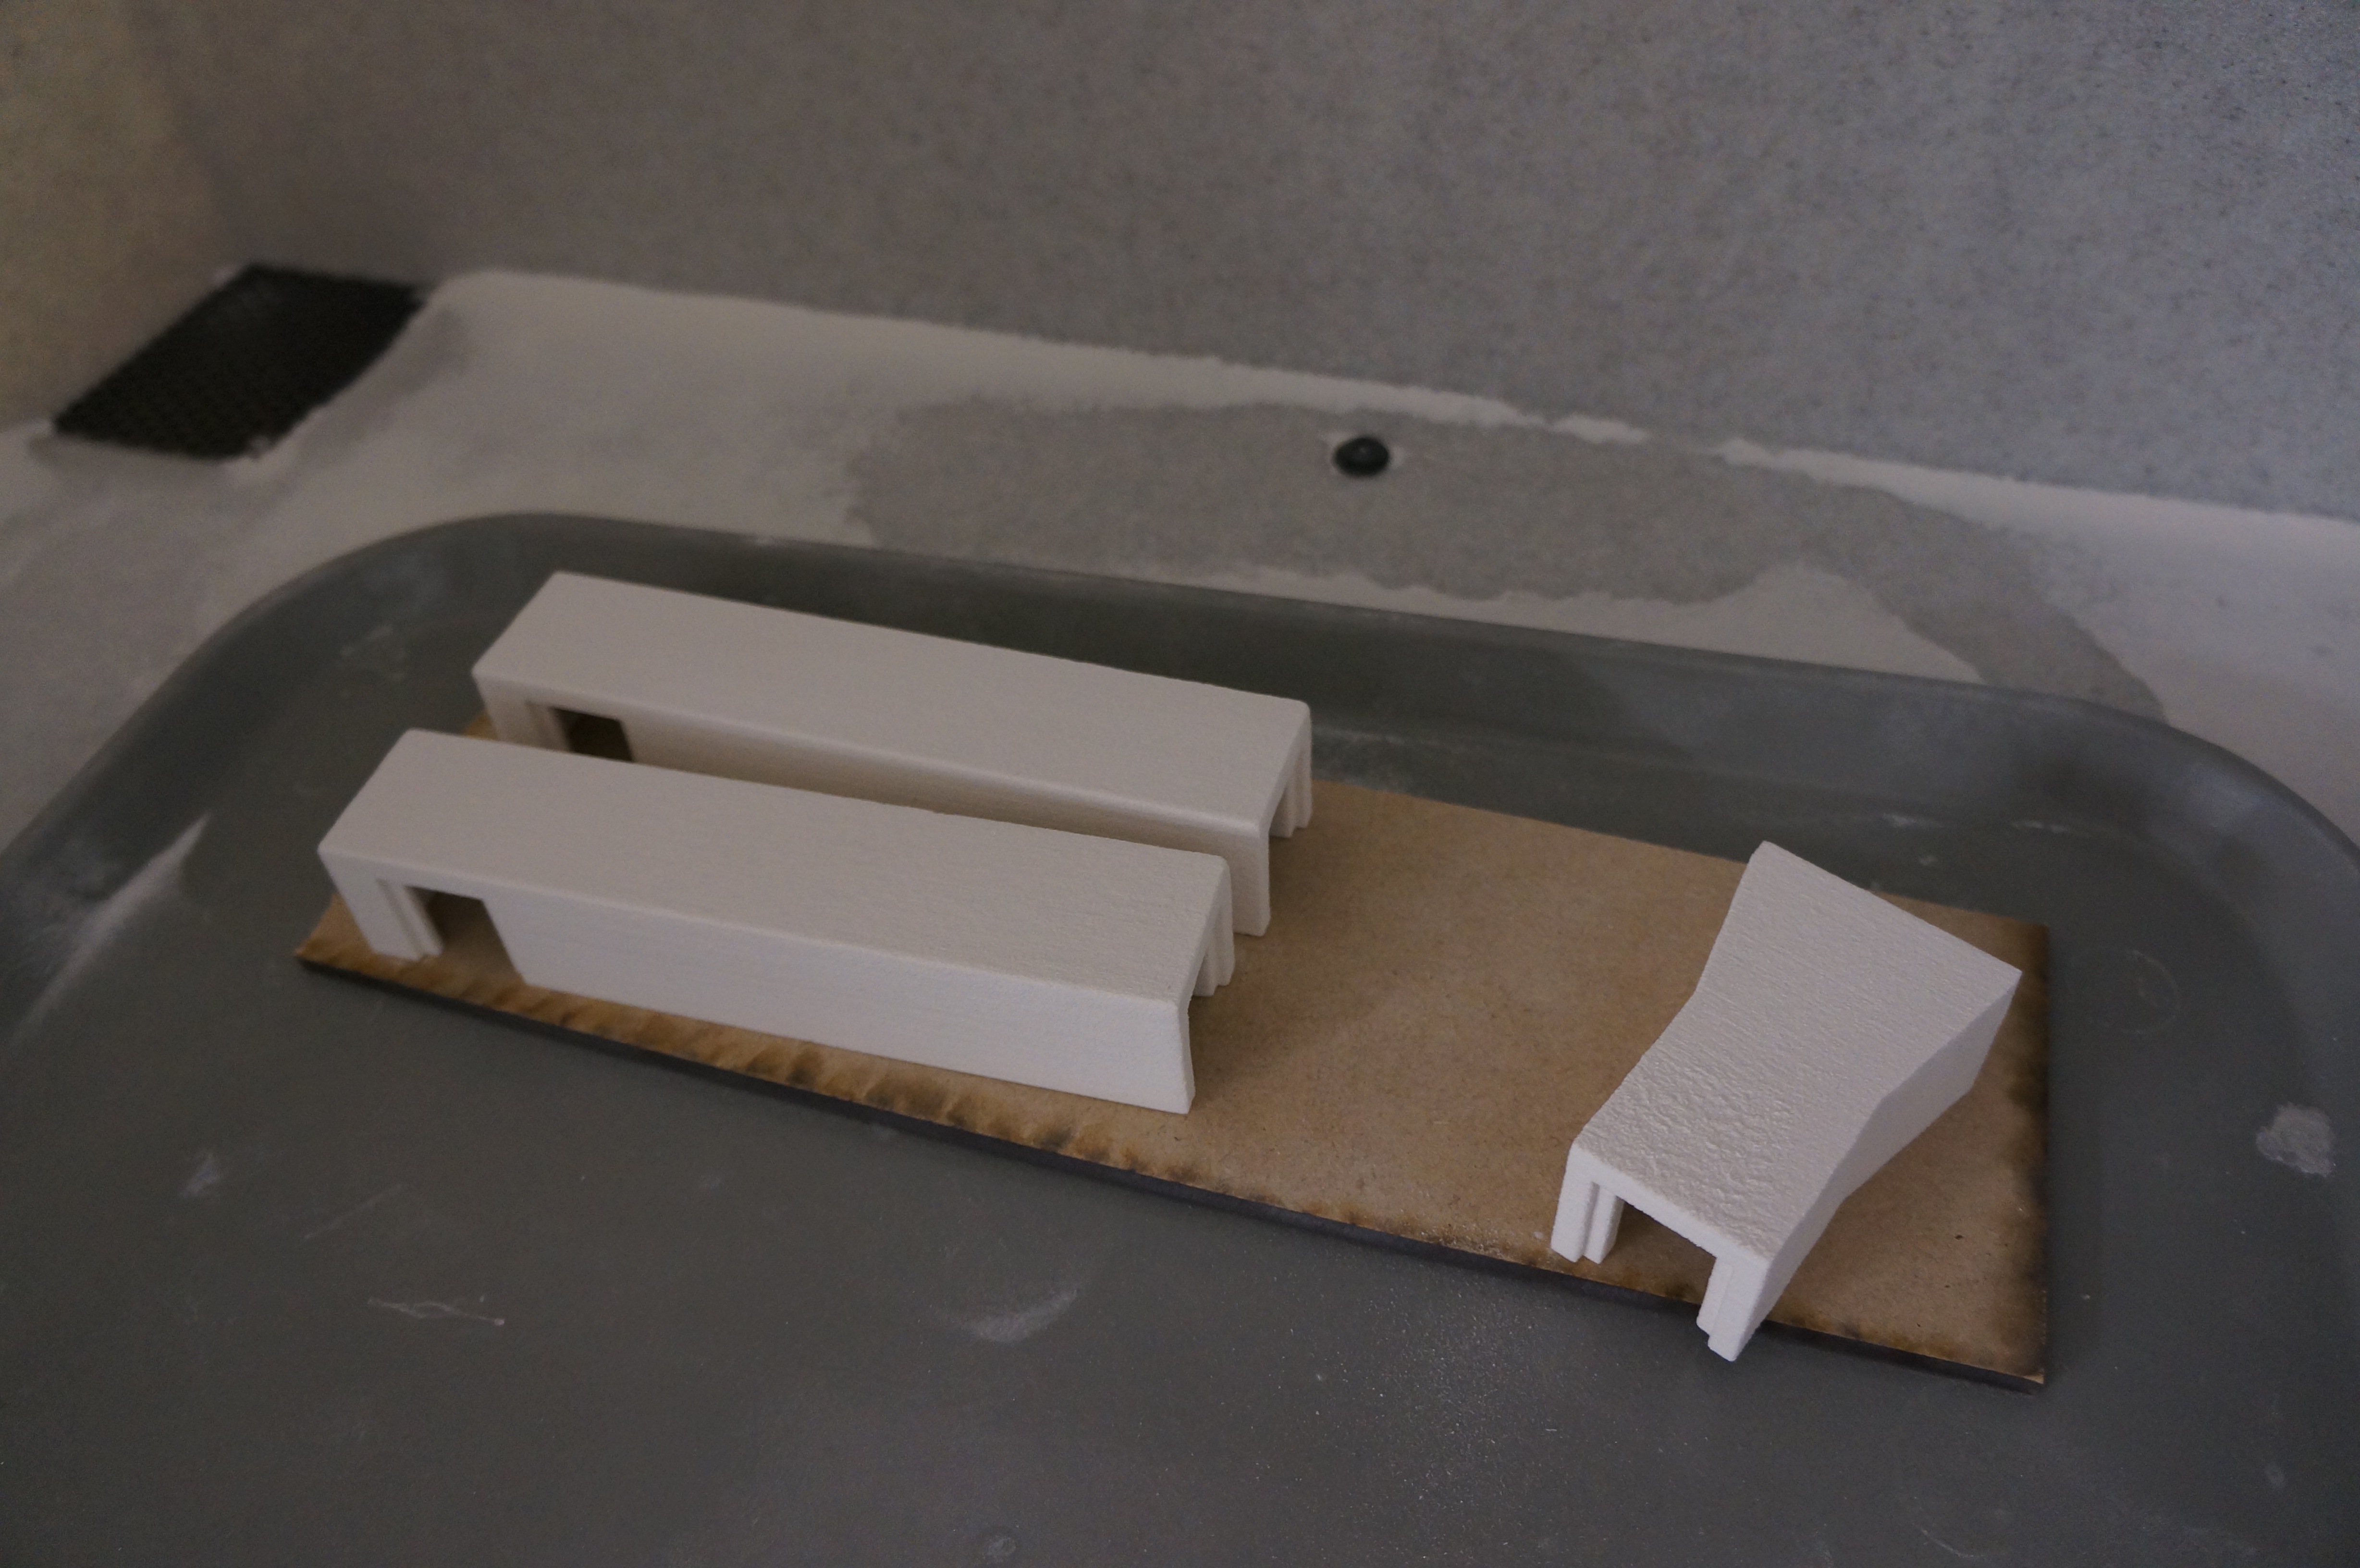
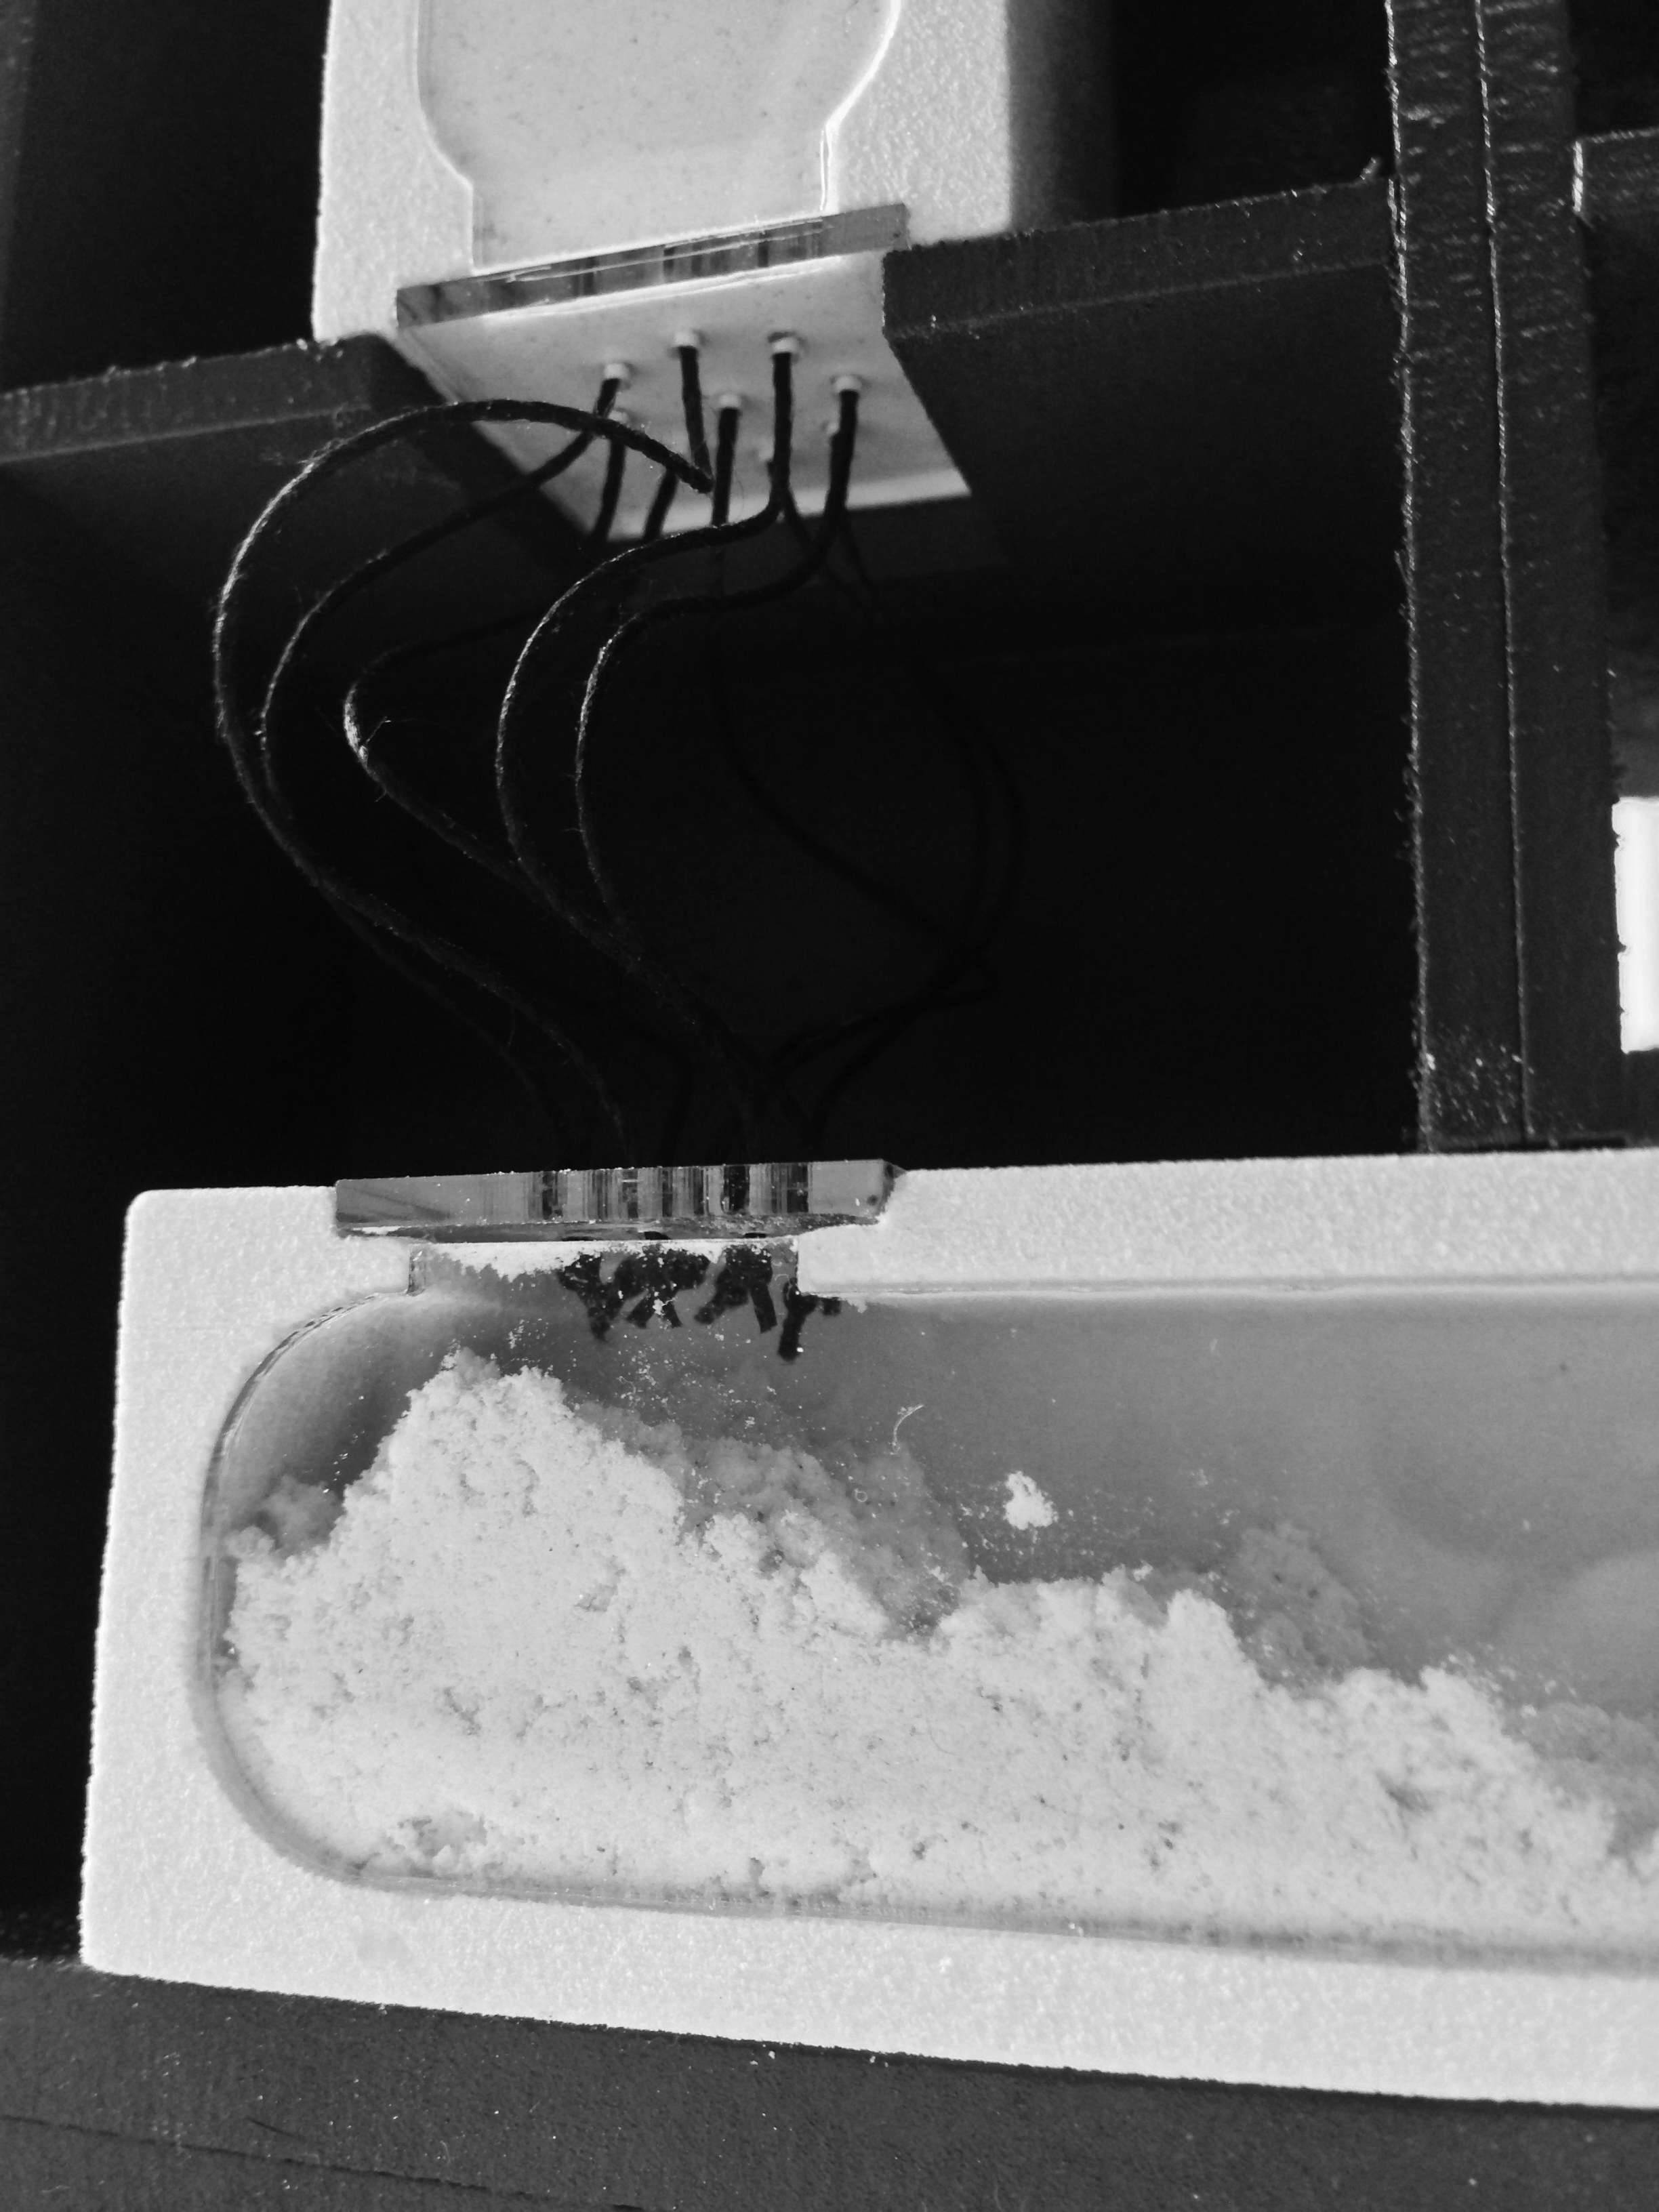
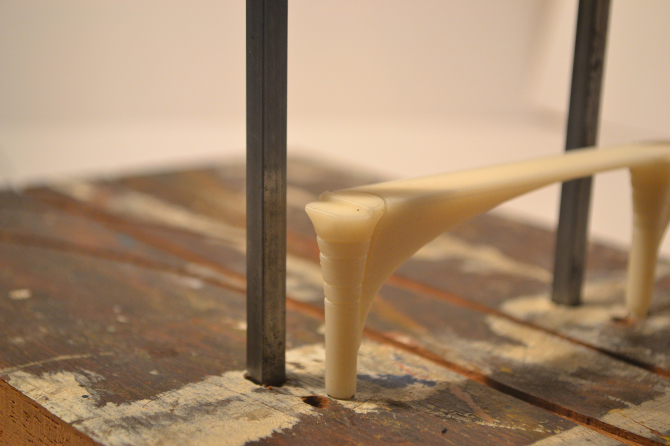
This printer is unlike the ABS and powder printers not only when it comes to material but also the orientation in which it prints. The model is printed upside in layers by slowly raising a platform out of a pool of resin. My models would often not adhere to this base platform and that would cause the print to sag on one side. This might occur due to:

  • Problems with the model (inverted faces, un-welded vertices etc)
  • The base platform not being clean
  • Impurities in the resin
  • Insufficient foundation and support material

image5

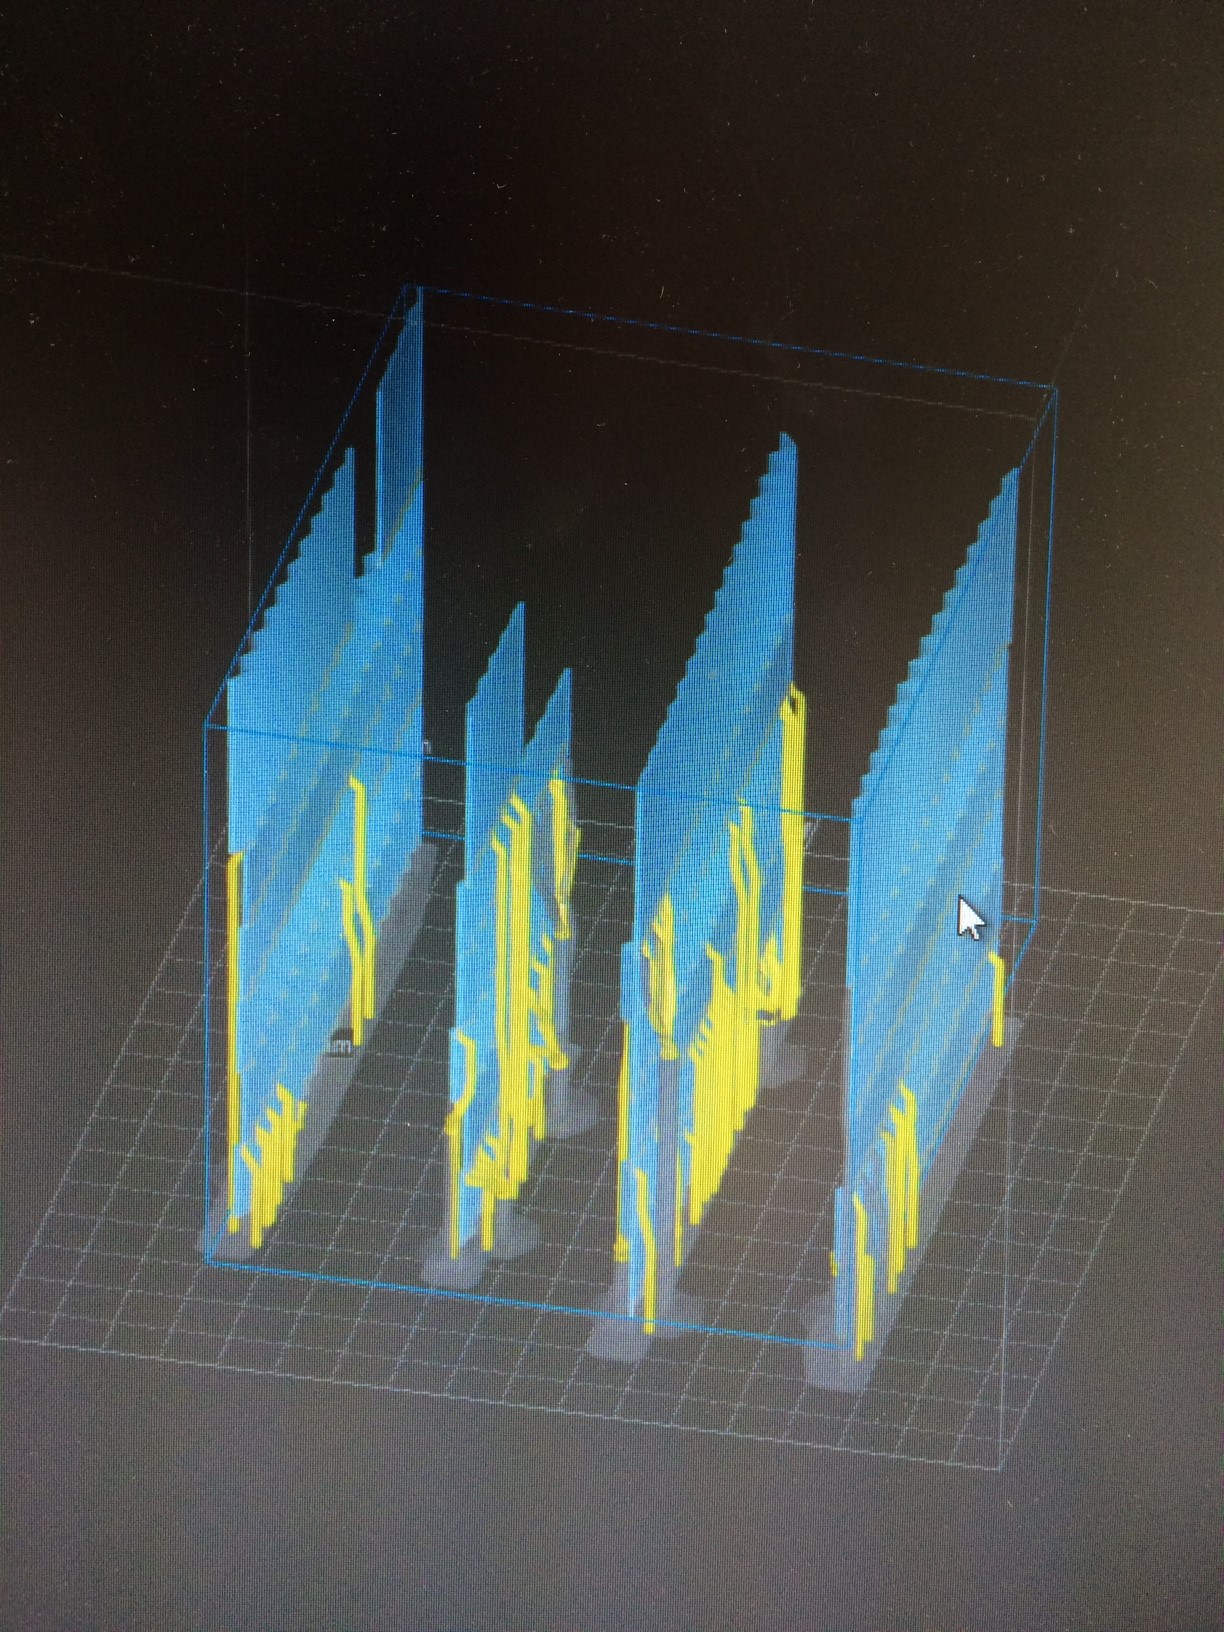
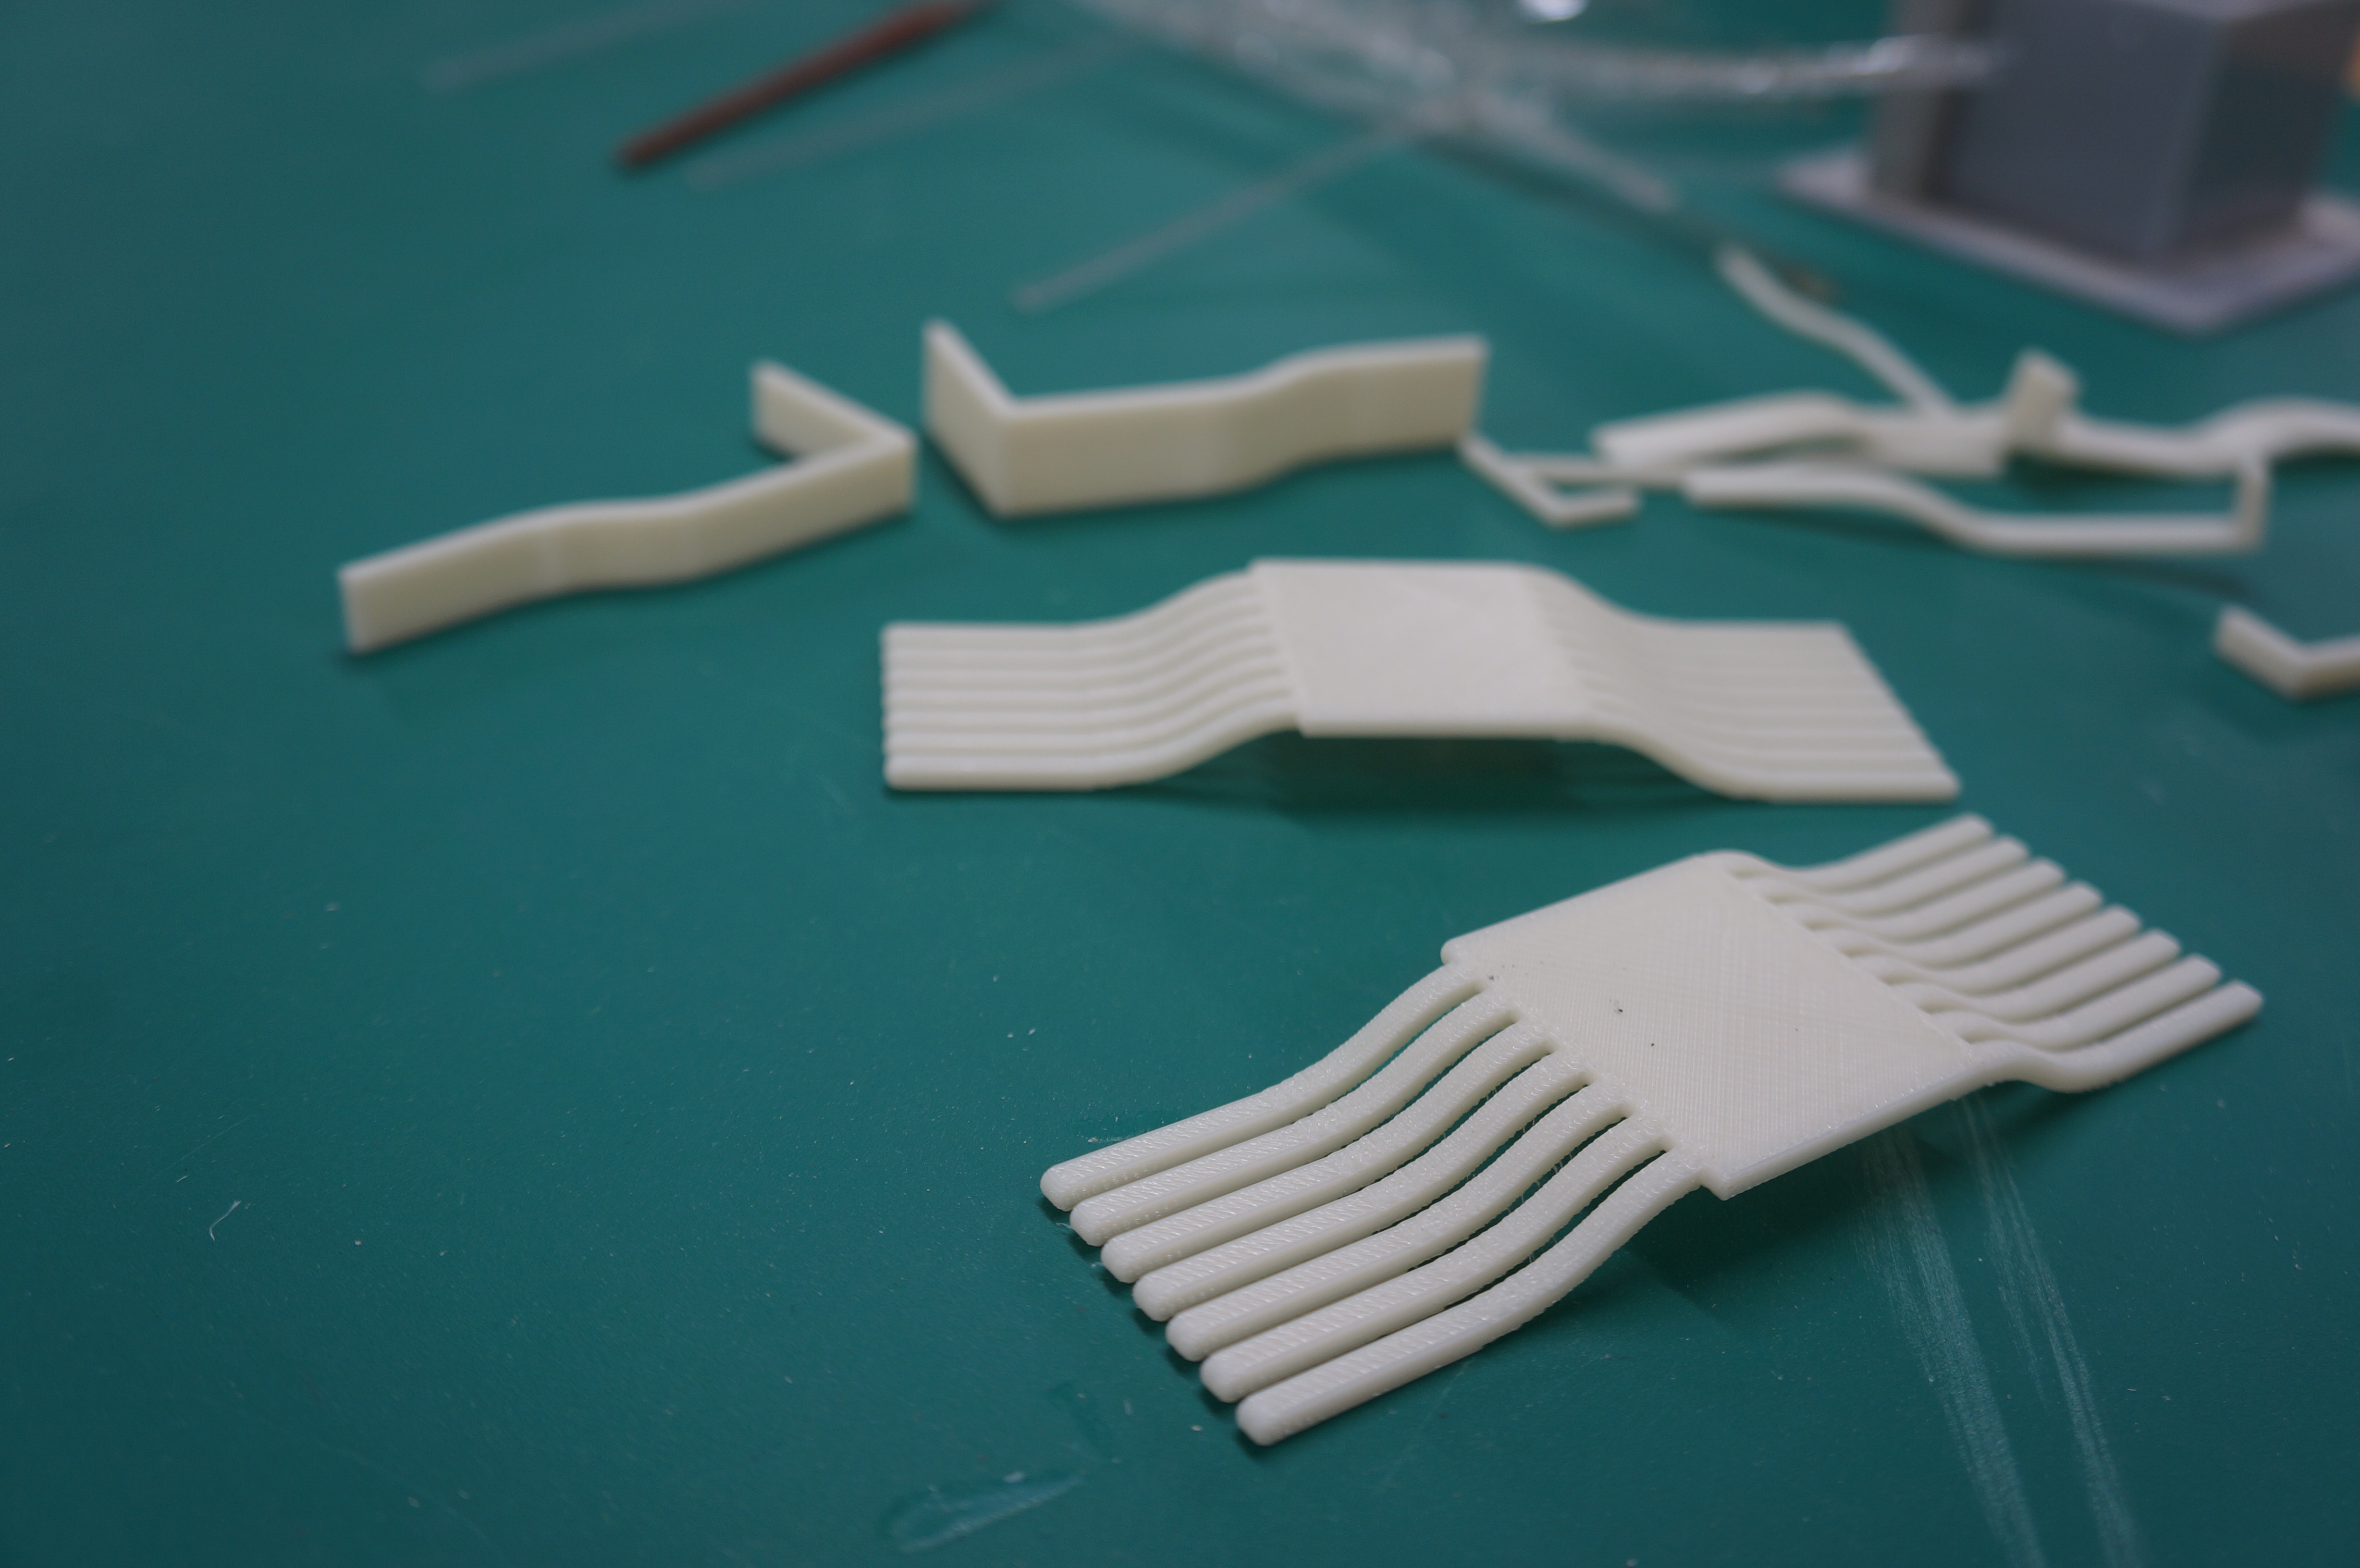
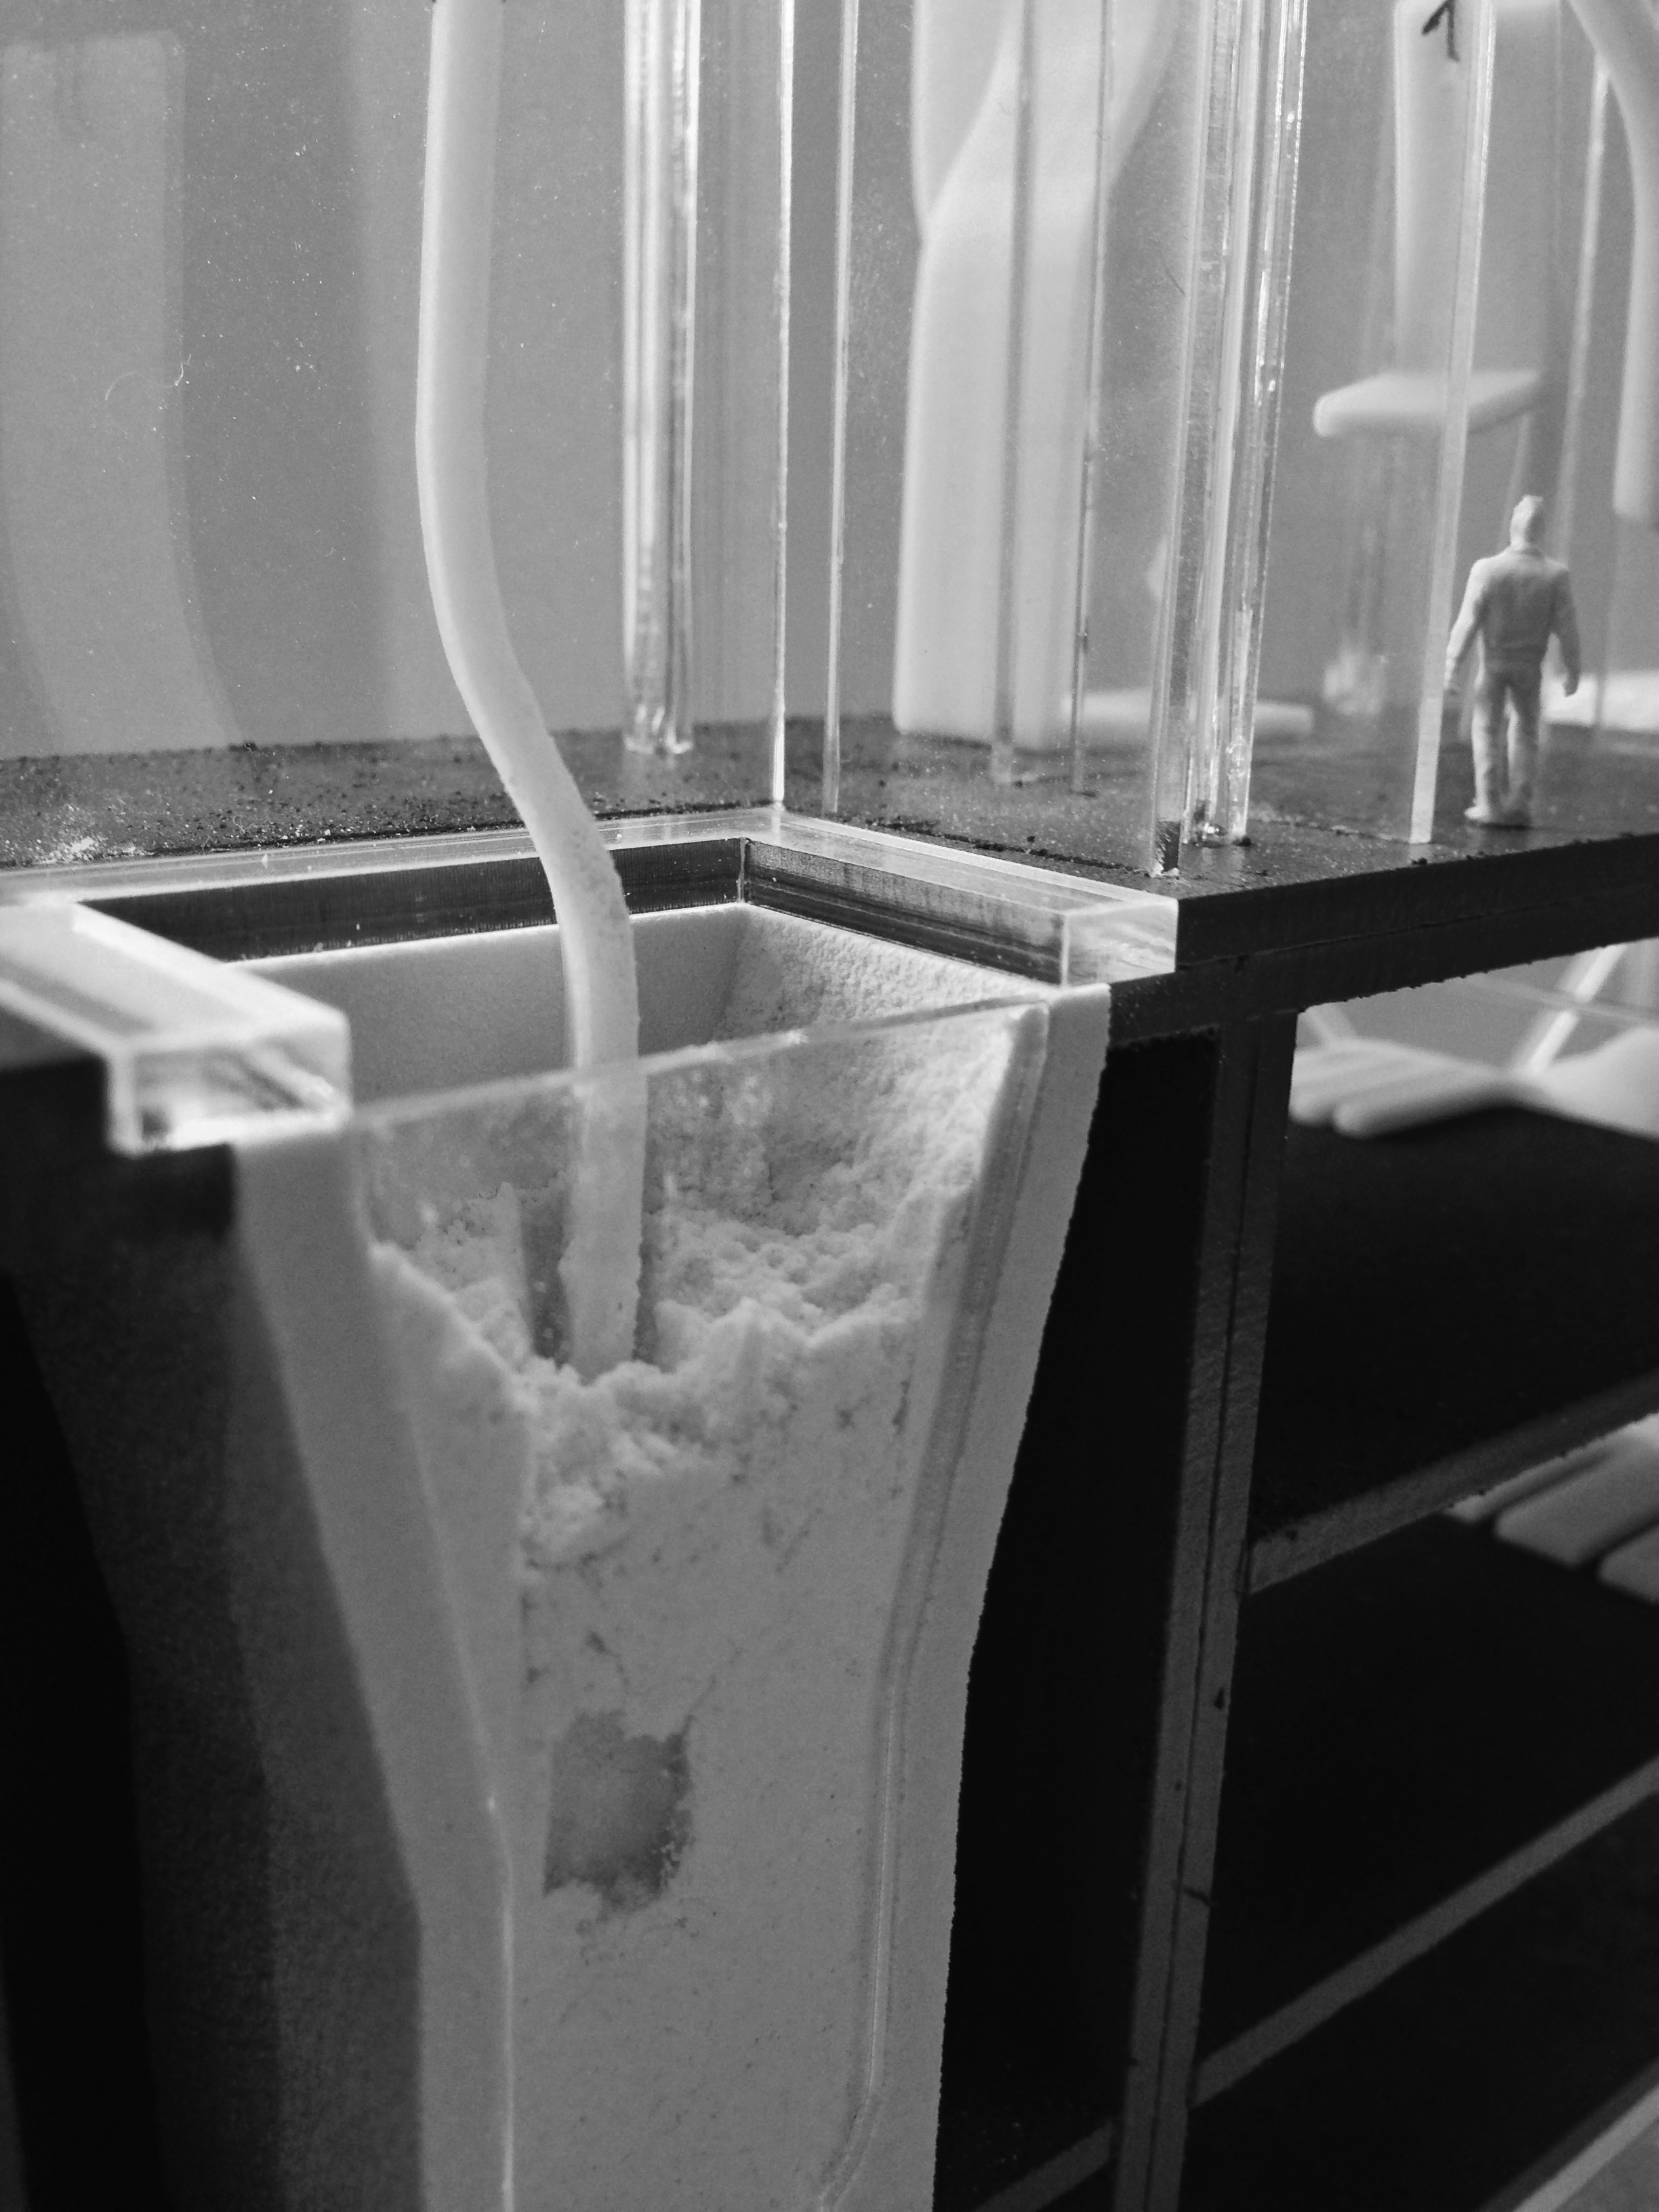
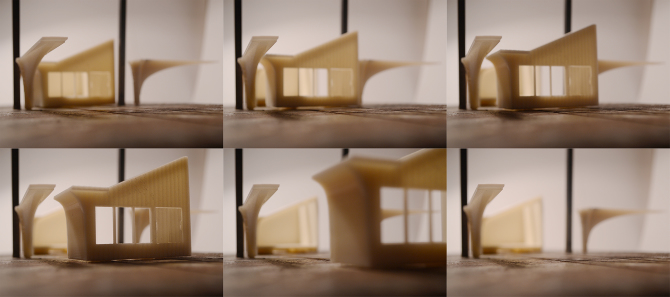
Due to the orientation in which the model is printed and the action of pulling the model out of the pool of resin may cause horizontal elements in the model to sag if vertical elements or supports are not introduced at nearby intervals. The floor plates of one of my first resin models sagged towards the inside as there wasn’t enough vertical elements. (This error would not have occurred with the powder printer or ABS printer)

image4image1


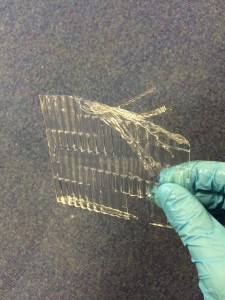
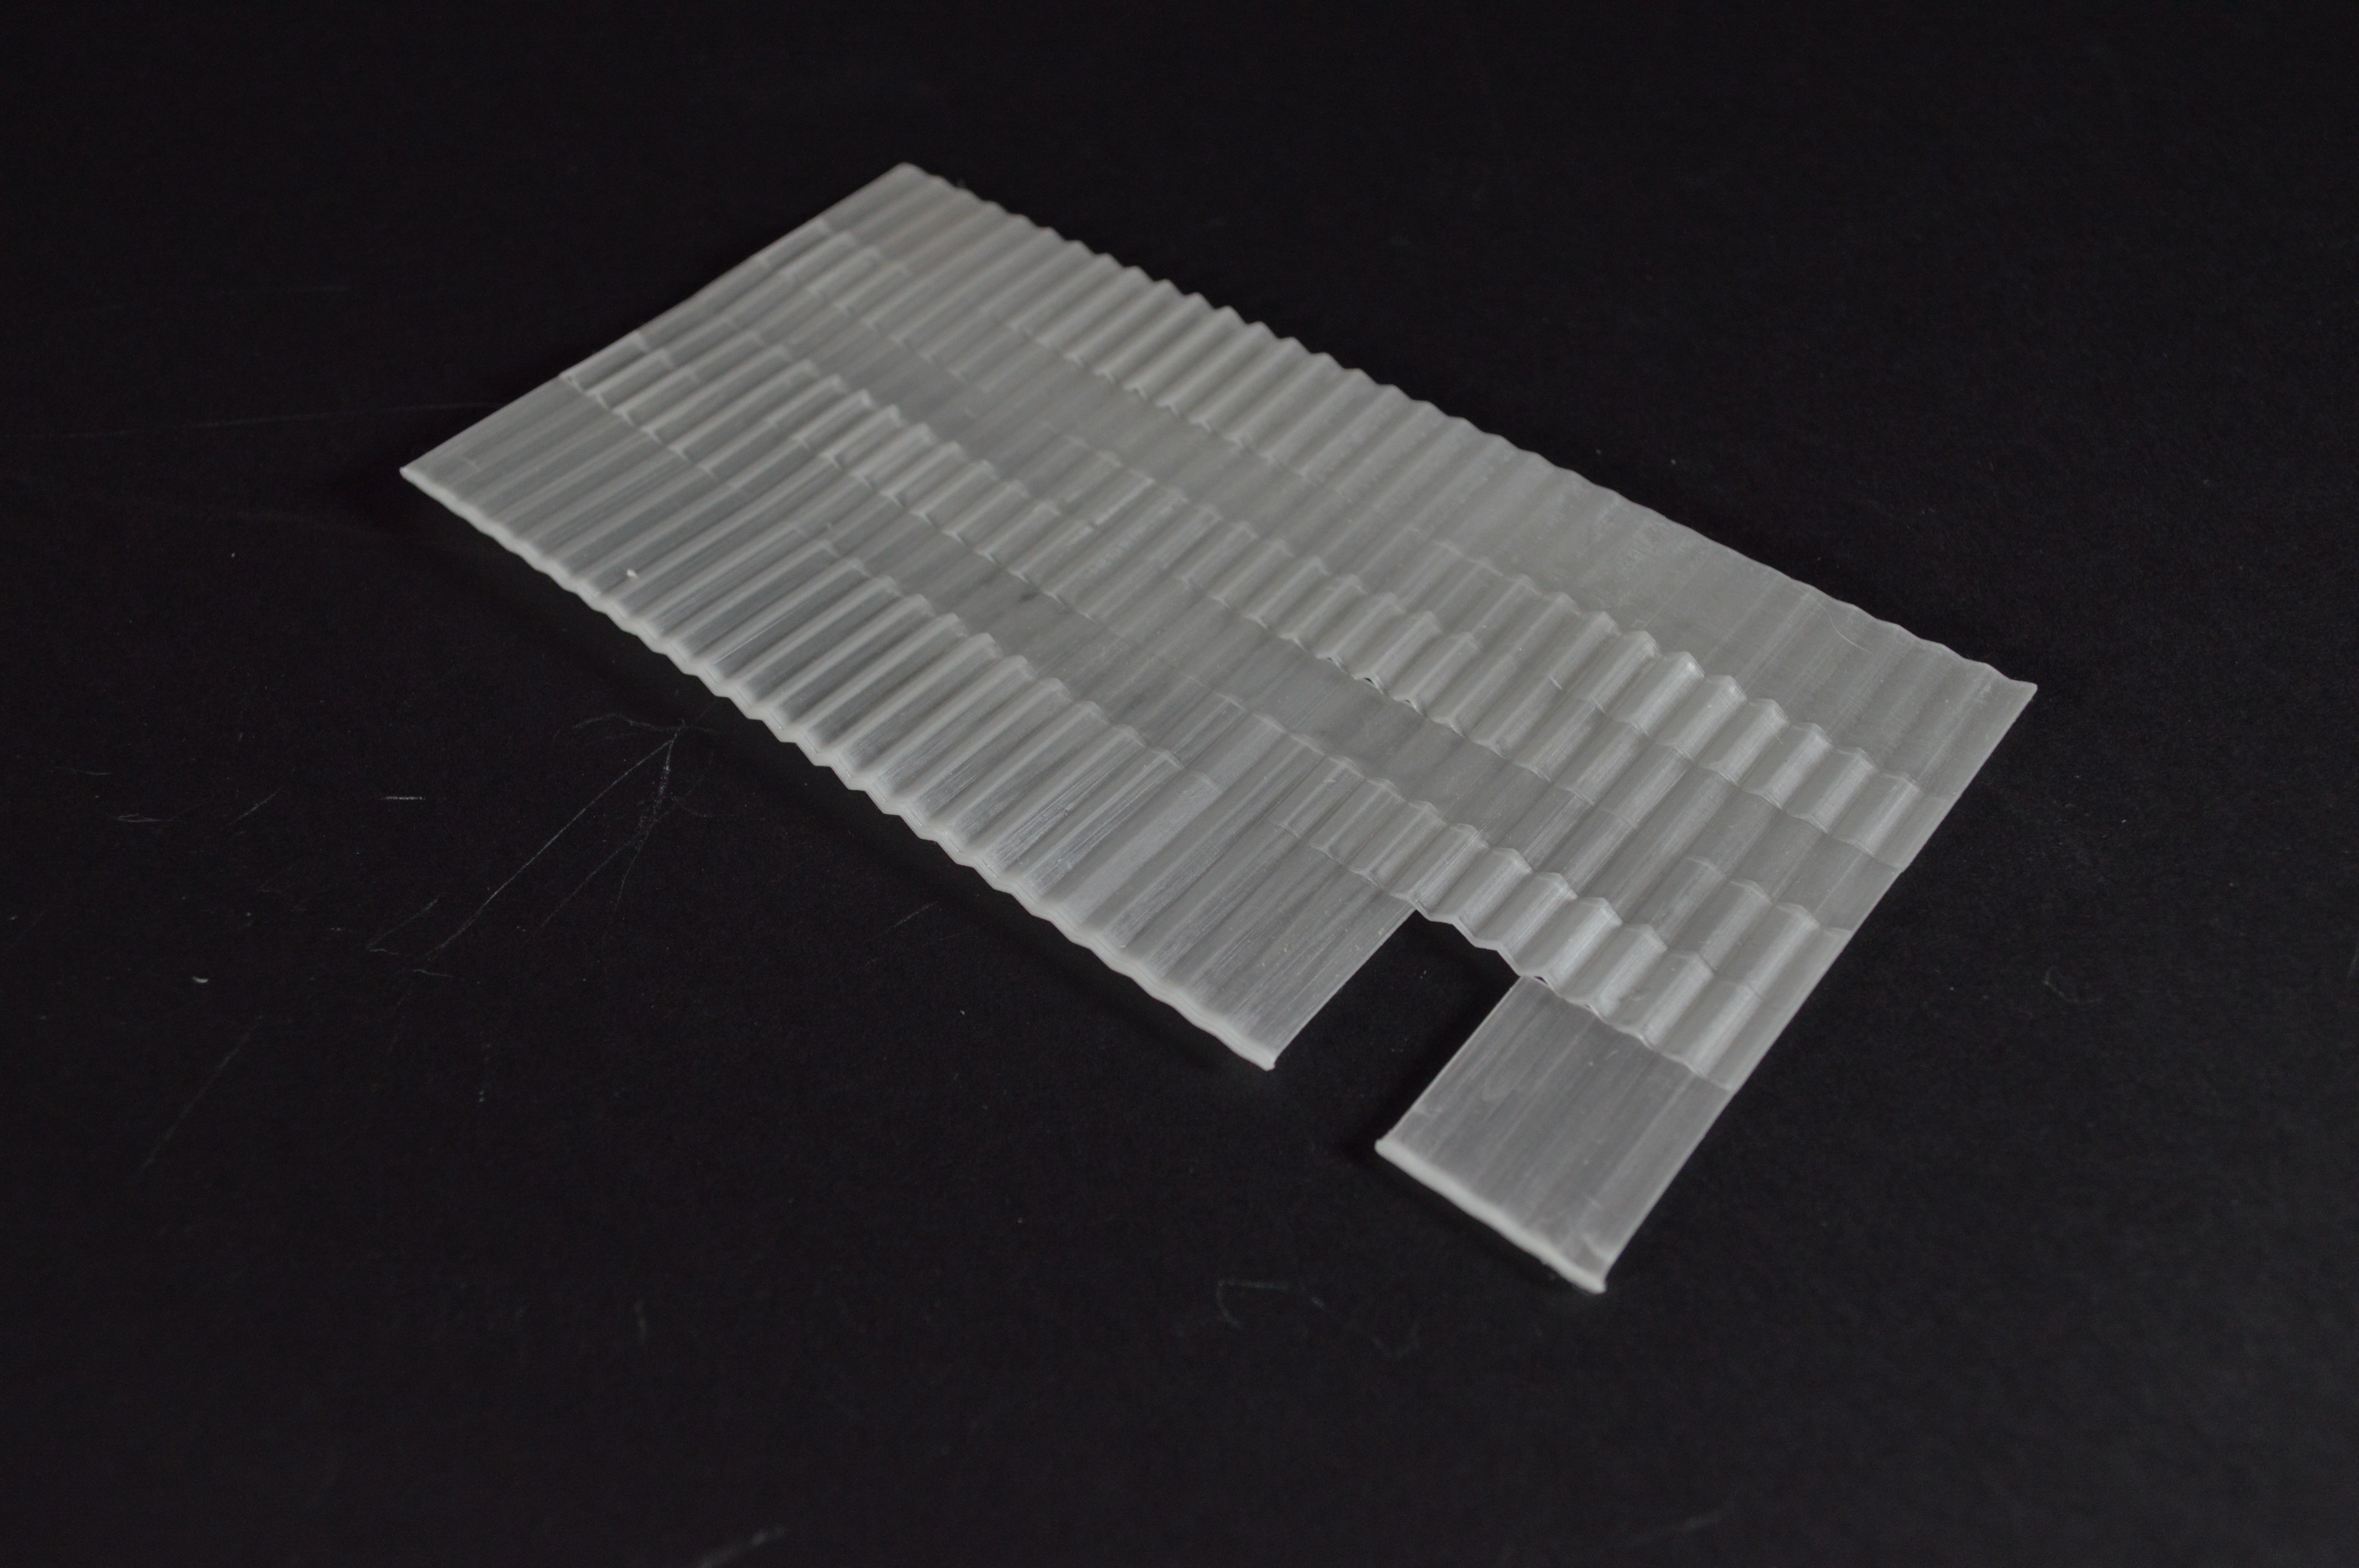
Resin may get trapped inside the model if there isn’t an opening for the resin to drain out of. Again, one my first models still has resin trapped inside it and with resin being slightly translucent, it is visible and may not be desired.

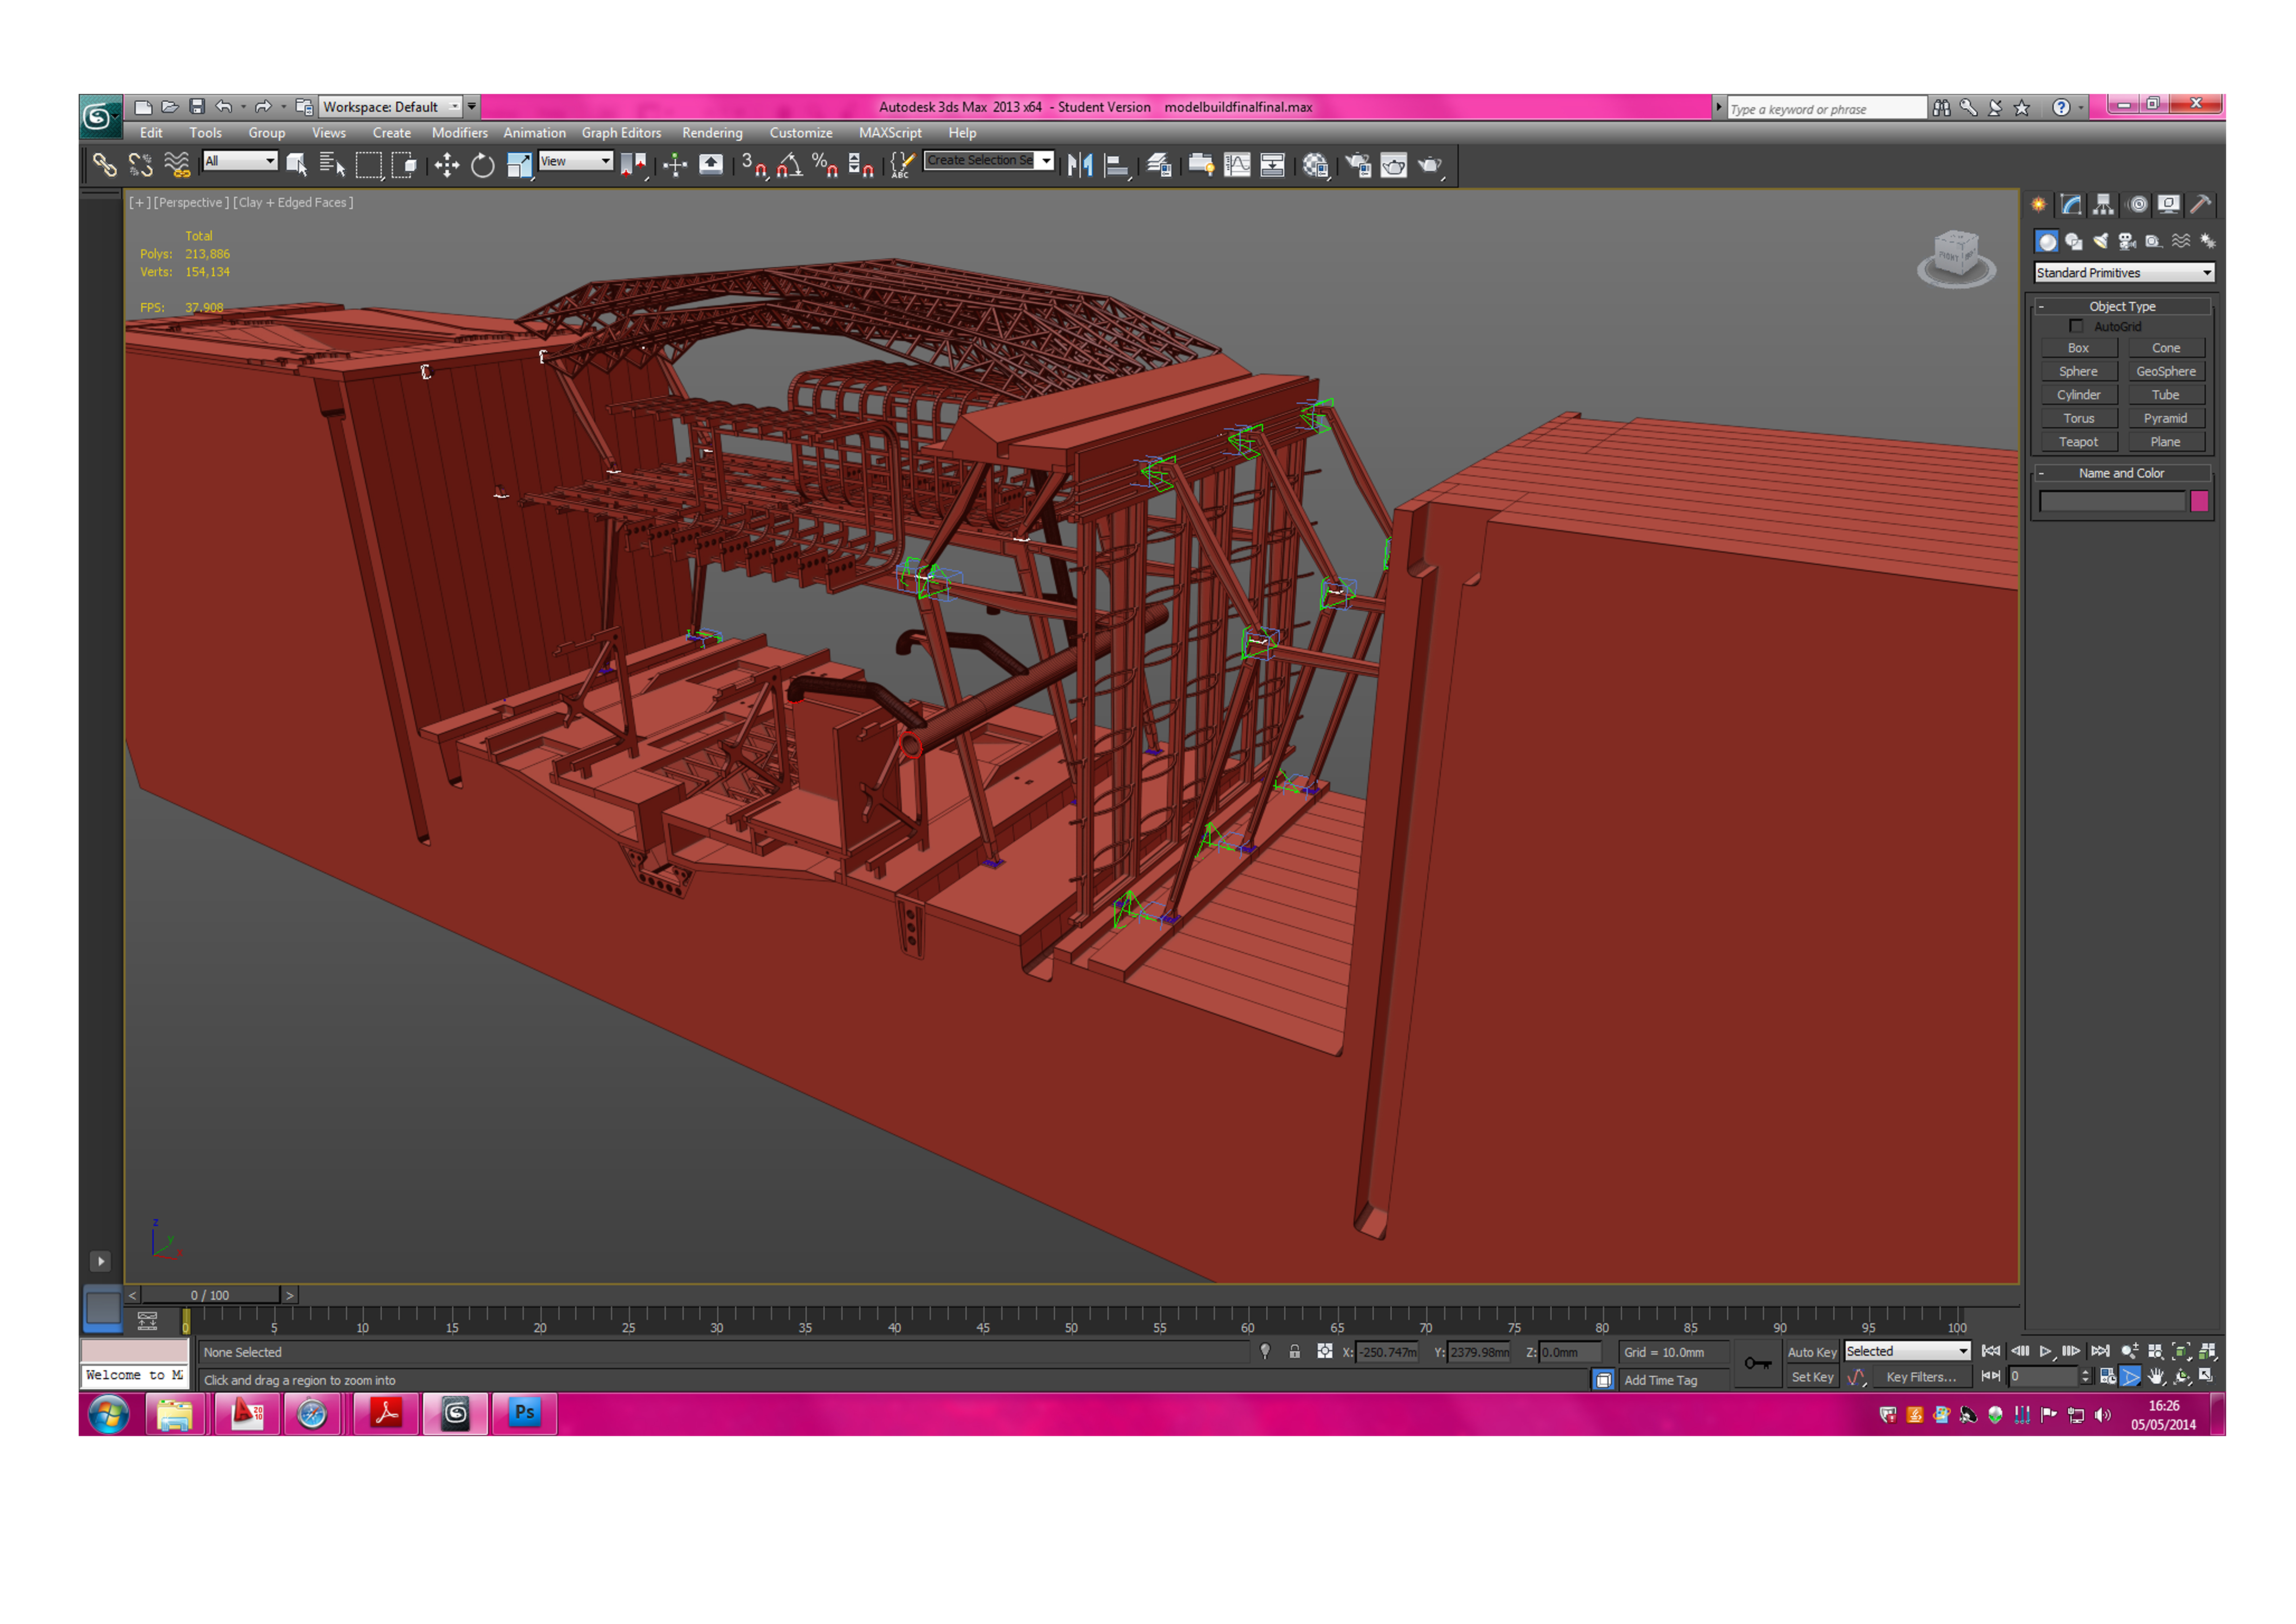
Lastly, since these types of printers are still being tested and perfected, the printers are not perfect yet. Therefore, the printer may just ignore a certain element of the model without any warning. The best ways to get around this I found were:

  • Keep the model as simple as possible
  • Make sure the model is one object before converting to .stl
  • Within the object make sure the faces are oriented correctly
  • Make sure all vertices are welded appropriately

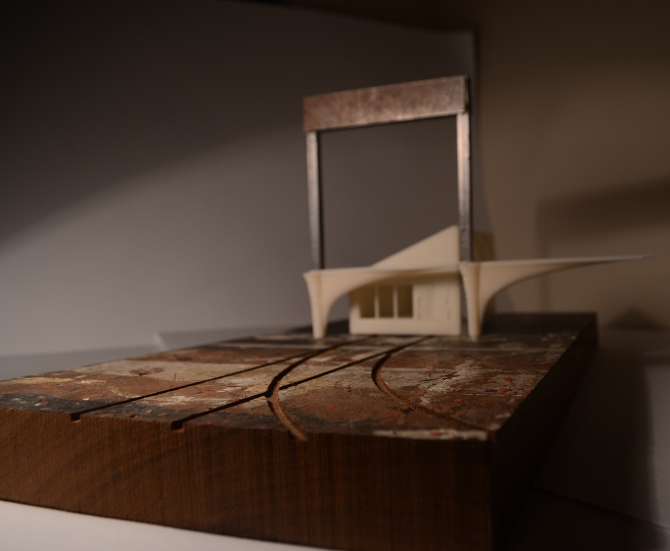
The SLA printer is a very interesting piece of equipment and the finished products if printed correctly look great and work perfectly to communicate exactly what I needed in my project.

– Akhil Mathew 2016

DSC_0464

DSC_0575 DSC_0589


‘Testing The Machines Of A Third Industrial Revolution’ Cross Section Presentation Model, Abhi Chauhan

Abhi (33)

This project was completed in the final weeks of the last academic year by 6th year MA Student Abhi Chauhan. The project is the follow on to the 1:100 section we featured several months back. What is particularly appropriate about the styling of this project is the subject matter or the site. Being a 3D Printing Manufacturing facility of the future means no better method of production that the technology in question. This is definitely something to consider when devoting yourself to a major project like this – for example, if you are building an eco-concious design then that ethic should carry through to your presentation and thus model construction. This project sticks to its purpose through and through.

Abhi has been since graduated and started a full time position at Grimshaws in London. We wish him all the best in his future career!

IMG_4753

This piece will be on display as part of our B.15:45 Exhibition so be sure to have a look in person.

Abhi has kindly written us this extensive account of the theory and construction methods he used in this stunning final piece. Enjoy!

This model is a final exhibition 1:50 sectional model. The slice is located through a key component of the building scheme titled ‘The Machines Of A Third Industrial Revolution’ The model slice – in detail depicts the processes of 3d printing of 1:1 architectural components, to be tested on a stalled concrete frame bounding the site. The design of the facility is such that it sits into a trench in the ground and features a folded roof structure which integrates a 3d printed park at ground level with the industrial processes of the facility within. The scale of the facility has been designed to be oversized, to deal with the variety of large scales that are needed in the manufacture of components for the construction industry.

The model builds upon the 1:100 sectional model completed earlier this year, and takes on a similar aesthetic to that of a cross section through a large industrial machine hanging of the walls of the facility.

The model has been constructed with a variety of different techniques.

IMG_1003

The base has been CNC cut from x15 18mm mdf sheets layered and glued together. This method, although not the most cost effective meant that each layer of the base could be designed to incorporate slots and grooves within for housing of the various components that would eventually complete the model.

Abi (10)

2

The red structural parts forming the portal steel frame structure hung within the trench were all constructed in 3ds max and then 3d printed on the ABS printer. These parts were then spray-painted to get the final red finish seen. Other components that were printed, include some of the facade components, and the series of storage tanks and pipes to the right of the trench. This method of manufacture was chosen sue to the time constraints, the subject matter of the project, and the complex shape of some of the parts.

IMG_1016

The roof was also 3d printed and a shelling script in grasshopper gave the folded structure a thickness to make watertight for 3d printing. This part was the most challenging to construct and after a variety of failed tests the part was printed at Hobs due to their larger printer beds (up to 1500mm wide) which allowed for the part to be printed as one component. Finishing the roof are a series of card panels (depicting a metal skin) which were laser cut and engraved. These were bonded to the 3d printed structural roof frame using spray mount.

The material archives (in white) set into the base of the model were the last parts to be 3d printed on the model, and were done on the powder 3d printers. These constructs were notoriously fragile and once installed in the base had their edges and portions of their rebuilt in white pollyfilla.

The remaining components making up the model have been formed from either 2 or 3mm clear acyclic. For example the 3d printers on the -2 level have been laser cut form a mixture of 2 and 3mm acrylic and then assembled to snap fit and slot together to avoid gluing. This clear aesthetic was chosen for a variety of the model parts as can be seen.

Abhi Components

The landscaped elements including the cranes and gantry and the main internal staircase were all laser cut from 2mm mdf. These part were all spray painted to the final grey and black finish shown.

The facade skin (resembling an ETFE system) was vacuum formed over a 3d printed mould. The mould was designed with groves in it and as such were expressed in the final plastic shells.

Before any parts were manufactured every part was modelled in 3d and then assembled to create a master digital model. (see image) Due to the large amount of parts on this model this was necessary to eliminate any unforeseen mistakes which would be harder to rectify once parts had already been cut.

IMG_1046

Each part of the model was treated as a mini project i.e. the main facade, the main stair case, the 3d printers on the ground floor, etc. Once these were all assembled and sprayed the whole model was put together like a giant jigsaw. Due to the fact that almost every part was digitally fabricated there were few tolerance errors during final assembly.

The model took approximately 3 weeks to translate from an actual section into model drawings and then 3 weeks to get all the parts cut and painted and a final week to assemble together.

Abhi (6) Abhi (49)

Abhi (55) Abhi (2) Abhi (66)


A reimagining of slums , QED, Alexandr Valakh Part 2

Back in March we looked at Alex’s 1:100 model exploring the assembly of his proposed site. Alex completed his model series by producing a 3D printed site model and finally a cross section model showing the relationship between the individual units and the optional outer skin facade.

Alex 3d Print (1)

After several days in the chemical bath to remove support material Alex placed his 3D printed model in a purpose made display case to protect it from intrigued hands! It’s always worth noting that forms such as this require a lot of support material when made on the ABS plastic printer which often means extended periods of time post-printing in the chemical bath.Alex 3d Print (20)
Alex final Project (4) Alex final Project (11) Alex final Project (15) Alex final Project (18)The outer skin of the model was made using paper components that were CAD designed and laser cut before being hand assembled. The completed skin was fixed onto the plywood frame carefully using superglue.
Alex final Project (20) Alex final Project (21) Mass produced standardised components were designed to be quickly assembled to create the form much like the full scale proposal offers. Alex final Project (23) Alex Final Major Section (1)Alex Final Major Section (3)Alex Final Major Section (6)Alex Final Major Section (13)Alex Final Major Section (43)Alex Final Major Section (74)Alex has produced some fantastic models here over the last two years and we encourage everyone to look at this level of work for inspiration. All the best for the future Alex!

Alex final Project (8)

Abhi Chauhan: ‘Testing the Machines of a Third Industrial Revolution’ 1:100 Site Section Model

6th Year MArch student Abhi Chauhan has recently completed several models as part of his Intimate Cities project. The earlier models were used to demonstrate initial concept ideas and helped influence design changes. In keeping with the subject matter of the proposed development Abhi has put heavy emphasis on digital manufacture.

Abhi gives us an over view of the project and how this model fit in to its development:

As part of the Intimate Cities Atelier this year we were concerned stalled construction sites in the city of Manchester. These sites are unique in that their infrastructural order has been partially installed and my primary aim is the reconnection of these sites back to the city context. Situated on the Potato Wharf stalled construction site, the final scheme looks at the idea of bringing around a Third Industrial Revolution, by looking at the research and testing of an advanced manufacturing technique (3d printing) and a new energy infrastructure, (hydrogen fuel cells).

 Realised as a masterplanning strategy the stalled concrete frame on the Potato Wharf site is used a ‘live’ test-bed for 3d printed architectural components, in addition to this the scheme engages with the redundant  transport infrastructure bounding the site and reinstates the canal and rail network as a distribution matrix for the transport of raw material. A reconfigurable 3d printed public park defines the edges of the new site in the overall strategy.

VISUAL LIGHT

The renders depict how the main 3d printing manufacturing hall and hydrogen exchange will look. The 3d printing facility is concerned with the research, manufacture and testing of 3d printed architectural components and as such the construction and detail is oversized to deal with a variety of different scales present on this project.

This first conceptual model depicts the main processes occurring in the 3d printing facility and follows the life-cycle of a 3d printed architectural component from its raw powdered state – stored in a material archive; to the printer beds; then for reconfiguration in a graveyard of failed components; and ultimately to its reverse engineering back to its raw powdered state.

The main frame was laser cut from 6mm MDF and designed to slot together. After spray painting grey to depict a raw concrete surface a series of powder printed material stores were fixed in place. It was decided to 3d print these stores due to their complex shape and the desired ‘layered’ construction aesthetic I was after.

The main machines in the model have all been constructed from separated components each laser cut from 2 and 3mm clear acrylic.

The 3d printed architectural components created in the facility were depicted by themselves being 3d printed. These parts were modelled in 3ds max and made ‘watertight’ ultimately for 3d printing on the ABS printer. (Abhi Chauhan May 2014)

Abi (2) Abi (5)Abi (6)

Abi (7)

One aspect of Abhi’s model work which is particularly successful is the appropriate use of different process. Having an understanding of the best suited method to achieve a desired outcome is key to an effective model. Without a clear aim as to what it is you are trying to convey many models have little practical use in conveying the key aspects of a design concept. This model of course naturally lends itself to 3d printing due to the subject matter.

IMG_0740 IMG_0744 IMG_0750 IMG_0752 IMG_0753 IMG_0757 IMG_0758

Mayfield Redevelopment, Joseph Hamblin

Josephs description of his project:

My initial place/non-place study of mayfield highlighted the temporality of these ideas. To me mayfield was an area made up of and defined by working relationships, it is fragmented from its urban context and the activities on site work around one another rather than with one another. I wanted to create a unifying vision which responded to the existing urban condition and tied the fragmented territory together. My project brings ideas of knowledge exchange and open source information together to create a platform for innovation on both a personal and corporate scale.

It seemed very fitting for Joseph to use 3D printing to convey his ideas in his model. The idea behind his site redevelopment was that individual business units can be extended or reduced by simply adding or removing sections. New units would be created on site and moved into place using a rail system.

3D printing also lent itself to the mechanical side of the design, allowing moving components such as wheels and the rotating walkways.

In keeping with the new meets old theme on Joseph’s site he decided to keep the reclaimed piece of teak ‘as was’ with its scratched paint and chipped surface. This works really well in creating contrast and makes for a really nice object aside from its relevance to the design concept.

Joseph Hamblin.jpg 3 All Photographs shown here are taken from Joseph’s web page. Click here to see more.